4-72
A-61635 December 2010
Setting up your
SharePoint options
When
SharePoint 2007 & 2010
is checked, a summary of your SharePoint
setup is displayed and your index and image files as they are configured by the
SharePoint Index Setup Wizard are output. For more information,
see the
section entitled, “Using the SharePoint Index Setup Wizard” earlier in this
chapter.
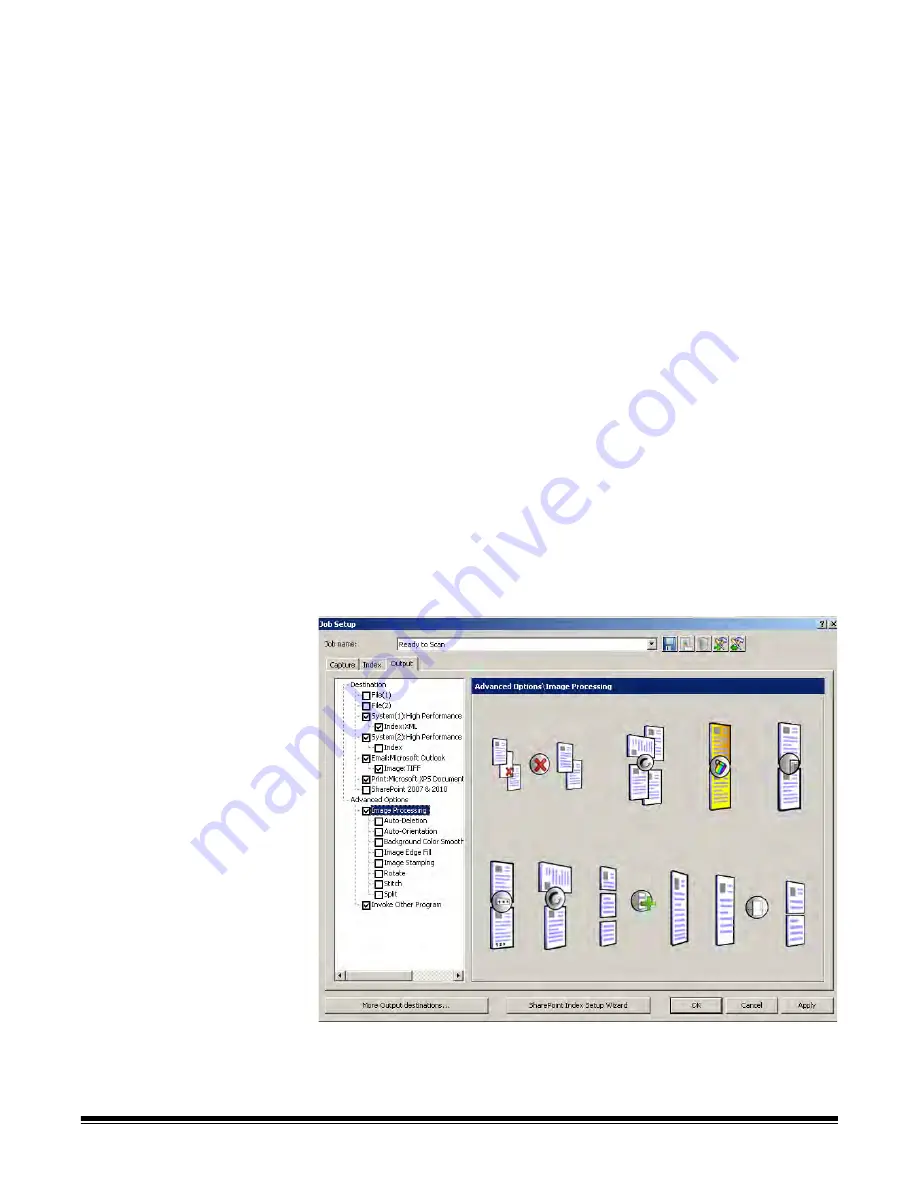
Advanced options
When you select
Advanced Options
the following options are available:
Auto-Deletion
— deletes a front or back image when the image size is lower
than the values specified on the Auto-Deletion dialog box.
Auto-Orientation
— analyzes the content of your documents and orients each
document so it is right-reading.
Background Color Smoothing
— using this option for documents or forms
with a background color will help produce images with a uniform background
color.
Image Edge Fill
— fills unwanted black or white edges on an image, thus
producing a cleaner image.
Image Stamping
— stamps the image number on the front and/or back sides
of each page.
Rotate
— rotates all images in a batch 0, 90, 180 or 270 degrees as selected.
Stitch
— merges all images of a document into a single output file. Images
must be the same width and all but the last image must be the same length.
Split
— converts the front and rear image into multiple images. Images must
be the same type (color/grayscale or black and white).
To access the image processing options:
1. Click
Image Processing
under Advanced Options on the Output tab.
2. Select the desired image processing option and configure as desired.
NOTE: The sections that follow provide detailed information about each
option.


