−
14
−
Adjustment Procedures
Results of Improper Adjustment
Adjustment Procedures
Results of Improper Adjustment
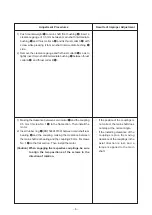
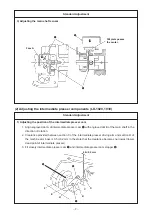
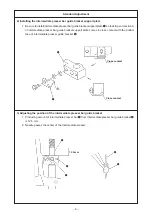
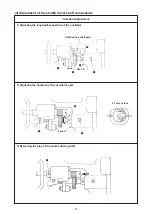
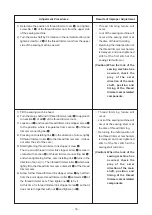
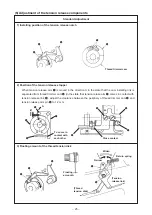
1) Remove the motor cover and remove intermediate presser
lifting spring
2
from intermediate presser lifting spring retainer
1
.
2) Tilt the machine head.
3) Turn the hand pulley to bring the needle bar to its lower dead
point. In this state loosen setscrews
5
and move solenoid
installing base
6
in the direction of
to adjust so that face
A
of plunger
3
is aligned with face
B
of solenoid frame
4
when plunger
3
is lightly pulled in the direction of
←
.
4) Turn the hand pulley to bring the needle bar near its upper
dead point.
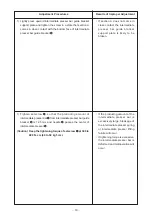
5) After the adjustment, hook intermediate presser lifting spring
2
to intermediate presser lifting spring retainer
1
.
*
When hooking internediate presser lifting spring
2
to
intermediate presser lifting spring retainer
1
, protruding
amount of plunger
3
from solenoid frame
4
becomes 15
to 16 mm.
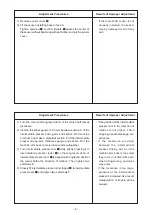
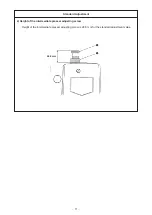
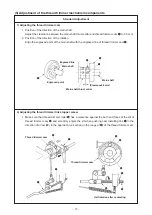
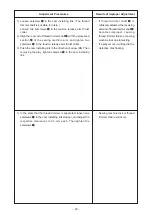
1) Determine the height of the wiper when the needle bar is at its
upper stop position.
Loosen setscrew
1
in the wiper shaft cap and turn the wiper
shaft cap so that the wiper comes almost below the needle.
Then temporarily tighten setscrew
1
.
2) Loosen setscrew
2
and adjust so that clearance provided
between the needle and the wiper should be 1 mm or more.
Then tighten setscrew
2
at the position where the angle of the
wiper is parallel to the needle.
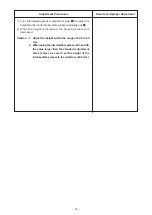
3) Loosen wiper shaft cap setscrew
1
and press down the link
until it hits in the direction of A. Adjust the longitudinal position
to 7 to 8 mm in front of the needle. Adjust the lateral position to
4 to 5 mm from the root of the wiper to the center of the needle.
Then tighten setscrew
1
.
™
If face
A
enters further than face
B
, abnormal noise will occur
when operating the sewing
machine.
™
If the protruding amount is
excessive, the intermediate
presser may not come down at
the time of sewing start.

