23
Cinemage User Manual
Version 4.1.x ©2010
This button causes the display to only output the Blue component of the video signal.
Can be used to ensure proper monitor setup by viewing the Color Bars in blue only
mode.
R/G/Y
This button causes the display to only output the Red, Green, Blue, Magenta, Yellow,
Cyan and Black components of the video signal.
Markers (
labeled Grat in pictures
)
The Markers enabled button cycles through Markers disabled; Marker A enabled;
Marker B enabled; Marker A&B enabled; A Masked; B Masked; and Centered
Crosswire
Menu
This button will return you to the top menu of the Cinemage menu system no matter
where you are in the menu tree system
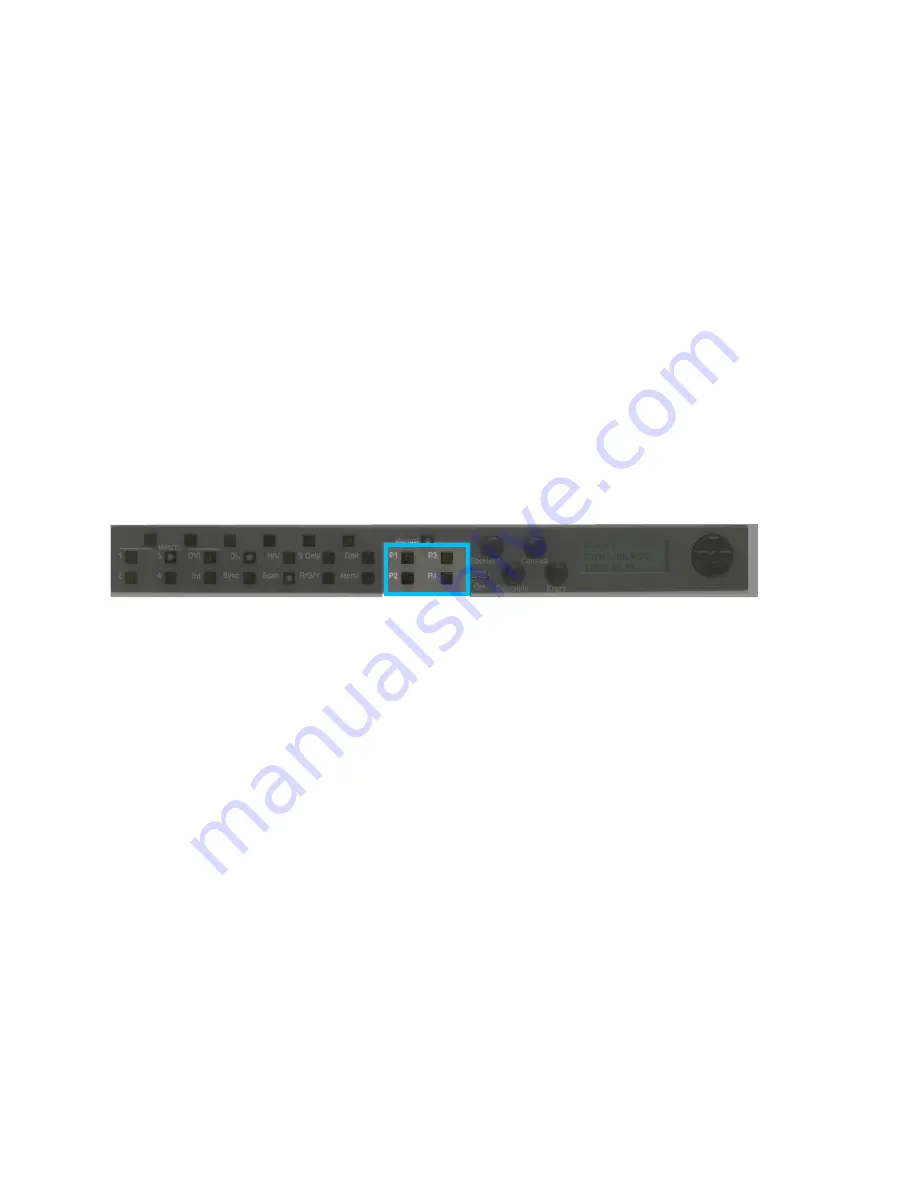
Presets
Preset
files describe the way the system interacts with video and how it’s used in the
workflow. Presets are loaded from the front of the remote control panel when you
press the button corresponding to the preset file you want.
In order to save a preset using the remote control panel, make sure the Cinemage is set
up with the features you will want to be turned on when activating the designated
preset. Then choose which preset you want the current configuration to be saved in.
Next, press and hold the preset button until all the buttons on the panel light up. The
preset is now saved to the specified location. Some examples of things that are stored
in a presets file: Marker/graticule size and position, video standard (if not in automatic
mode), heads-up display settings, dual link mode vs. single-link mode, and routing. The
only things that cannot be saved in a preset are: operation settings, and trackball
preferences.
When using the Remote Control Panel to create a Preset, the Preset is stored within the
Remote Control Panel. Because the Presets are saved in the Remote Control Panel, if
using the same Remote Control Panel but a different Cinemage, the Preset will still be
able to be accessed.


