The OneCommand Utility User Manual
Page 152
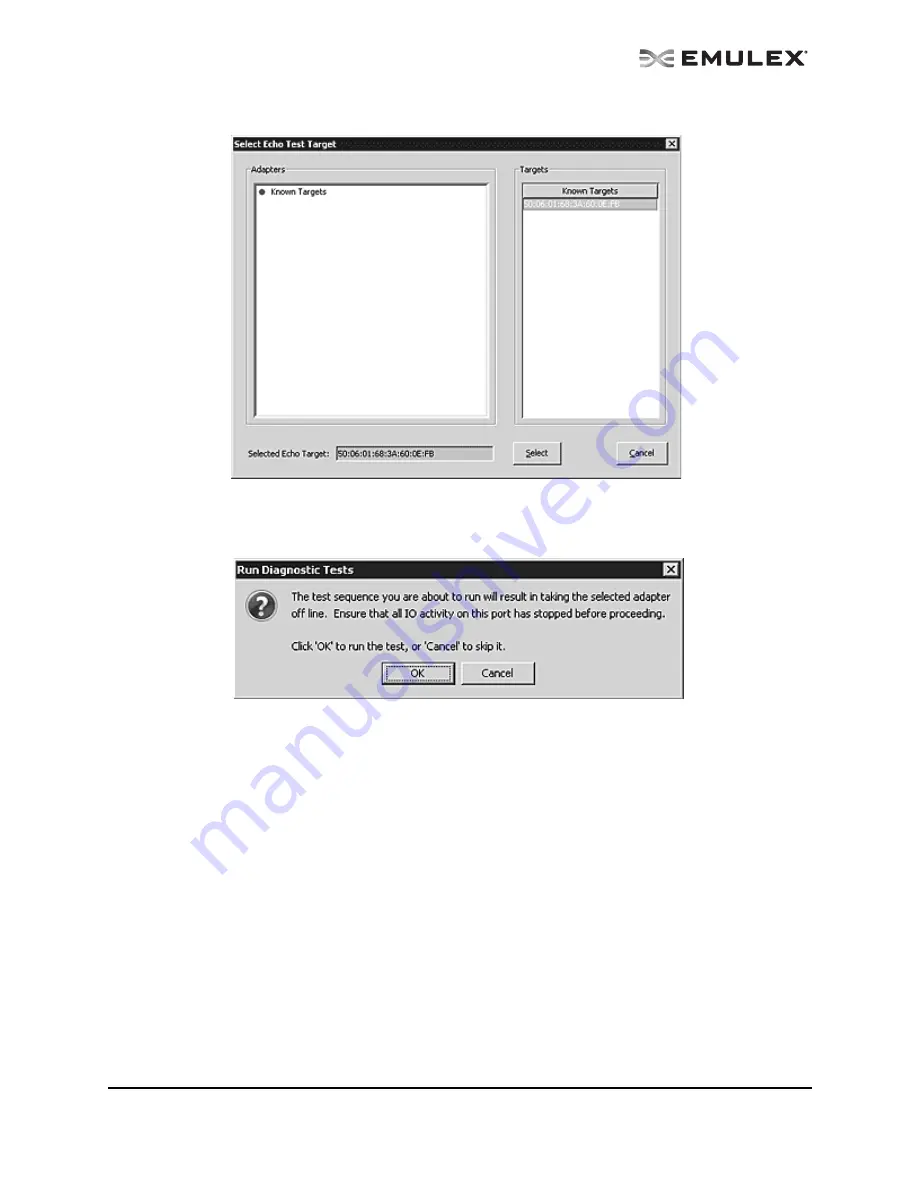
Figure 90: Select Echo Test Target window
3.
Define the other parameters you want to use and click Start Test. The following warning window
appears:
Figure 91: Advanced Diagnostic Tests Warning window
4.
Click OK. A result screen appears and the test results appear in the Test Log. Click Clear to
erase the contents of the log display or click Save to File to save the log file.
Saving the Log File
You can save the test log to a log file for later viewing or printing. When new data is written to a saved
file, the data is appended to the end of the file. Each entry has a two-line header that contains the
identifier of the adapter being tested and the date and time of the test. Over time, the data accumulates
to form a chronological history of the diagnostics performed on the adapter. (Not available in read-only
mode.)
The default location is:
•
In Windows: the OneCommand Manager application install directory on your local drive
•
In Solaris SFS: /opt/HBAnyware/Dump
•
In Linux: /usr/sbin/hbanyware/Dump
•
In VMware Server: /etc/cim/emulex/Dump


