3.
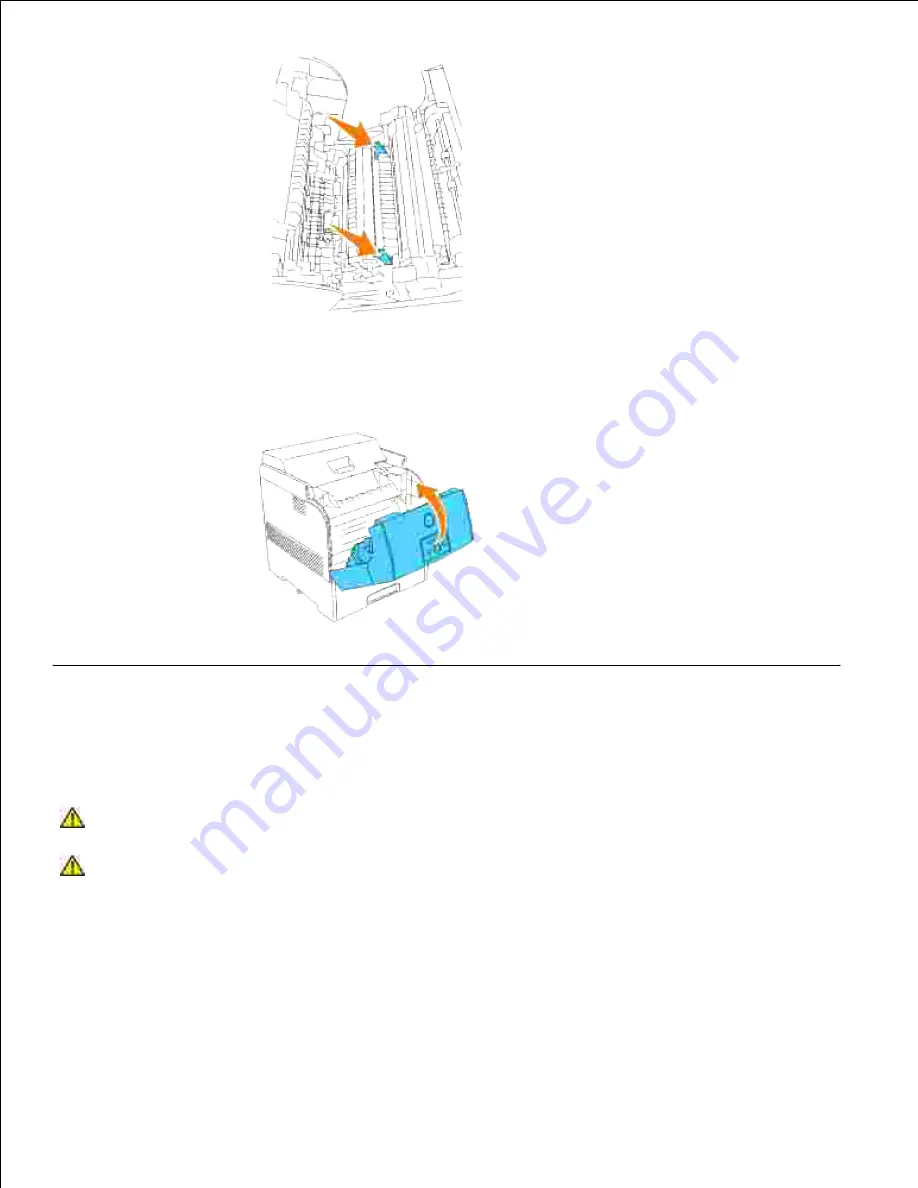
Close the front cover.
4.
Replacing the Fuser and Separator Roller
To avoid burns, do not replace the fuser immediately after printing, as the fuser gets very hot during this
process.
CAUTION:
To prevent electric shock, always turn off the printer and disconnect the power
cable from the grounded outlet before cleaning the printer or performing maintenance.
CAUTION:
Before performing any of the following procedures, read and follow the safety
instructions in your
Owner's Manual
.
Dell fuser are available only through Dell. You can order more online at
www.dell.com/supplies
or by
phone. To order by phone, see your Owner's Manual.
Dell recommends Dell fuser for your printer. Dell does not provide warranty coverage for problems caused
by using accessories, parts, or components not supplied by Dell.
Содержание 5110cn - Color Laser Printer
Страница 4: ......
Страница 57: ......
Страница 62: ......
Страница 94: ...Ensure that the memory card is securely inserted in place 7 Insert the controller card into the printer 8 9 ...
Страница 109: ......
Страница 129: ...Transparency 36mm or 25 sheets Label 36mm Envelope 36mm ...
Страница 179: ...systems Software Update The firmware and or driver updates can be downloaded from www dell com printers ...
Страница 211: ...5 Close the front cover 6 Insert the tray into the printer and push until it stops 7 ...
Страница 223: ...Insert the trays into the printer Push the trays in until they stop 6 ...
Страница 282: ...Close the top cover 4 Close the front cover 5 How to install the Toner Cartridge 1 ...
Страница 286: ...To lock the transfer roller into the printer push down the tabs until you hear a click 3 Close the front cover 4 ...
Страница 293: ...Close the front cover 8 Turn on the printer 9 ...
Страница 339: ...Reattach the paper tray cover to the back of the printer 9 ...
Страница 343: ...Connection Cable certification 1 Parallel IEEE 1284 2 USB USB2 0 3 10 100Base Tx Ethernet CAT 5E 4 Wireless port ...


