CAUTION:
Make sure nothing touches or scratches the surface of the light-sensitive drum
surface (green-colored roller) or the transfer roller (black-colored roller). Scratches, dirt,
or oil from your hands on the imaging drum or transfer roller may reduce the print quality.
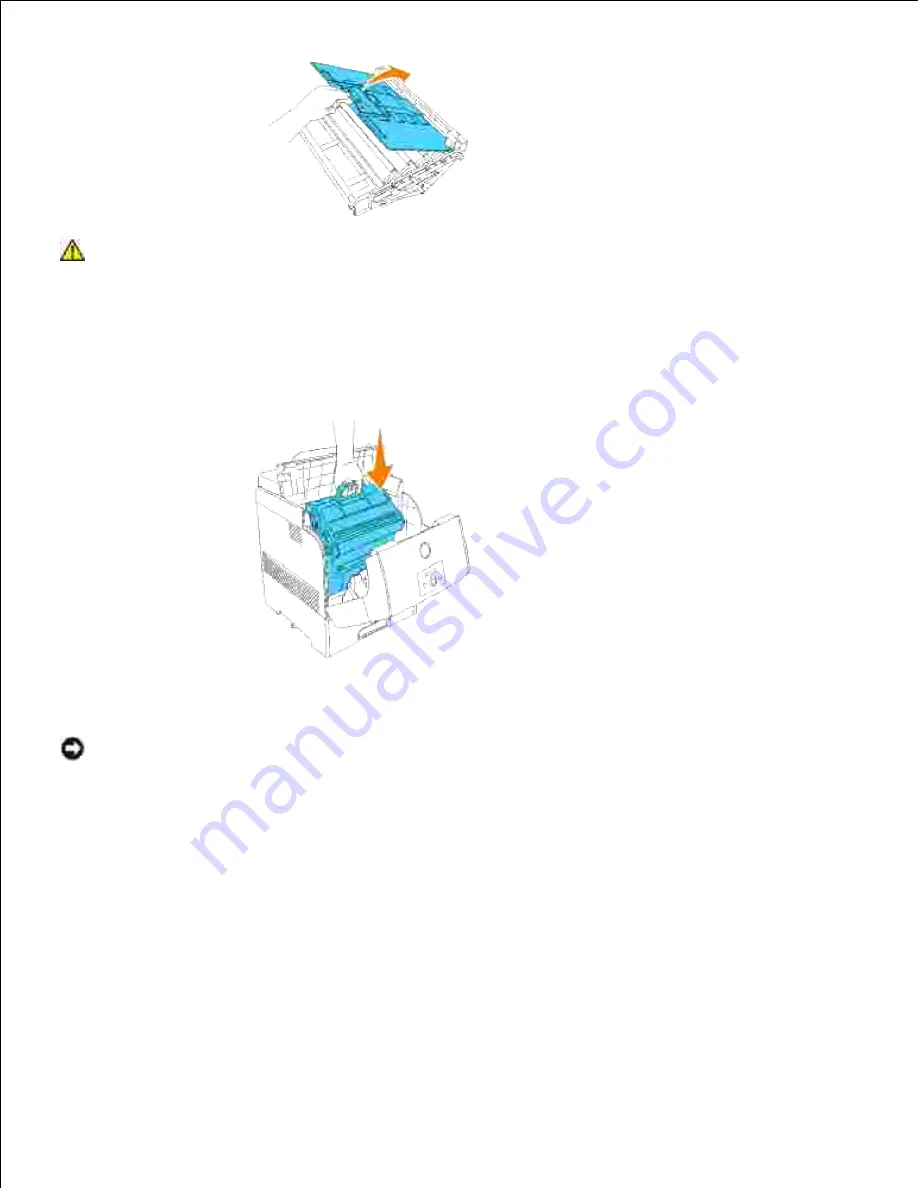
Holding the imaging drum by the handle with the flat part facing the back of the printer, align the
plastic guides on both sides of the imaging drum with the slots in front of the arrows on the printer.
2.
Pull the protective cover on the imaging drum straight up to remove it.
3.
NOTICE:
Do not touch the transfer roller (black-colored roller). Make sure that nothing touches or
scratches the roller surface. Scratches or oil from your hands on the roller deteriorates print quality.
4.
Содержание 5110cn - Color Laser Printer
Страница 4: ......
Страница 57: ......
Страница 62: ......
Страница 94: ...Ensure that the memory card is securely inserted in place 7 Insert the controller card into the printer 8 9 ...
Страница 109: ......
Страница 129: ...Transparency 36mm or 25 sheets Label 36mm Envelope 36mm ...
Страница 179: ...systems Software Update The firmware and or driver updates can be downloaded from www dell com printers ...
Страница 211: ...5 Close the front cover 6 Insert the tray into the printer and push until it stops 7 ...
Страница 223: ...Insert the trays into the printer Push the trays in until they stop 6 ...
Страница 282: ...Close the top cover 4 Close the front cover 5 How to install the Toner Cartridge 1 ...
Страница 286: ...To lock the transfer roller into the printer push down the tabs until you hear a click 3 Close the front cover 4 ...
Страница 293: ...Close the front cover 8 Turn on the printer 9 ...
Страница 339: ...Reattach the paper tray cover to the back of the printer 9 ...
Страница 343: ...Connection Cable certification 1 Parallel IEEE 1284 2 USB USB2 0 3 10 100Base Tx Ethernet CAT 5E 4 Wireless port ...


