


Using Help
|
Contents
|
Index
Back
73
Adobe Premiere Pro Help
Capturing and Importing Source Clips
Using Help
|
Contents
|
Index
Back
73
To log clips using device control:
1
Choose File > Capture, and make sure that your device is online as indicated above the
preview in the Capture window. If it’s offline, see
“Setting up device control equipment”
on page 68
.
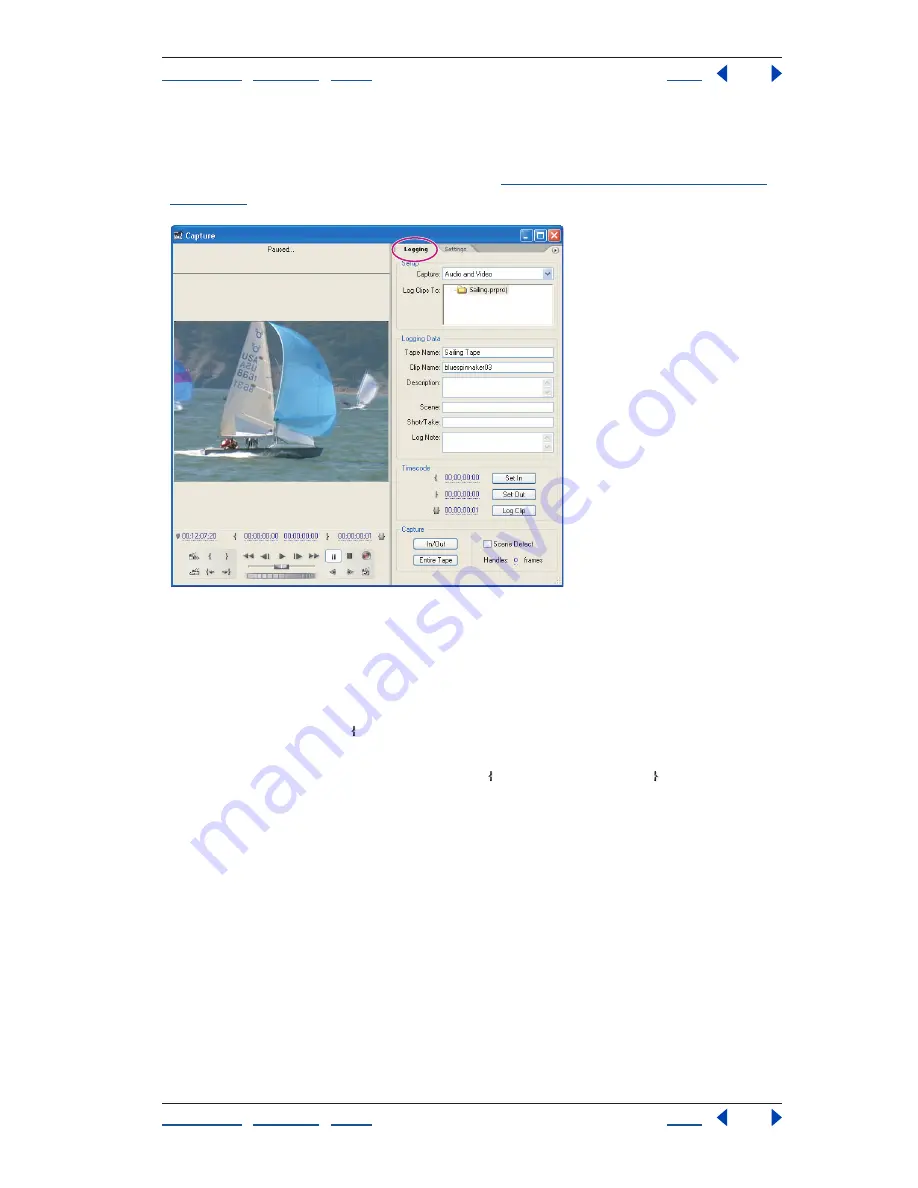
Capture window with Logging tab active
2
Click the Logging tab, and type the Tape Name used for the video tape. (You may be
asked to specify the tape name each time you insert a new tape, depending on the device
control software and the video deck.)
3
Use Capture window controls to move to the first frame in the clip you want to capture,
and click the Set In button . Depending on the device, you may not be able to capture the
first 4 to 10 seconds of a DV tape.
Note:
In the Capture window, the Set In button and the Set Out button appear below the
image and in the Logging tab. You can also view or change shortcuts for these buttons
and other buttons by choosing Edit > Keyboard Customization.
4
Use the controls in the Capture window to move to the last frame in the clip you want
to capture, and click the Set Out button.
5
Click the Log Clip button. Change the logging data if necessary, and click OK.
6
Repeat steps 3 through 5 for each clip that you want to capture from this tape.
7
If you have another tape from which you want to capture clips, insert it, update the
Tape Name in the Capture window, and repeat steps 2 through 8.
8
Save the project.
To log clips manually using the Capture window:
1
Open the project (and bin, if necessary) where you want to add the entries.
2
Choose File > Capture.


