


Using Help
|
Contents
|
Index
Back
15
Adobe Premiere Pro Help
Tutorials
Using Help
|
Contents
|
Index
Back
15
Tutorials
Logging and Capturing Clips from DV Tape
In Adobe
®
Premiere
®
Pro, you can use the comprehensive set of controls in the Capture
window to log and automatically capture DV footage to your hard disk. You can quickly
and efficiently log clips you want to capture, then batch-capture them all in one session.
1. Connect your DV device.
Connect your camera or deck to your computer using an IEEE 1394 cable, and make sure
both the device and the computer are turned on. Make sure that the tape you want to
capture is loaded into the device.
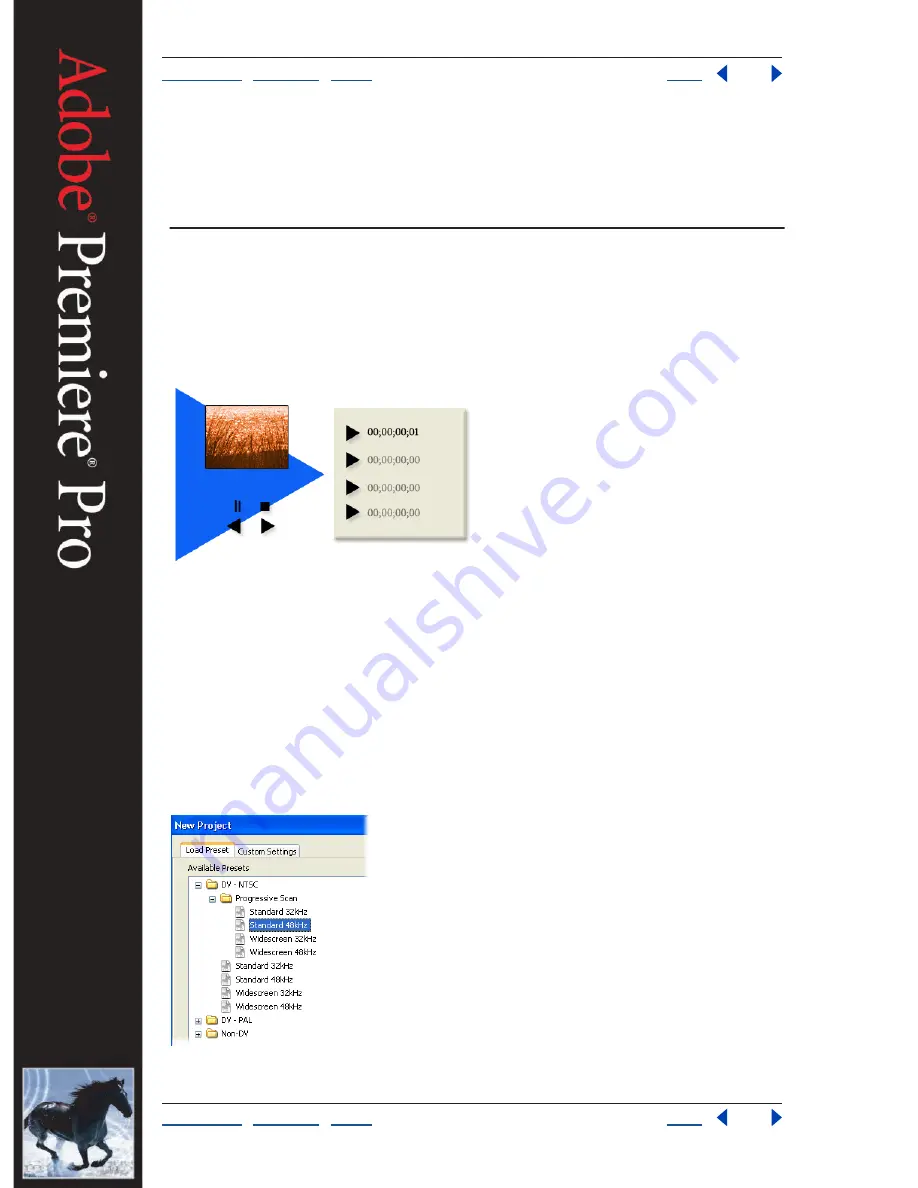
2. Prepare a project for the clips you’ll capture.
Start Adobe Premiere Pro and open or create a project that was created using one of the
DV presets in the New Project dialog box. When you use a DV-based preset, make sure the
preset’s audio sample rate (48 kHz or 32 kHz) matches the setting on your camera at the
time the tape was recorded.


