Using Help
|
Contents
|
Index
Back
26
Adobe Premiere Pro Help
Tutorials
Using Help
|
Contents
|
Index
Back
26
2. Optimize your work area to use effects.
Adobe Premiere Pro uses effects to animate layers and provides a workspace setting
designed specifically for this task. Choose Window > Workspace > Effects to open the
Effect Controls window, docked in the Monitor window. Click the tab to view its contents.
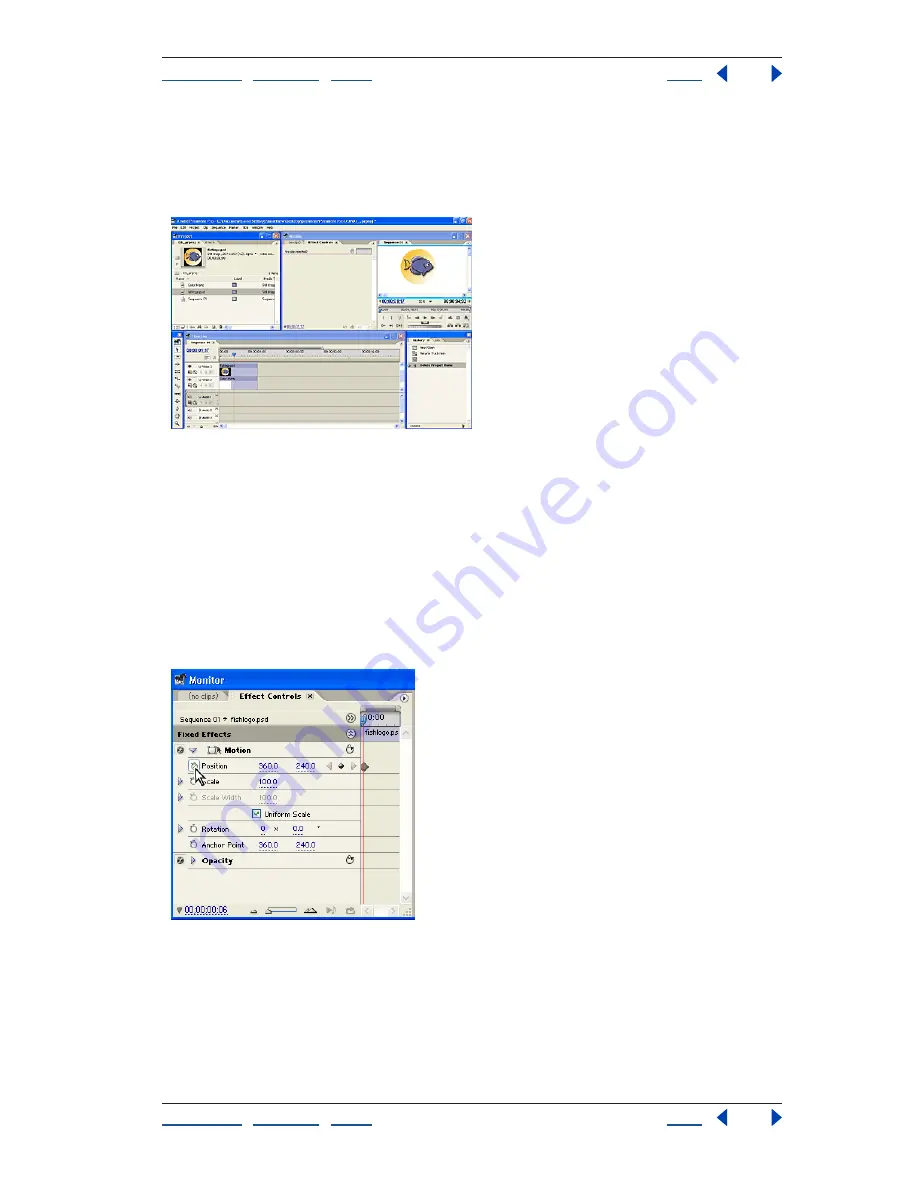
3. Set keyframes for the Motion effect.
To animate clips, use the Motion effect. This effect allows you to adjust the position, scale,
and rotation properties of a clip. Because these properties are intrinsic characteristics of a
clip, they are built into every clip. As such, the Motion, Opacity, and Volume effects appear
in the Effect Controls window whenever you select a clip in the Timeline window. To view
these effects, select the Photoshop file in the Timeline window.
To make Motion properties vary over a specific duration, you must set at least two
keyframes for each property. Adobe Premiere Pro interpolates values between these
keyframes. Expand the Motion effect in the Effect Controls window and click the
stopwatch for each property to establish starting keyframes.
4. Adjust the clip handles.
The easiest way to animate scale and position is by directly manipulating clip handles
in the Program view of the Monitor window. To activate clip handles, select the
Motion effect in the Effect Controls window. Handles appear around the edges of the
image and an anchor point appears at its center. All adjustments are calculated around
the anchor point.


