


Using Help
|
Contents
|
Index
Back
258
Adobe Premiere Pro Help
Applying Effects
Using Help
|
Contents
|
Index
Back
258
Basic 3D
The Basic 3D effect manipulates a clip in an imaginary three-dimensional space. You can
rotate your image around horizontal and vertical axes and move it toward or away from
you. With Basic 3D, you can also create a specular highlight to give the appearance of light
reflecting off a rotated surface. The light source for the specular highlight is always above,
behind, and to the left of the viewer. Because the light comes from above, the image must
be tilted backward to see this reflection. Specular highlights enhance the realism of the
three-dimensional appearance.
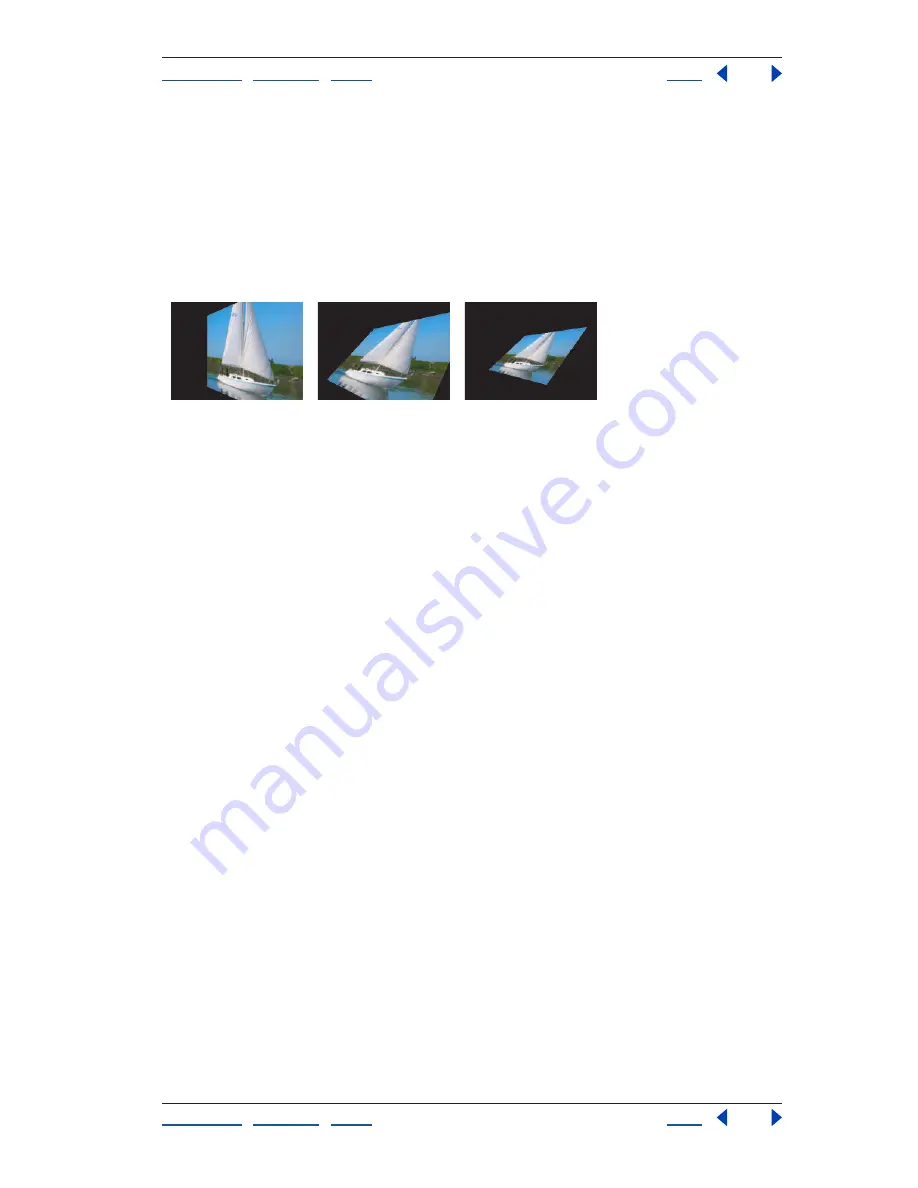
Basic 3D controls
A.
Swivel
B.
Swivel and Tilt
C.
Swivel, Tilt, and Distance
Swivel
Controls horizontal rotation (rotation around a vertical axis). You can rotate past
90˚ to see the back side of the image, which is the mirror image of the front.
Tilt
Controls vertical rotation (rotation around a horizontal axis).
Distance to Image
Specifies the image’s distance from the viewer. As the distance gets
larger, the image recedes.
Specular Highlight
Adds a glint of light that reflects off the surface of the rotated layer,
as though an overhead light were shining on the surface. When Draw Preview Wireframe is
enabled, the specular highlight is indicated by a red plus sign (+) if it is not visible on the
layer (the center of the highlight does not intersect the clip) and a green plus sign (+) if the
highlight is visible. You must render a preview before the Specular Highlight effect
becomes visible in the Program view.
Preview
Draws a wireframe outline of the three-dimensional image. Because manipu-
lating an image in three-dimensional space can be time-consuming, the wireframe
renders quickly so you can manipulate the controls to get the rotation you want. Deselect
the Preview control when you finish manipulating the wireframe image to see your final
results.
Bend
The Bend effect distorts a clip by producing the appearance of a wave traveling both verti-
cally and horizontally through the clip. You can produce a number of different wave
shapes at various sizes and rates.
Direction
Specifies the direction of the wave. The
In
setting specifies that waves move
toward the center of the clip. The
Out
setting specifies that waves start in the center and
move to the edge of the clip.
Wave
Specifies the shape of the wave. Choose from a sine wave, circle, triangle, or square.
Intensity
Specifies the height of the wave.
Rate
Specifies the frequency of the wave. To produce a wave only vertically or horizon-
tally, move the
Rate
slider all the way to the left for the direction you do not want.
A
B
C


