


Using Help
|
Contents
|
Index
Back
150
Adobe Premiere Pro Help
Editing a Sequence
Using Help
|
Contents
|
Index
Back
150
Note: To trim only one track of a linked clip, press Alt as you click with a Trim icon. You do
not need to hold down the Alt key once you initiate the trim.
To change a clip’s In and Out points in the Timeline window:
Click the selection tool and do one of the following:
•
To edit the In point, drag the left edge of the clip once the Trim-in icon appears.
•
To edit the Out point, drag the right edge of the clip once the Trim-out icon appears.
Note:
To trim only one track of a linked clip, press Alt as you click with a Trim icon. You do
not need to hold down the Alt key once you initiate the trim.
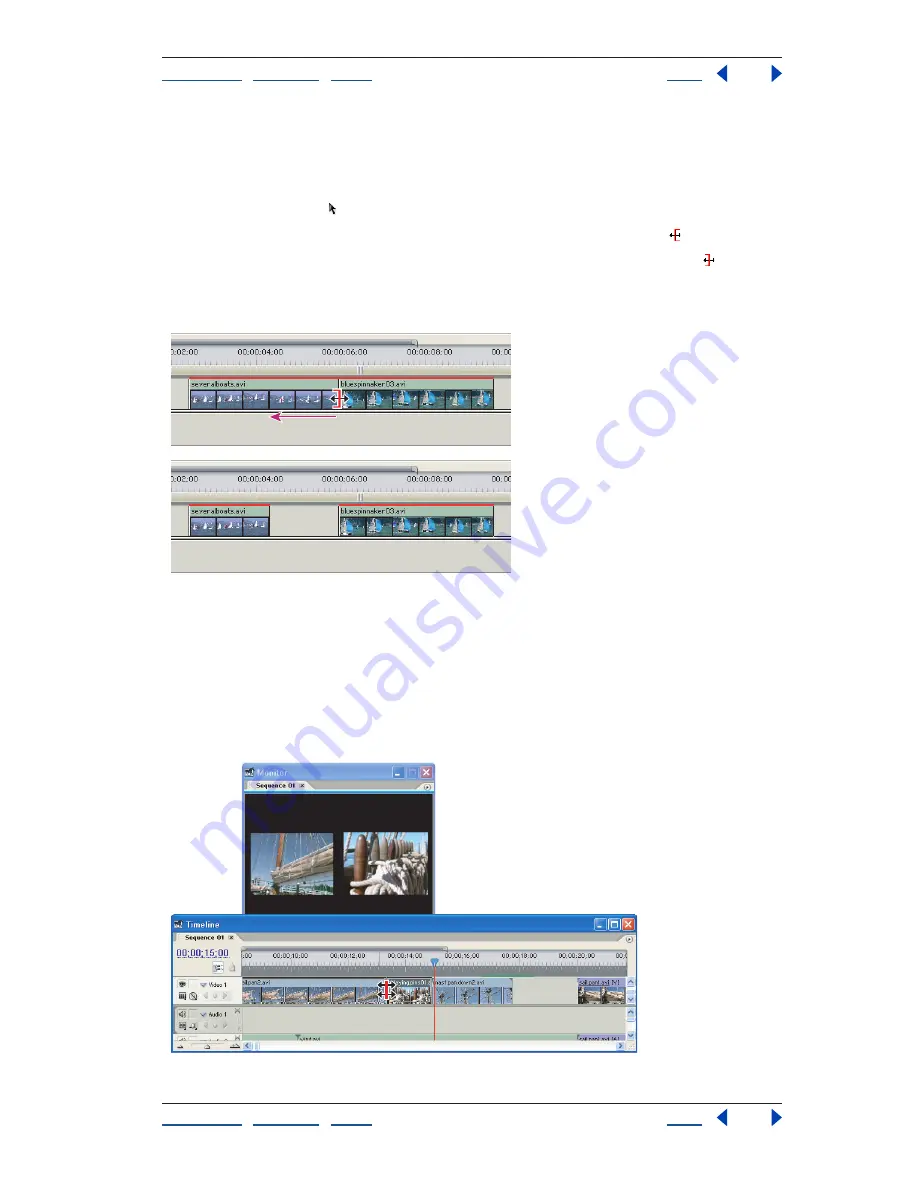
Trimming a clip
Trimming using ripple and rolling edits
When you want to adjust the cut, or edit point, between two clips, use variations of simple
trimming known as rolling edits and ripple edits. By using specialized tools, you can make
adjustments in a single action that would otherwise require multiple steps to accomplish.
When you perform ripple and rolling edits, the affected frames appear in the Program
view side by side.
Program view during a ripple or rolling edit


