


Using Help
|
Contents
|
Index
Back
158
Adobe Premiere Pro Help
Editing a Sequence
Using Help
|
Contents
|
Index
Back
158
•
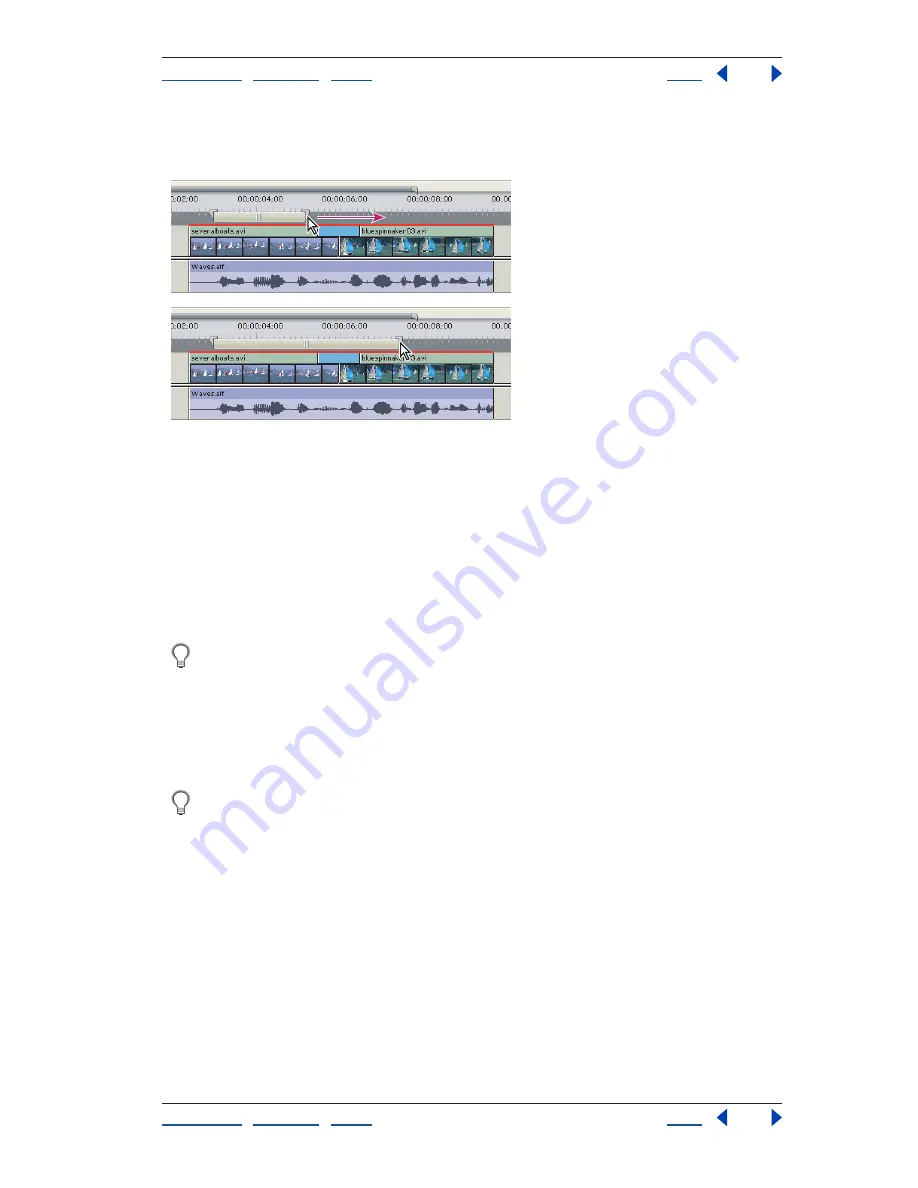
Drag the work area markers (at either end of the work area bar) to specify the beginning
and end of the work area.
Dragging the work area markers to mark the beginning (above) and end (below) of the work area
•
Position the current-time indicator, and press Alt + [ to set the beginning
of the work area.
•
Position the current-time indicator, and press Alt + ] to set the end of the work area.
•
Alt-click the work area bar to resize it to the width of all contiguous clips under the
point you click.
•
Double-click the work area bar to resize it to either the width of the time ruler, or the
length of the entire sequence, whichever is shorter.
Hovering the pointer over the work area bar displays a tool tip that shows the work
area bar’s start timecode, end timecode, and duration.
To render a preview:
Set the work area bar over the area you want to preview, and choose Sequence > Render
Preview. (The rendering time depends on your system’s resources and the complexity of
the segment.)
By default, you can also render a preview by setting the work area bar and pressing
Enter.
Previewing on another monitor
You can display the sequence on any monitor connected to your computer. Previewing on
another monitor requires video hardware that provides an appropriate video port for the
preview monitor. Some video-editing cards and operating-system software products
support a preview monitor independent of the desktop, and others support a preview
monitor that is contiguous with the desktop so that it can also function as additional
space for windows and palettes. See the documentation that came with your video-
editing card and operating-system software.
If you’re editing a DV project, you can preview the sequence on a television monitor via
your IEEE 1394 connection and DV camcorder or VCR. You can set up this option using
Adobe Premiere Pro’s built-in settings.


