Using Help
|
Contents
|
Index
Back
18
Adobe Premiere Pro Help
Tutorials
Using Help
|
Contents
|
Index
Back
18
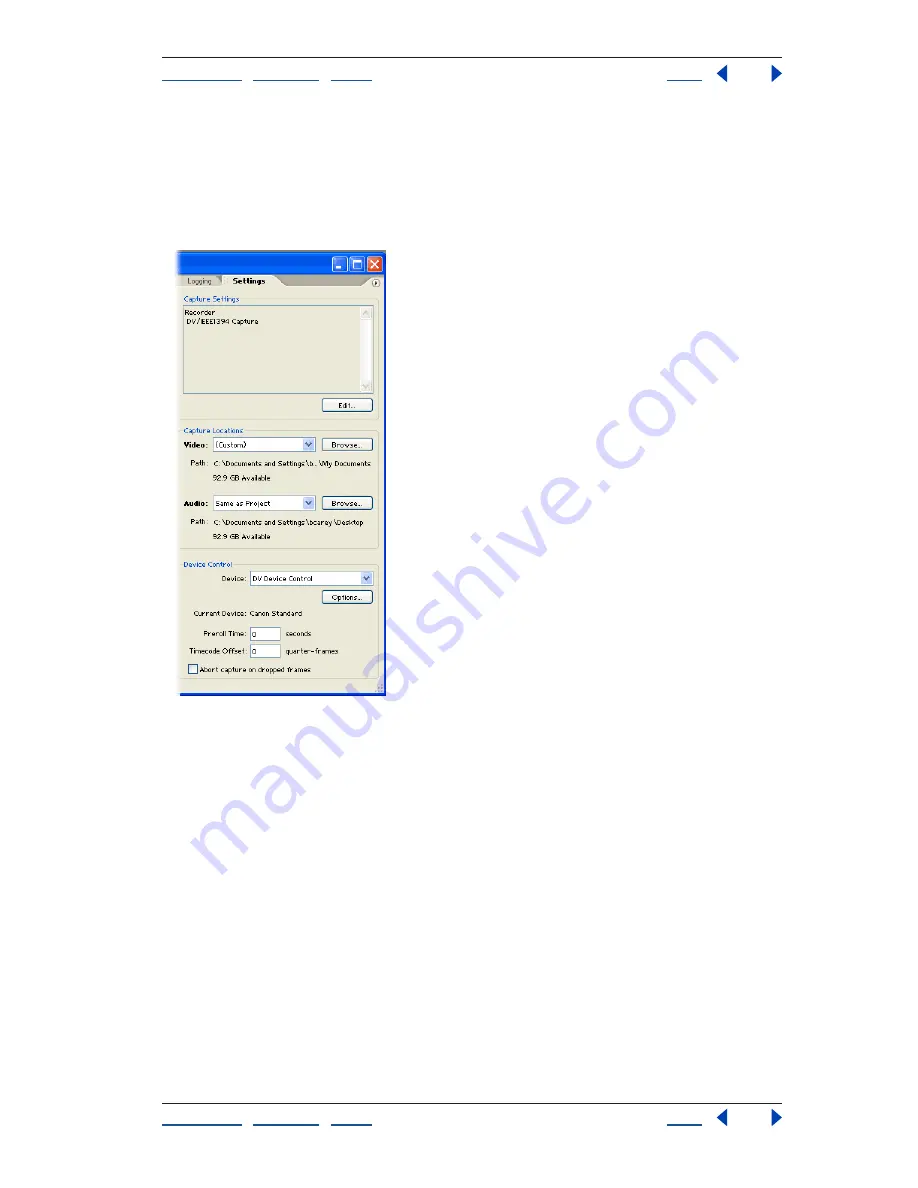
The Device Control section includes Device settings you can adjust if Adobe Premiere Pro
has trouble recognizing your device. The lower part of the Device Control section contains
settings you can adjust in the course of normal capture; however, for DV capture the only
option you might use is Abort Capture On Dropped Frames. The Preroll Time and
Timecode Offset options are more commonly used when capturing footage from analog
devices.
6. Log clips.
In the Capture window, use the tape transport controls to move to the first frame of the
first clip you want to capture, and then click Set In. Use the controls to move to the last
frame of the clip and then click Set Out. Click Log Clip, change the clip data as needed, and
then click OK. Adobe Premiere Pro adds the logged clip as an offline file in the Project
window. Repeat this step as many times as needed for the other clips you
want to log.


