


Using Help
|
Contents
|
Index
Back
27
Adobe Premiere Pro Help
Tutorials
Using Help
|
Contents
|
Index
Back
27
Next, position the selection tool on the image in the Program view. To adjust scale or
rotation, position the selection tool over a handle and drag when the rotation or scale
cursor appears. To adjust position, place the selection tool anywhere on the clip
(except on a clip handle) and drag. Use a combination of adjustments to set the graphic’s
starting position.
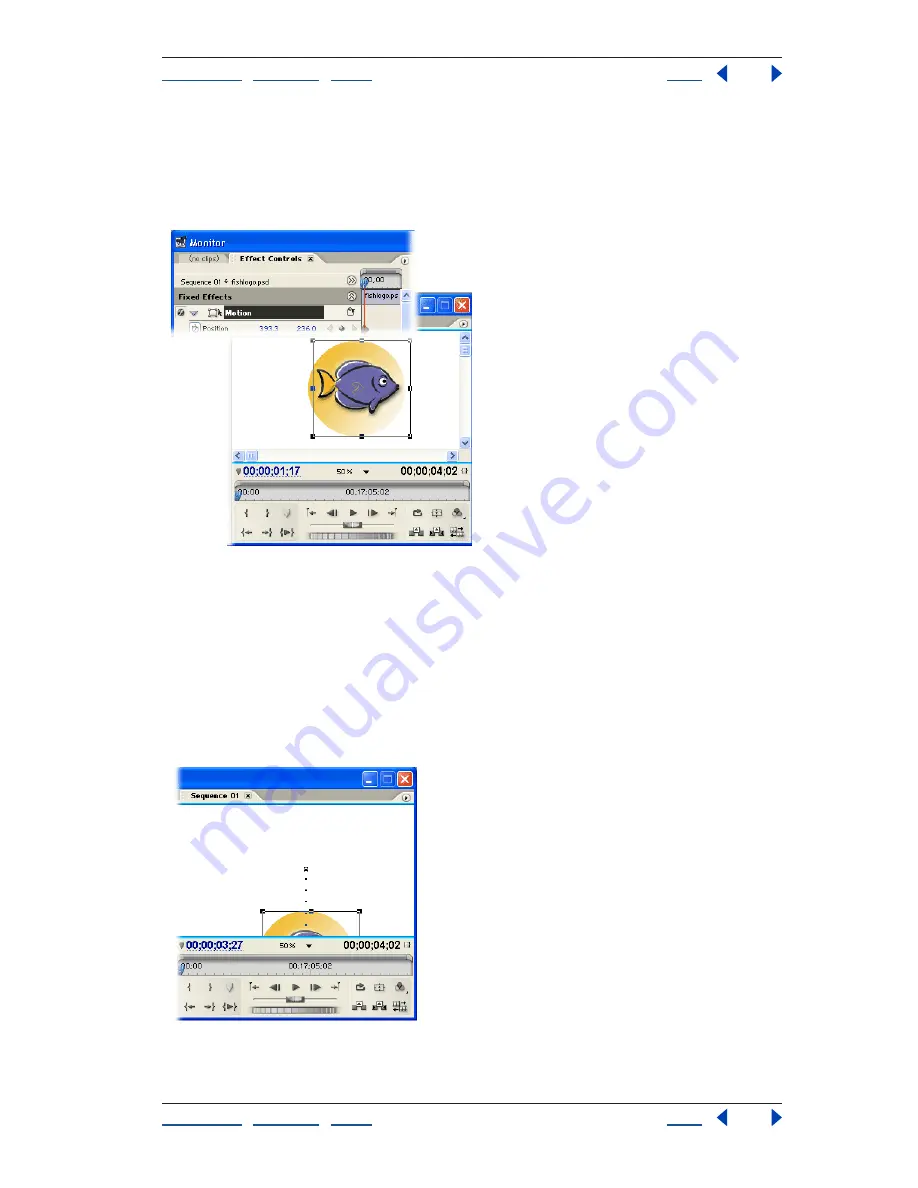
5. Animate the graphic.
In the Effect Controls window, move the current-time indicator to the end of the timeline.
When you adjust the Photoshop file in the Program view, Adobe Premiere Pro automati-
cally creates new keyframes for each property value that you change. Change the
Photoshop file’s position, scale, and angle in the Program view, using the area in and
around the video frame. To see the entire video frame and work area, select a setting such
as 25% for the View Zoom Level in the Program view.
When you reposition the graphic, a dotted motion path appears in the Program view. Each
dot represents a frame in the timeline; X’s represent keyframes.


