2*16 Engine, clutch and transmission
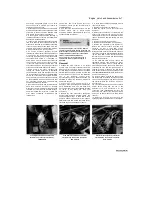
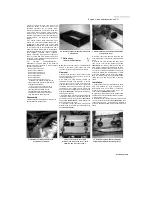
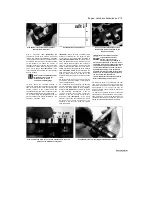
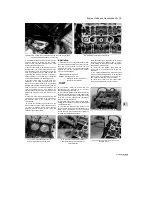
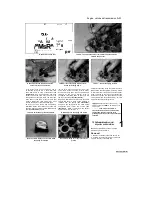
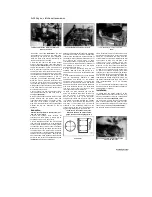
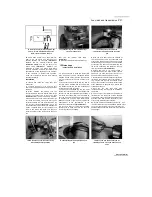
8.22 Fit the followers onto the valves
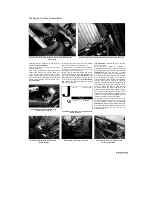
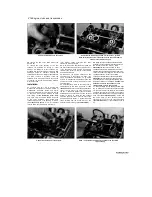
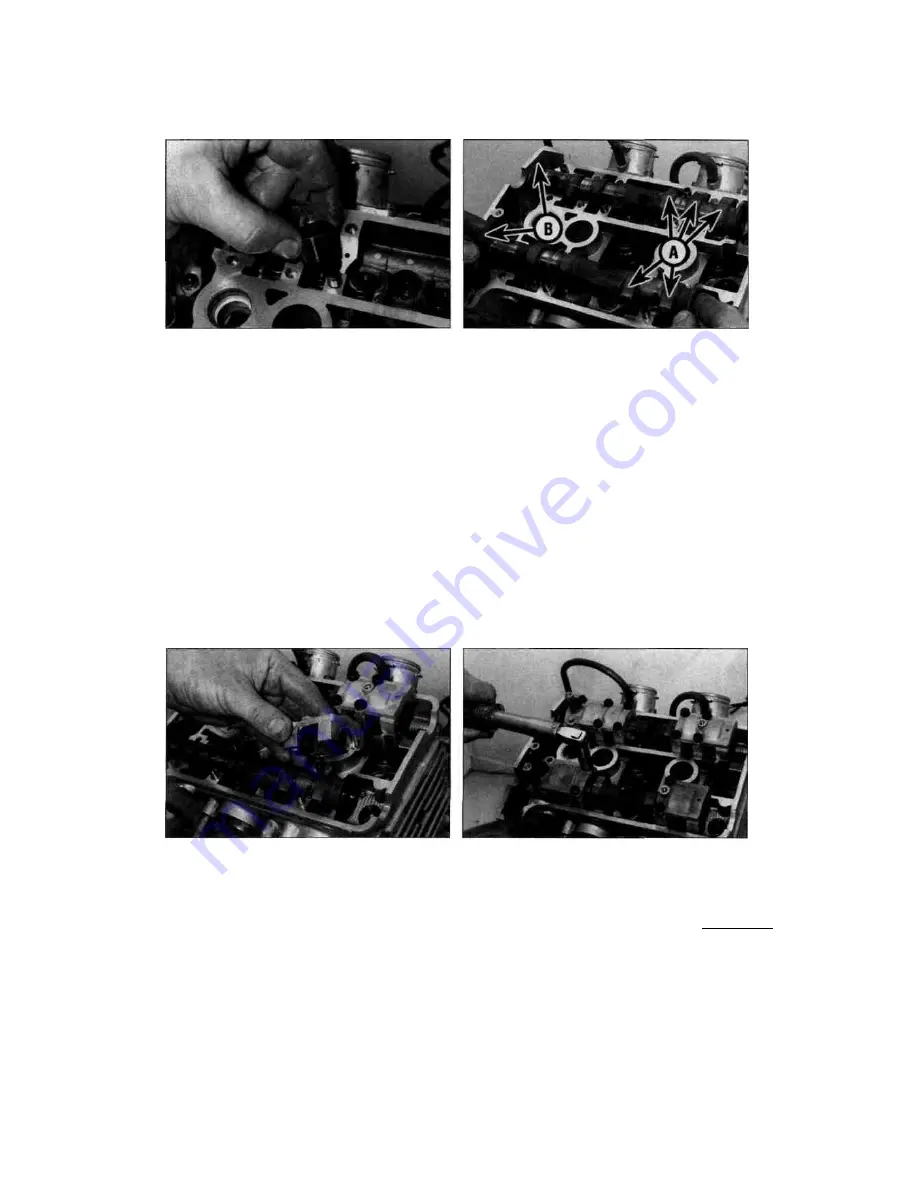
8.25 Install the camshafts as shown, with the No. 1 cylinder
lobes (A) facing away from each other and the punch mark (B) on
each sprocket holder facing up
20
Inspect the cam chain guide blade (see
Section 24).
21 Inspect the outer surfaces of the cam
followers for evidence of scoring or other
damage. If a follower is in poor condition, it is
probable that the bore in which it works is also
damaged. Check for clearance between the
followers and their bores. Whilst no specifications
are given, if slack is excessive, renew the
followers. If the bores are seriously out-of-round
or tapered, the cylinder head and the followers
must be renewed.
Installation
22 Lubricate each shim and its follower with
molybdenum disulphide oil (a 50/50 mixture of
molybdenum disulphide grease and engine
oil) and fit each shim into its recess in the top
of the valve, with the size marking on each
shim facing up
(see illustration 8.10c).
Make
sure each shim is correctly seated in the top
of the valve assembly, then install each
follower, making sure it fits squarely in its bore
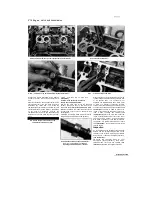
(see illustration). Note:
It is most important
that the shims and followers are returned to
their original valves otherwise the valve
clearances will be inaccurate.
23
If removed, fit the cam chain front guide into
the front of the cam chain tunnel, making sure it
is the correct way round with the lugs properly
located in the cutouts in the top of the cylinder
head (see Section 24).
24 Make sure the bearing surfaces on the
camshafts and in the holders are clean, then
apply molybdenum disulphide oil (a 50/50
mixture of molybdenum disulphide grease and
engine oil) to each of them. Also apply it to the
camshaft lobes.
25 Verify that the T mark on the timing rotor is
still aligned with the notch (see Step 3)
(see
illustration 8.3a).
Lay the inlet camshaft (with six
lobes) onto the back of the head, making sure
the No. 1 (left-hand) cylinder lobes are facing
backwards and the punch mark on the sprocket
holder is facing up. Now lay the exhaust
camshaft (with four lobes) onto the front of the
head, making sure the No. 1 cylinder lobes are
facing forward and the punch mark on the
sprocket holder is facing up
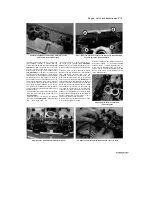
(see illustration).
26
Make sure the camshaft holder dowels are
installed. Lay the holders in their correct place in
the cylinder head (see Step 8)
(see
illustration).
Make sure the arrow on each
camshaft holder points towards the cam chain.
Tighten the bolts evenly and a little at a time in a
criss-cross pattern, working from the centre of the
camshaft outwards, to the torque setting
specified at the beginning of the Chapter
(see
illustration).
Whilst tightening the bolts, make
sure the holders are being pulled squarely down
and are not binding on the dowels.
Caution: The
holders are likely
to
break if they are not
tightened down evenly and squarely.
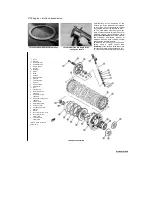
27 When installing the camshaft sprockets, align
the 'E' marks (for the exhaust camshaft) and the
'I' marks (for the inlet camshaft) on the camshaft
sprockets exactly with the cylinder head surface,
with the letters that are the correct way up facing
each other
(see illustration 8.3b).
Check that
the punch mark on each sprocket holder is
aligned with the mark on the camshaft holders
(see illustration 8.3c).
If the camshafts need to
be
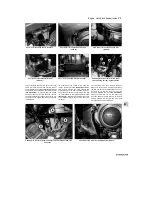
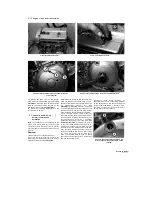
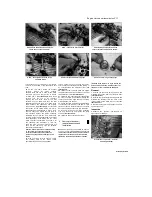
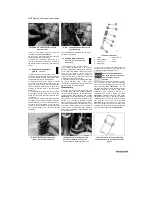
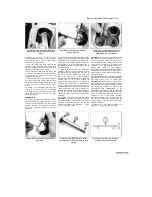
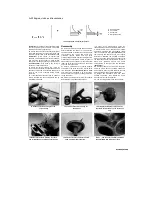
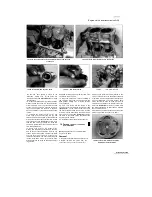
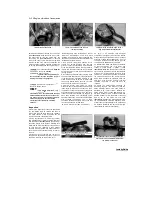
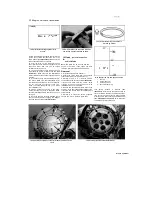
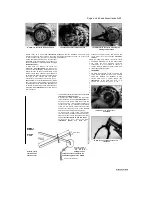
8.26a Fit the holders onto the dowels..
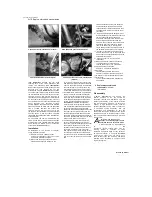
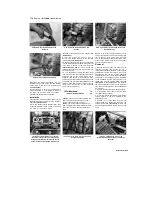
8.26b ... and tighten the bolts as described to the specified
torque setting
Scaned by Stalker


