Engine, clutch and transmission 2*17
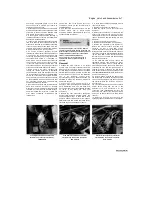
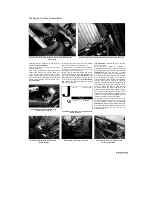
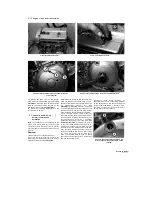
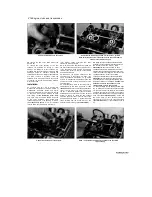
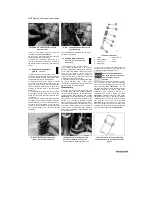
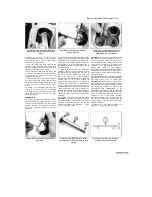
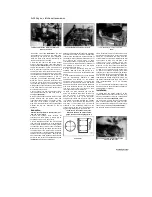
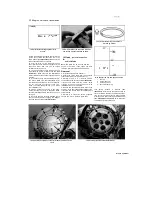
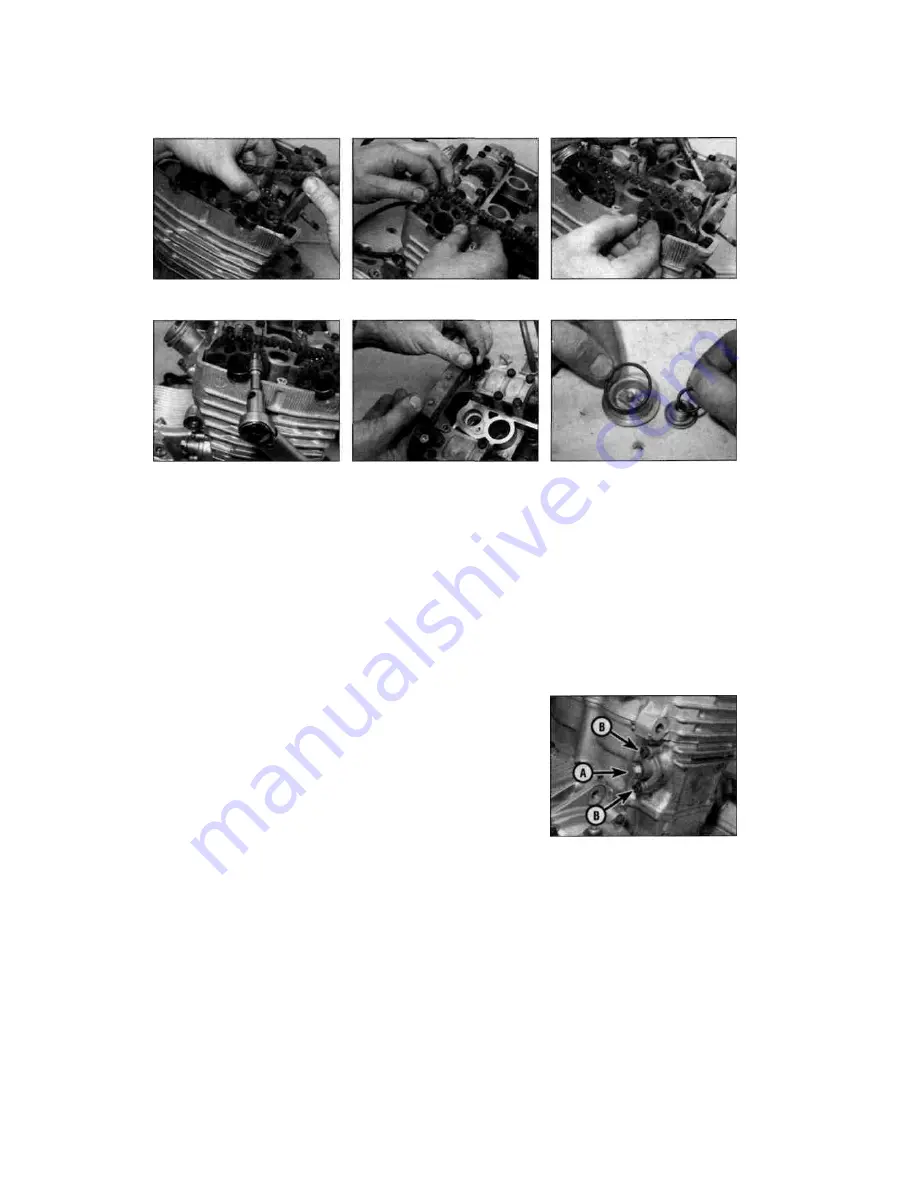
8.28a Fit the exhaust sprocket into the
chain and onto the camshaft...
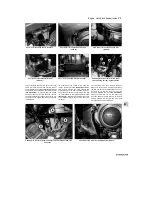
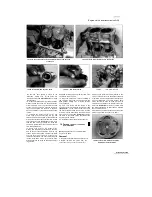
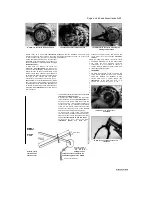
8.28b ... then fit the inlet sprocket
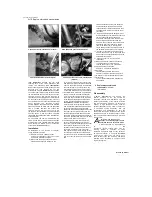
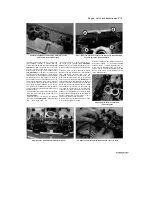
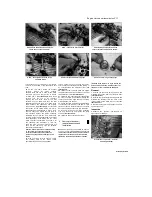
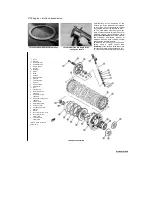
8.29a Install the sprocket bolts and
counter-hold the camshafts as shown...
8.29b ... then tighten the bolts to the
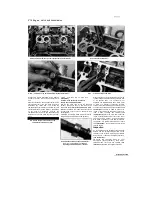
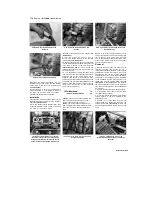
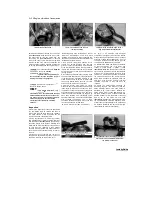
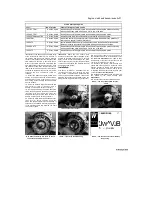
8.30 Install the cam chain top guide
specified torque
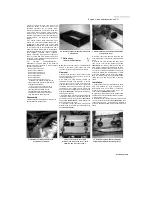
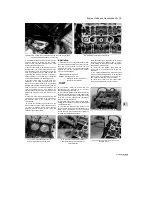
8.33 Use new O-rings on the plugs
turned slightly, use a screwdriver or bar through
the hole in the middle of the camshaft to turn
them.
28 Fit the cam chain around the exhaust
sprocket,
aligning
the
marks
between
sprocket tooth and link if made. When fitting
the chain, pull up on the front run to remove
all slack from it
(see illustration).
Now fit the
sprocket onto the end of the camshaft,
aligning the bolt holes. Next fit the inlet
sprocket into the chain and onto the inlet
camshaft, making sure there is no slack in the
chain between the camshafts, and aligning
the bolt holes
(see illustration).
At this point
check that all the timing marks are still in
exact
alignment as described in Step 3. Note
that it is easy to be slightly out {one tooth on
the sprocket) without the marks appearing
drastically out of alignment. If all marks align
correctly, install the sprocket bolts and tighten
them finger-tight. If the marks are out, verify
which sprocket is misaligned and slide it off
the camshaft, then disengage it from the
chain and move it round as required, then fit it
back into the chain and onto the sprocket,
and check the marks again.
Caution: If the marks are not aligned exactly
as described, the valve timing will be
incorrect and the valves may strike the
pistons, causing extensive damage to the
engine.
29 With everything correctly aligned, tighten
the sprocket bolts to the torque setting
specified at the beginning of the Chapter,
using a screwdriver or bar inserted through the
hole in each camshaft to prevent them turning, or
by counter-holding the alternator rotor
(see
illustrations).
30
Install the cam chain top guide and tighten
the bolts to the same torque setting as the other
camshaft holder bolts
(see illustration).
31
Install the cam chain tensioner (see Section
9). Turn the engine anti-clockwise through two
full turns and check again that all the timing
marks still align (see Step 3).
32 Check the valve clearances and adjust them
if necessary (see Chapter 1).
Note:
A valve
clearance check is essential if you have installed
any new valve components or a new camshaft.
33 Use new O-rings on the timing inspection
plug and centre plug and tighten the plugs
securely
(see illustration).
34
Install the valve cover (see Section 7).
9 Cam chain tensioner -
removal, inspection and
installation
Note:
This procedure can be performed with the
engine in the frame.
Caution: Once you start to
remove the tensioner bolts, you must remove
the tensioner all the way and reset it before
tightening the bolts. The tensioner extends
itself and locks in place, so if you loosen the
bolts partway and then retighten them, the
tensioner or cam chain will be damaged.
Removal
1
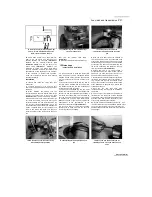
Unscrew the tensioner spring cap bolt and
withdraw the springs from the tensioner body
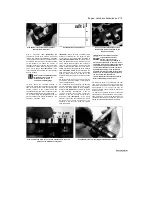
(see illustration).
2
Unscrew the two tensioner mounting bolts and
withdraw the tensioner from the back of the
cylinder block, noting which way up it fits
(see
illustration 9.1).
3
Discard the tensioner body gasket as a new
one must be used.
Inspection
4 Examine the tensioner components for
signs of wear or damage.
Staned by Stalker
I
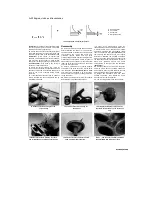
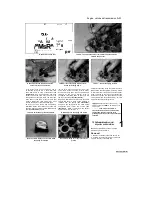
9.1 Tensioner cap bolt (A), tensioner
mounting bolts (B)

