UNREGISTERED VI
Electrical system
U»ZJ
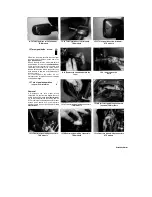
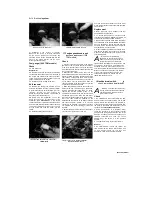
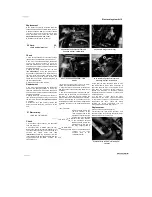
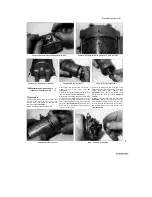
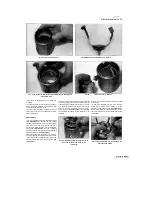
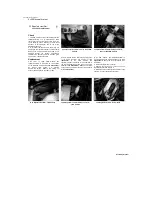
29.15a Fit the brushplate seat
29.15b Make sure the insulators are in place..
15c ... then install the terminal bolt assembly into the housing and
brushplate seat
...
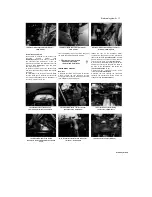
29.15d
.
and fit
the washers
and nut
If the shaft is damaged or worn, renew the
armature.
13 Inspect the end covers for signs of cracks or
wear. Inspect the magnets in the main housing
and the housing itself for cracks.
14 Inspect the insulating washers and front
cover oil seal for signs of damage and renew
them if necessary.
17 Fit each brush into its holder and press it back
against the spring, then lock it in that position by
inserting a strip of plastic (such as the cut-off end
of a cable tie) between the spring end and the
holder, preventing the spring from pushing the
brush back out
(see illustration).
This provides
the clearance necessary for the armature to be
installed
without becoming entangled with the exposed
brush ends.
18 Insert the armature into the main housing,
noting that it will be forcibly drawn in by the
attraction of the magnets
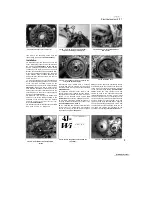
(see illustration 29.6).
Remove the strips securing the brushes. Check
that each brush is securely pressed against the
commutator
Reassembly
15 Fit the brushplate seat into the main housing
(see illustration).
Ensure that the inner rubber
insulator and O-ring are in place on the terminal
bolt, then insert the bolt through the main
housing and locate the arms into the brushplate
seat
(see illustrations).
Fit the insulating
washers over the terminal, then fit the standard
washer and the nut
(see illustration).
16
Fit the brushplate assembly onto the main
housing, locating the terminal bolt brush wires
in the cutouts and making sure the tab on the
plate locates in the cutout in the housing
(see
illustration).
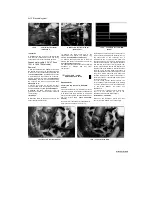
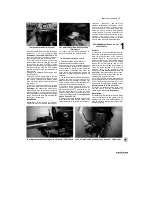
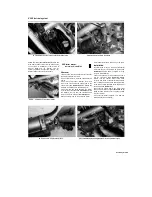
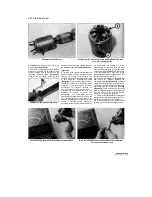
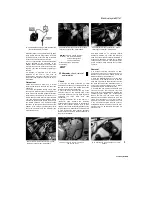
29.16 Fit the brushplate, locating the tab in
the notch (A) the brush wires in the
cutouts (B)
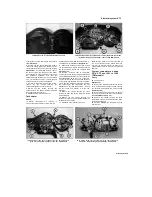
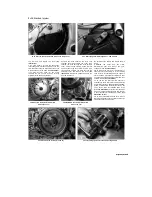
29.17 Lock the brushes into their holders as
described and shown
Scaned by Stalker
UNREGISTERED VERSION OF PICTURE-DESK

