9*18 Electrical system
the transmission is in gear unless the
sidestand is up and the clutch lever is pulled
in.
2 Disconnect the diode from the harness. The
diode is situated on the left-hand side of the
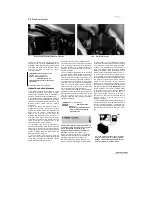
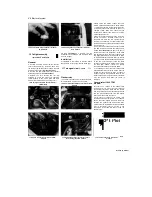
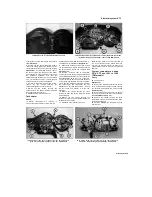
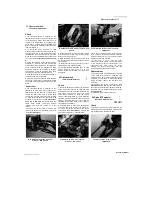
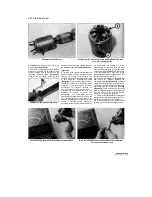
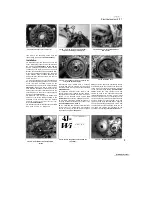
25.2a Starter circuit cut-off relay (arrowed) -
TDM models
rl3—El
B/Y UY L/W
1 R
e
d/
black
2 Black/yellow
3 Blue/white
4 Blue/white
L/WL/W B/YSbL/YR/B
mm
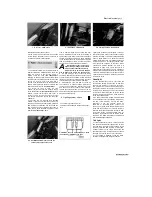
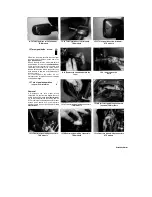
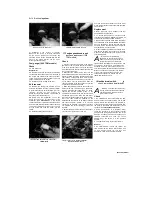
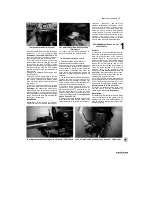
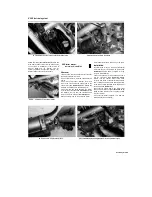
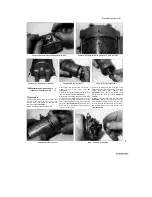
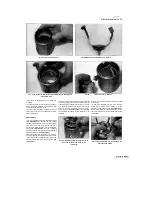
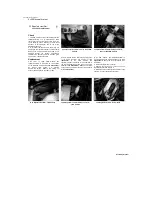
25.3a Starter circuit cut-off relay test set-up -1991 to 1995 TDM models
TT
1 Red/black
2 B
la
c
k/yellow
3 Blue/white
4 Blue/white
O O
©
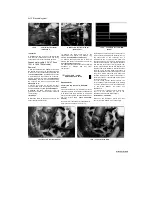
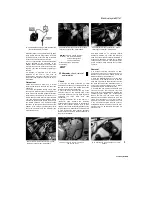
25.3b Starter circuit cut-off relay test set-up -1996 to 1998 TDM models and
TBX models
25.3c Starter circuit cut-off relay test set-up - XTZ models
frame in the area where the fuel tank and side
cover meet.
3 Using an ohmmeter or continuity tester,
connect the positive (+ve) probe to one terminal
of the diode and the negative (-ve) probe to the
other terminal. Now reverse the probes. The
diode should show continuity in one direction
and no continuity in the other direction. If it
doesn't behave as stated, renew the diode.
4 If the diode is good, check the other
components in the starter circuit as described
in the relevant sections of this Chapter. If all
components are good, check the wiring
between the various components (see the
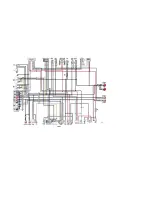
wiring diagrams
at the end of this book).
Replacement
5
The diode is a small block that plugs into
the main wiring harness on the left-hand side
of the frame in the area where the fuel tank
and side cover meet. Remove the seat and
fuel tank for access (see Chapters 8 and 4).
Disconnect the diode from the harness and
connect the new one.
25 Starter circuit cut-off relay - ^
check and replacement
«
Check
1 The starter circuit cut-off relay is part of the
safety circuit which prevents or stops the
engine running if the transmission is in gear
whilst the sidestand is down, and prevents the
engine from starting if the transmission is in
gear unless the sidestand is up and the clutch
lever is pulled in.
2 If the starter circuit is faulty, first check the
fuse (see Section 5). The starter cut-off relay is
located under the seat on all except 1996-on
TDM models, where it is behind the fairing.
Remove the seat or fairing for access (see
Chapter 8). Disconnect the relay wiring
connector and remove the relay
(see
illustrations and 11.3b).
3
Set a multimeter to the ohms x 1 scale and
connect it across the relay's terminals as
shown, according to your model
(see
illustrations).
Using a fully-charged 12 volt
battery and two insulated jumper wires,
connect the battery to the relay's terminals as
shown, according to your model. At this point
the multimeter should show zero ohms
(continuity). If this is the case the relay is
proved good. If the relay indicates no
continuity (infinite resistance) across its
terminals, it is faulty and must be renewed.
Note:
No test details are available for the 1999
TDM model
-
the relay can only be checked
by the substitution of a new relay.
4
If the relay is good, check the other
components in the starter circuit as described
in the relevant sections of this Chapter. If all
components are good, check the wiring
between the various components (see the
wiring diagrams
at the end of this book).
Scaned by Stalker
and fuel tank for access (see Chapters 8 and
4). The diode is part of the safety circuit which
prevents or stops the engine running if the
transmission is in gear whilst the sidestand is
down, and prevents the engine from starting if
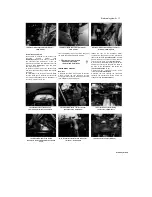
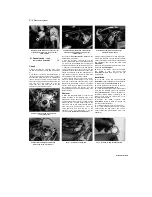
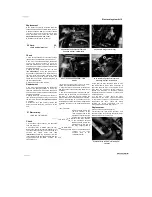
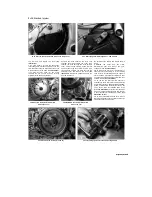
25.2b Starter circuit cut-off relay
(arrowed) - XTZ models
-®
I4®
R/B Sb
®*
H
_r
3

