6»26 Frame, suspension and final drive
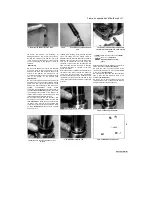
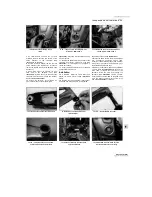
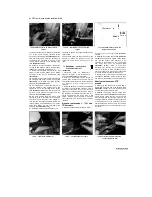
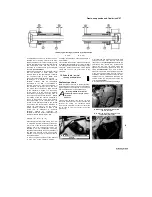
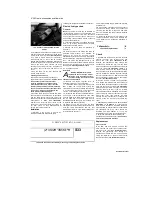
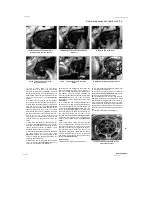
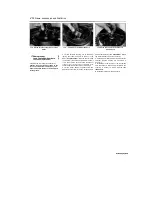
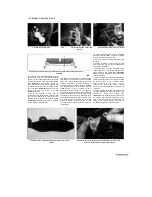
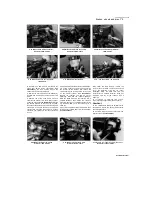
13.15c Fit the nut (with its washer, where
fitted)
...
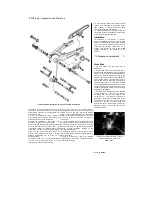
nut with its washer, where fitted and tighten the
nut to the torque setting specified at the
beginning of the Chapter
(see illustrations).
On
TRX and XTZ models it may be necessary to
counter-hold the bolt head to prevent it from
turning. Where removed, fit the blanking caps
(see illustration 13.9a).
16
Install the rear shock absorber (see Section
10) and on TRX and XTZ models the suspension
linkage rods, if removed (see Section 11).
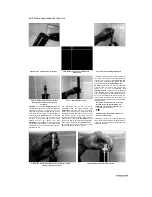
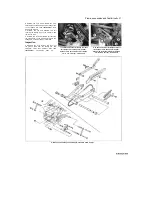
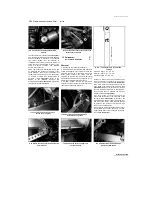
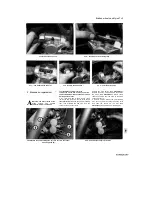
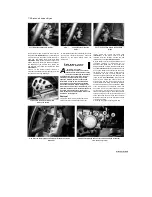
17 Install the chainguard, along with the rear
fender on TDM models, making sure it locates
correctly over the lugs on the swingarm
(see
illustrations).
18
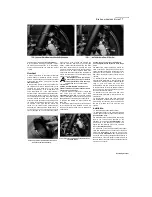
On TDM models, fit the caliper bracket onto
the swingarm and loosely install the bolt
(see
illustration).
Fit the brake hose guide onto the
swingarm
(see illustration 13.3).
19
On TRX models, fit the brake torque arm
onto the swingarm, then install the bolt and
tighten the nut to the specified torque setting
(see illustration 13.4b).
Fit a new split pin onto
the bolt. Fit the brake hose guides onto the
swingarm
(see illustration 13.4a).
20
On XTZ models, feed the brake hose
through its guide on the inside of the swingarm
and install it onto the caliper (see Chapter 7);
note that the rear brake hydraulic system will
require topping up and bleeding of air. Fit the
brake hose guides onto the underside of the
swingarm
(see illustration 13.5).
21 Install the rear wheel (see Chapter 7), not
13.15d ... and tighten it to the specified
torque
forgetting to tighten the caliper bracket bolt on
TDM models.
22 Check and adjust the drive chain slack (see
Chapter 1). Check the operation of the rear
suspension before taking the machine on the
road.
14
Swingarm
- inspection and
bearing replacement
Inspection
1 Thoroughly
clean
all
components,
removing all traces of dirt, corrosion and
grease
(see illustrations 11.6a and b).
2
Inspect all components closely, looking for
obvious signs of wear such as heavy scoring,
and cracks or distortion due to accident damage.
Any damaged or worn component must be
renewed.
3 Check the swingarm pivot bolt for straightness
by rolling it on a flat surface such as a piece of
plate glass (first wipe off all old grease and
remove any corrosion using fine emery cloth). If
the equipment is available, place the axle in V-
blocks and measure the runout using a dial
gauge. Yamaha do not specify a maximum
runout limit but if it is obviously bent it must be
renewed.
Bearing replacement -
TDM
and
TRX models
4 Remove the cap and washer (where fitted)
^^^
i
Mmutmm
m
8^ 1
|E»H
_
BHpP'tf
x
lufihl ^"M H
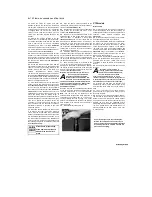
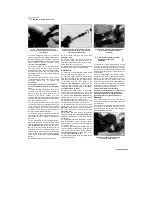
13.17a On TDM models, locate the
chainguard as shown
...
from each side of the swingarm
(see illustration
13.14a).
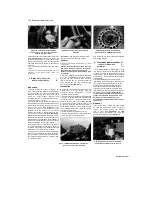
5
Withdraw the bearing spacer
(see illustration
13.14b)
and clean all old grease off the spacer
and the two needle roller bearings in the
swingarm. If the bearings do not run smoothly
and freely they must be renewed
(see
illustration 13.14c).
Refer to
Tools and
Workshop Tips (Section 5)
in the Reference
section for details of using a drawbolt tool or
bearing extractor with slide-hammer attachment
to remove the bearings and install new ones.
6 Lubricate the bearings and the spacer with
molybdenum disulphide grease. Install the caps
and washers (where fitted) on the swingarm ends
Bearing replacement - XTZ
models
7
Remove the cap and washer (and any shims,
where fitted) from each side of the swingarm
(see
illustration 13.14a).
Lever out the grease seal
on each side of each swingarm pivot.
8 Withdraw the bearing spacers, noting their
different length
(see illustration 13.14b).
Clean
all old grease off the spacers, the two needle
roller bearings and the two plain bushes in the
swingarm. Examine the bearings and the bushes;
if the bearings do not run smoothly and freely
and the bushes are scored or worn they must all
be renewed. Refer to
Tools and Workshop Tips
(Section 5)
13.17b ... then fit the mudguard...
13.17c ... not forgetting the collars
13.18 Locate the caliper bracket and
loosely install the bolt
Staned by Stalker
%
I
^

