Bodywork 8*5
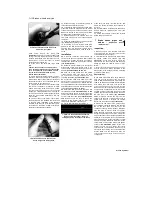
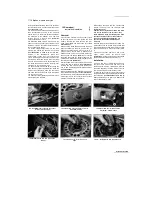
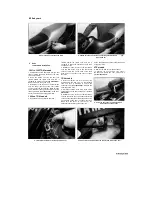
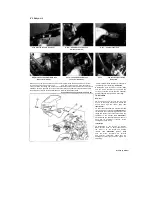
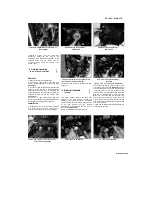
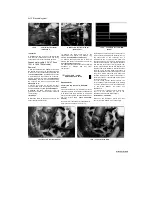
5.2a Remove the screws and bolts (arrowed)...
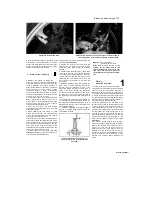
5.2b ... then draw the fairing forward and remove the auxiliary light
bulbholder...
1
^
1991 to 1995 TDM models
Removal
1
Remove the fairing side panels (see Section 4).
2 Remove the two screws and two bolts
securing the fairing
(see illustration)
on each
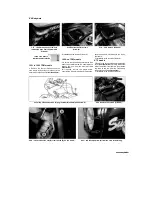
side. Carefully draw the fairing up and forward
until the auxiliary light bulbholder becomes
accessible, then remove it from the auxiliary light
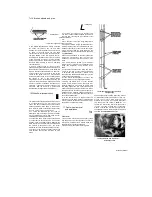
and remove the fairing
(see illustrations).
Installation
3
Installation is the reverse of removal. Make
sure the wiring connector is correctly and
securely connected.
1996-on TDM models
Removal
4
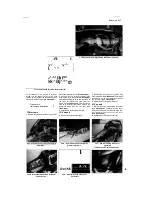
Remove the fairing side panels {see Section
4). Remove the three screws securing the
instrument cluster cover and remove the cover
and the foam damper
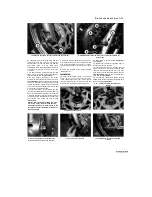
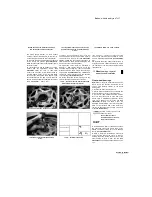
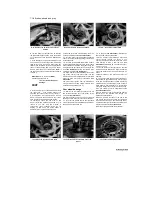
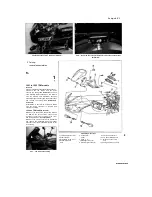
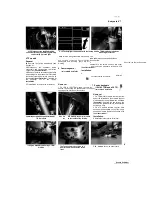
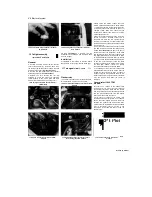
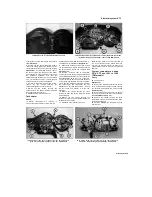
(see illustration).
5
Remove the screws securing the windshield
and remove the windshield. Ease the rubber
expanders out of the windshield mounting points
in the fairing.
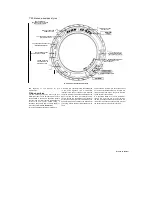
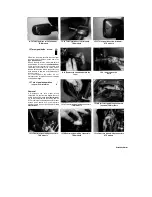
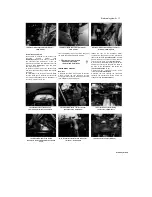
5.4 Fairing mountings
1 Instrument cluster cover
5
Cockpit trim
9 Turn signal connectors
2 Foam clamper
panel
10 Turn signal retaining nuts
3 Windshield screw -6 off
6 Screw -4 off
11 Fairing mounting screw
-
4 Rubber expander -
7 Headlight connector
2 off
6 off
8 Auxiliary light connector
12 Fairing mounting nut -4 off
8
Started by Stalker
5 Fainng -
removal and installation
fr-
5.2c
...
and remove the fairing

