Brakes, wheels and tyres 7»17
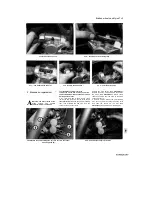
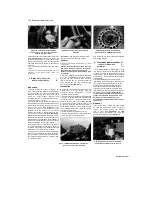
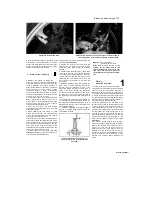
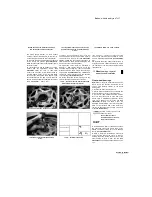
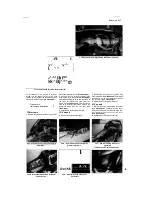
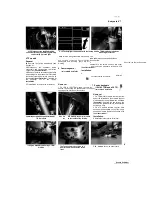
12.10 Manoeuvre the wheel into position
and fit the chain onto the sprocket
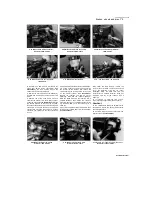
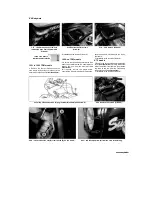
12.11 On TRX models, make sure the axle
head locates correctly in the adjustment
marker
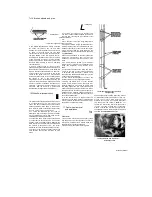
12.12 Where fitted, use
a
new split pin
the brake caliper bracket, on XTZ models
locating it against the swingarm so that the lug
on the swingarm fits into the slot in the bracket.
10 Engage the drive chain with the sprocket and
lift the wheel into position
(see illustration).
Make sure the collars and caliper bracket remain
correctly in place.
11
Install the axle with its washer, or on TRX
models with the adjustment marker
(see
illustration 12.4).
On 1991 to 1995 TDM
models, the axle goes in from the left, while on
all other models it goes in from the right. Make
sure it passes through the chain adjusters and
the caliper bracket. On TRX models, align the
flats on the axle head with the adjustment marker
(see illustration).
Check that
everything is correctly aligned, then fit the left-
hand adjustment position marker (TRX models),
the washer and the axle nut
(see illustration
12.3b).
Tighten the nut lightly at this stage, on
TDM and XTZ models counter-holding the axle
head on the other side of the wheel.
12
Adjust the chain slack as described in
Chapter 1. Now tighten the axle nut to the
specified torque setting. On 1991 to 1995 TDM
models and XTZ models, secure the nut using a
new split pin
(see illustration).
On TDM models,
tighten the caliper bracket bolt to the specified
torque setting
(see illustration 12.2).
13
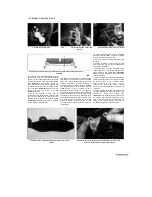
Install the brake caliper, making sure the
pads sit squarely on either side of the disc
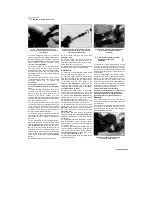
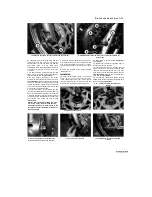
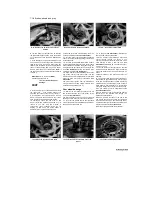
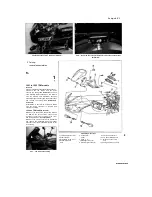
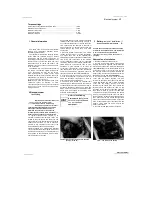
13.3b ... then lever out the retainer plate and
remove the drive plate (arrowed)
(see Section 3). Tighten the caliper mounting
bolts to the specified torque setting. On XTZ
models, install the caliper shield
(see illustration
3.1).
14
Operate the brake pedal several times to
bring the pads into contact with the disc. Check
the operation of the rear brake carefully before
riding the bike.
13
Wheel
bearings - removal,
inspection and installation
Front wheel bearings
Note:
Always renew the wheel bearings in pairs.
Never renew the bearings individually. Avoid
using a high pressure cleaner on the wheel
bearing area.
1
Remove the wheel (see Section 11).
2 Set the wheel on blocks so as not to allow the
weight of the wheel to rest on the brake disc.
3 On 1991 to 1998 TDM and all TRX models,
lever out the grease seal on each side of the
wheel using a flat-bladed screwdriver, taking
care not to damage the rim of the hub
(see
illustration).
Discard the seals if they are
damaged or deteriorated. Lever out the retainer
plate on the left-hand side of the wheel and
remove the speedometer drive plate, noting how
it fits
(see illustrations).
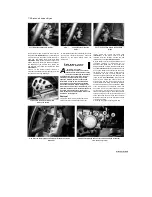
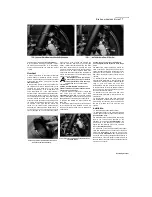
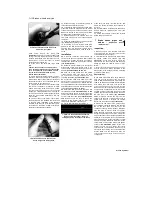
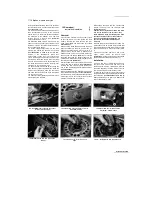
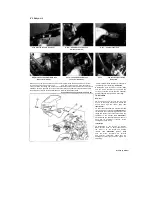
13.5a Knock out the bearings using a
drift...
r
"1
Jj «,
13.5b ... locating it as shown
|JEfflfg?|
Position a piece of wood
""**"*■
against the wheel to prevent
HilUT
4
On XTZ models, lever out the grease seal on
the right-hand side of the wheel using a flat-
bladed screwdriver, taking care not to damage
the rim
(see illustration 13.3).
5
Using a metal rod (preferably a brass drift
punch) inserted through the centre of the one
bearing, tap evenly around the inner race of the
other bearing to drive it from the hub
(see
illustrations).
The bearing spacer will also come
out.
Staned by Stalker
13.3a Lever out the grease seal...
I
the screwdriver shaft
damaging it when levering
the grease seals out.

