9»12 Electrical system
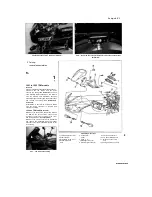
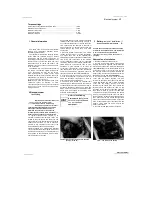
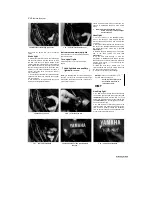
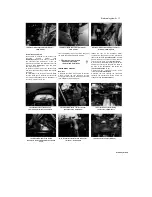
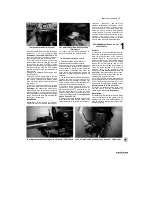
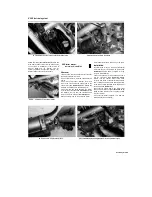
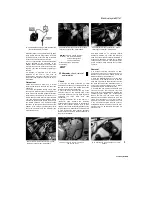
15.4b
. and remove the cluster
(TRX shown)
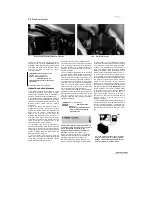
15.6a Unscrew the ring (arrowed)
(XTZ shown)...
15.6b ... and detach the cable (TDM
shown)
Installation
5
Installation is the reverse of removal. Make
sure that the speedometer cable and wiring
connectors are correctly routed and secured.
Speedometer cable (TRX, XTZ and
1991 to 1998 TDM models)
Removal
6 Remove the fairing (see Chapter 8). Unscrew
the knurled ring securing the speedometer cable
to the back of the speedometer and detach the
cable
(see illustration).
On TRX models, access
is restricted due to the surround, so if required,
displace the instrument cluster
(see illustrations
15.4a and b),
then remove the screw securing
the surround and remove the surround
(see
illustration 16.2).
7
Unscrew the knurled ring securing the lower
end of the cable to the drive housing on the front
wheel and detach the cable
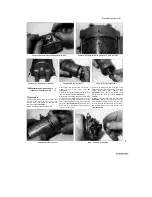
(see illustrations).
8
Withdraw the cable, releasing it from its
guides, and remove it from the bike, noting its
correct routing.
Installation
9
Route the cable up through its guides to the
back of the instrument cluster.
10 Connect the cable upper end to the
speedometer and tighten the retaining ring
securely
(see illustrations 15.6b and a).
11
Connect the cable lower end to the drive
housing and tighten the retaining ring securely
(see illustrations 15.7b and a).
12
Check that the cable doesn't restrict steering
movement
or
interfere
with
any
other
components.
16 Instruments - check,
replacement and bulbs
Speedometer
Check (TRX, XTZ and 1991 to 1998 TDM
models)
1
Special instruments are required to properly
check the operation of this meter. If it
is
believed
to be faulty, take the motorcycle to a Yamaha
dealer for assessment. Check that the fault is not
due to a broken cable.
Check (1999 TDM
models)
2
The electronic speedometer is supplied with
wheel speed information by a sensor on
the front wheel. To test the sensor, disconnect its
3-pin connector and make the following test on
the sensor side of the connector. Set a
multimeter to the 0 to 20 volts DC scale and
connect its positive (+ve) probe to the white wire
terminal and its negative (-ve) probe to the black
wire terminal. Now connect a fully charged 12V
battery: positive lead to the red wire terminal and
negative lead to the black wire terminal. Position
the bike on an auxiliary stand and support it
under the crankcase so that the front wheel is off
the ground. Slowly rotate the front wheel and
note the reading on the meter. If the sensor is
operating correctly, it should read 5V four times
per wheel revolution.
3 If the speed sensor doesn't produce the
correct reading it must be renewed. If the reading
is correct, the fault must lie in the speedometer
or the wiring between the sensor and
speedometer.
4 If the electronic clock/odometer is faulty note
that it is only available as part of the
speedometer and tachometer assembly.
Replacement - all models
5
Remove the instrument cluster (see Sec
tion 15). On TRX models, remove the screw
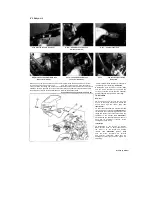
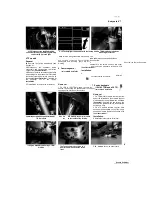
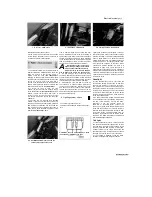
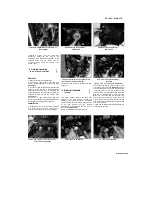
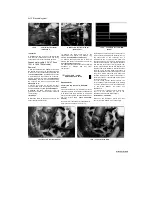
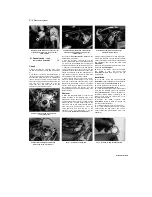
15.7a Unscrew the ring (arrowed).
15.7b ... and detach the cable
Staned by Stalker
I

