2»8 Engine, clutch and transmission
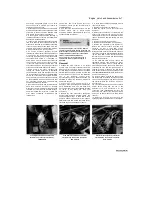
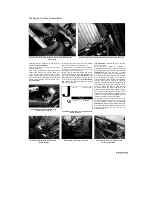
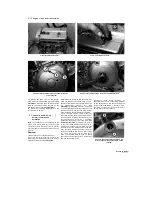
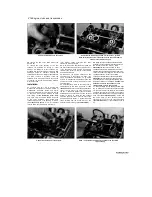
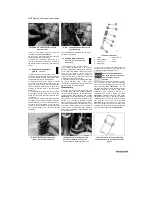
5.14 Unscrew the nut and detach the starter motor lead from the
starter relay
5.16 Unscrew the bolt (arrowed) and detach the cable and hose clip
14
Disconnect the starter motor lead from the
starter relay
(see illustration).
15
Disconnect the earth wiring connector from
the main wiring loom.
16
On 1991 to 1995 TDM models and all XTZ
models, the battery's main earth cable can
remain attached to the engine. On 1996-on TDM
models and all TRX models, unscrew the bolt
securing the cable to the back of the engine and
detach it along with the clip securing the hoses
(see illustration).
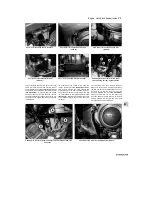
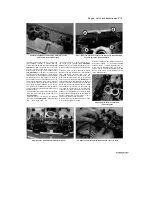
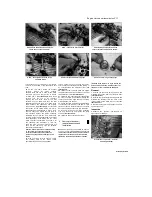
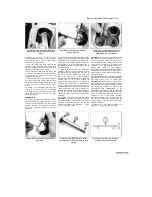
5.19a Release the clamp and detach the
breather hose (arrowed)
17
Detach the clutch cable from the release
lever on the clutch cover (see Section 17).
18 Remove the front sprocket (see Chapter 6).
On TDM and XTZ models, also remove the
gearchange lever (see Chapter 6).
19
On 1991 to 1995 TDM models and all XTZ
models, disconnect the crankcase breather hose
from the crankcase
(see illustration).
Also
slacken the clamp and detach the hose from its
union on the oil filter housing
(see illustration).
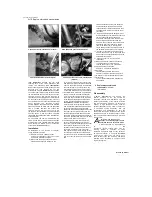
Now unscrew the bolts and detach the oil pipe
from the oil pump cover
J
Hpl. jjlih. ^"^"Tttirnvriiir i;liiiffiW
**---**
\l
l^^^ggwm^P*^- sf
J$ "
■■■■>■
5.19b Slacken the clamp screw (arrowed) and
detach the hose
(see illustration).
Discard the O-ring as anew
one must be used.
20 At this point, position an hydraulic or
mechanical jack under the engine with a block of
wood between the jack head and crankcase
(see
illustration).
Make sure the jack is centrally
positioned so the engine will not topple in any
direction when the last mounting bolt is removed.
Take the weight of the engine on the jack. It is
also advisable to place a block of wood between
the rear wheel and the ground, or under the
swingarm, to prevent the bike tilting back onto the
rear wheel when the engine is removed. Check
around the engine and frame to make sure that
all wiring, cables and hoses that need to be
disconnected have been disconnected, and that
any remaining connected to the engine are not
retained by any clips, guides or brackets. Check
that any protruding mounting brackets will not get
in the way and remove them if necessary.
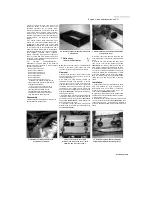
21
On TDM models, unscrew the bolts securing
the engine bracket to the frame and the engine
on each side and remove the brackets
(see
illustrations).
Note which bolt fits where as they
are of different lengths. Make sure the engine is
properly supported on the jack, and have an
assistant support it
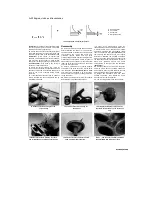
5.19c Unscrew the bolts (arrowed) and
detach the pipe
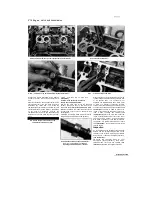
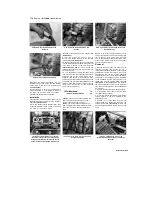
5.20 Position a jack under the engine
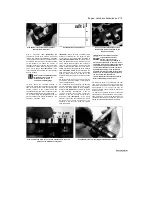
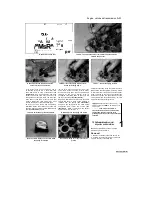
5.21a Unscrew the bolts (arrowed) and
remove the left-hand ...
Staned by Stalker

