UNREGISTERED VERSION OF PI
.26 Every 28,000 miles (42,000 km)
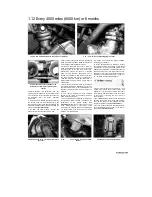
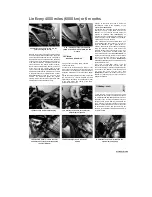
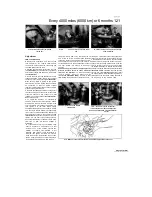
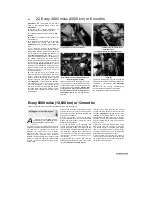
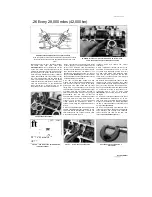
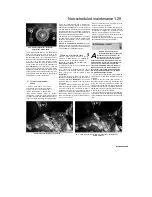
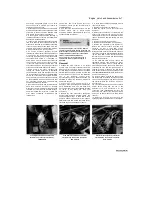
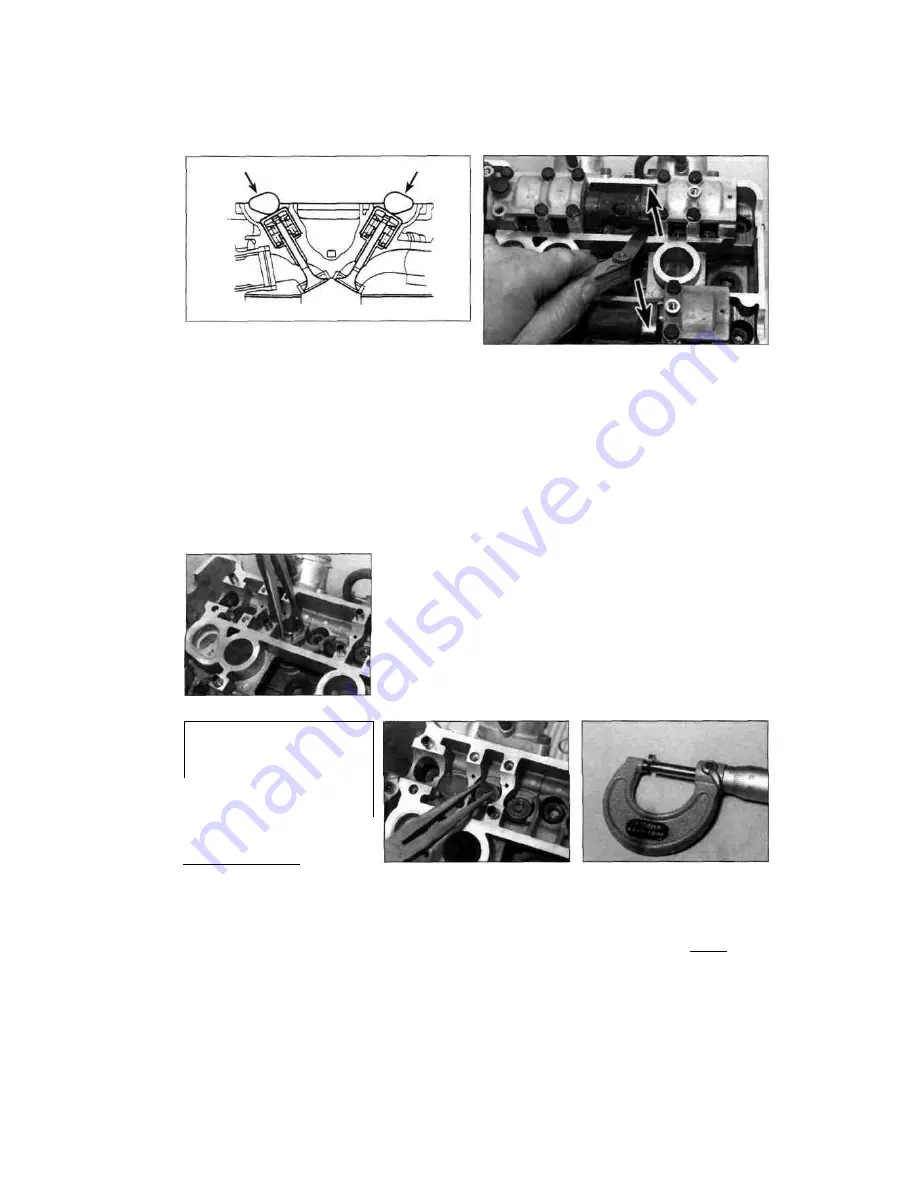
28.5b Note the position of the cam lobes (arrowed)
With the cylinder at TDC on the compression stroke the lobes should
not be depressing the valves and should be facing away from each
other
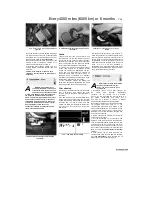
28.6 Make sure the cam lobes (arrowed) face away from each
other, then check the valve clearances as shown
camshaft lobes for the No. 1 (left-hand) cylinder
are facing away from each other
(see
illustration). Note:
Do not confuse the
7'
mark
on the rotor (which indicates TDC) with the 'H'
mark which will appear first and which indicates
the firing point of the ignition system.
If the cam
lobes are facing towards each other, rotate the
engine anti-clockwise 360° (one full turn) so that
the T mark again aligns with the static timing
mark. The camshaft lobes will now be facing
away from each other and the No. 1 cylinder is at
TDC (top dead centre) on the compression
stroke. 6 With No. 1 cylinder at TDC on the
compression stroke, check the clearances on
the No. 1 cylinder inlet and exhaust valves. Insert
a feeler gauge of the same thickness as the
correct valve clearance (see Specifications)
between the camshaft lobe and follower of each
valve and check that it is a firm sliding fit - you
should feel a slight drag when the you pull the
gauge out
(see illustration).
If not, use the feeler
gauges to obtain the exact clearance. Record the
measured clearance on the chart.
7 On 1991 to 1995 TDM models and XTZ
models, now turn the engine anti-clockwise 360°
(one full turn) so that the I mark on the timing
plate again once again aligns with the static
timing mark on the crankcase cover, and the
camshaft lobes for the No. 2 (right-hand) cylinder
are facing away from each other. On 1996-on
TDM models and TRX models, turn the engine
anti-clockwise 270° (3/4 turn) so that the
camshaft lobes for the No. 2 (right-hand) cylinder
are facing away from each other. The No. 2
cylinder is now at TDC on the compression
stroke. Measure the clearances of the No. 2
cylinder valves using the method described in
Step 6.
8 When all clearances have been measured and
charted, identify whether the clearance on any
valve falls outside that specified. If it does, the
shim between the cam follower and the valve
must be swapped with one of a
thickness
which
will
restore
the
correct
clearance.
9 Shim replacement requires removal of the
camshafts (see Chapter 2). There is no need
to remove both camshafts if shims from only
one side of the engine need replacing. Place
rags over the spark plug holes and the cam
chain tunnel to prevent a shim from dropping
into the engine on removal.
10
With the camshaft removed, remove the cam
follower of the valve in question, then either
retrieve the shim from the inside of the follower or
pick it out of the top of the valve using either a
magnet, a small screwdriver with a dab of grease
on it (the shim will stick to the grease), or a
screwdriver
and
a
pair
of
pliers
(see
illustrations).
Do not allow the shim to fall into
the engine.
11
A size mark should be stamped on the upper
face oftheshim-ashim marked 175 is 1.75 mm
thick. If the mark is not visible the shim thickness
will have to be measured. It is recommended that
the shim is measured anyway to check that it has
not worn
(see illustration).
12
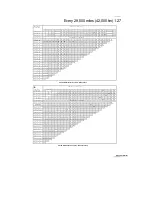
Using the appropriate shim selection chart
(either inlet or exhaust), find where the measured
valve clearance and existing shim thickness
values intersect and read off the shim size
required
(see illustrations). Note: //
ft
p
\
ft'-"- : -*3m^
"
*
*
c
W '.*r^ri
wro^A
I
W^
<#* ^
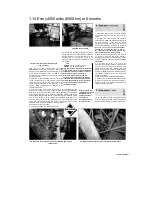
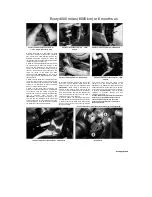
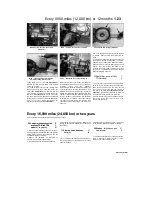
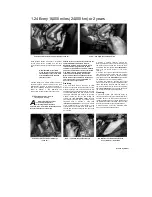
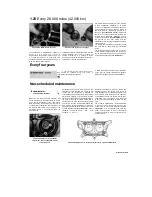
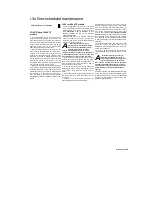
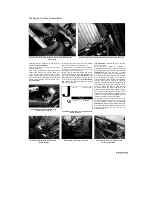
28.10b ... and remove the shim either from
inside the follower ...
28.10c ... or from the top of the valve
28.11 Measure the shim using a
micrometer
toned by Stalker
UNREGISTERED VI
28.10a Lift out the follower
.

