8*4 Bodywork
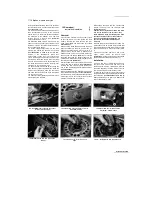
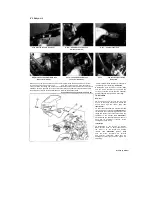
3.7b
...
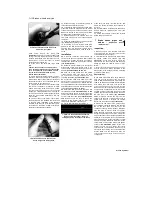
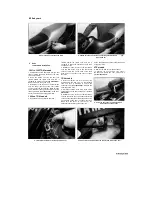
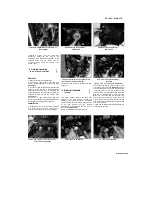
then draw the cover away to
release the pegs from the grommets
(arrowed)
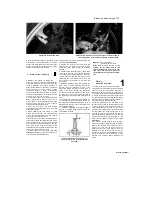
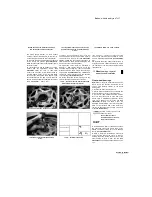
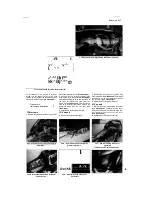
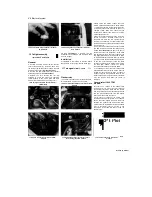
4.1 a Remove the four screws
(arrowed)
...
4.1b
...
and remove the panel
1991 to 1995 TDM models
1
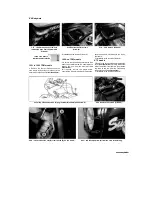
Remove the four screws securing the
side panel and carefully manoeuvre the
panel away, noting how it fits
(see illustrations).
2
Installation is the reverse of removal.
1996-on TDM models
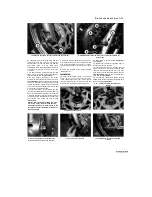
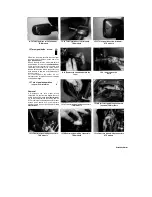
3 Remove the three screws securing the side
panel, then carefully draw the panel away to
release the peg from the grommet
(see
illustration).
4
If required, remove the single screw
securing the side trim panel and remove the
panel, noting how it locates onto the lug on
the frame.
5 Installation is the reverse of removal.
XTZ models
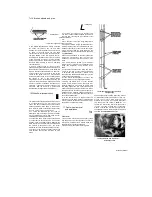
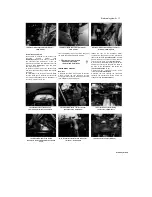
6 Remove the seven screws securing the side
cover
(see illustration).
Carefully release the
slot at the bottom from the tab, then release
the tabs at the top from the fairing and
remove the panel
(see illustrations).
7
Installation is the reverse of removal.
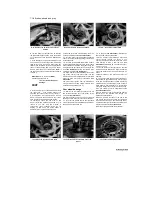
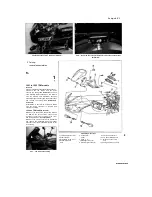
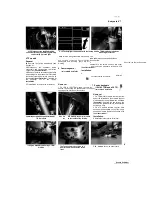
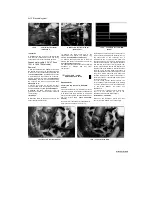
4.3 Fairing side panel screws (A), peg location (B) and trim panel screw (C)
4.6a Remove the screws (arrowed)...
4.6b ... then release the slot (A) from the tab (B) on the frame...
4.6c ... and the tabs (arrowed) from the slots in the fairing
Scaned by Stalker
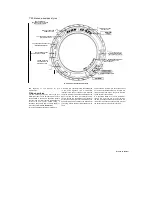
liring side panels
removal and installation


