Frame, suspension and final drive 6»19
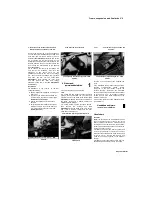
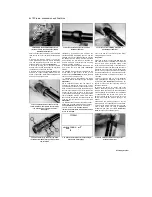
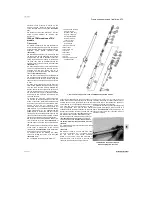
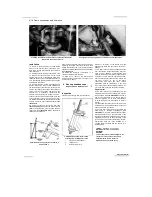
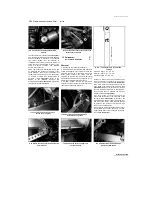
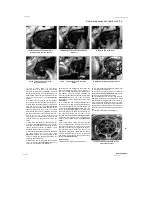
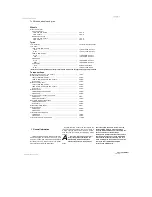
9.7a Remove the lower bearing and grease
seal only if they are being renewed
7
The lower bearing should only be removed f a
new one is being fitted
(see illustration).
To
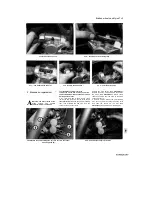
remove the lower bearing from the steering stem,
use two screwdrivers placed sn opposite sides of
the race to work it free. If [he bearing is firmly in
place it will oe necessary to use a bearing puller
[see illustration),
or in extreme circumstances to
split the bearing's inner section using an angle
grinder. Take the steering stem to a Yamaha
dealer if required. Check the condition of the dust
seal that fits under the lower bearing and renew it
if it is worn, damaged or deteriorated. B Fit the
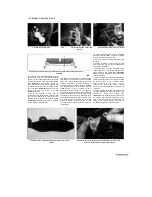
new lower bearing onto the steering stem. A
length of tubing with an internal diameter slightly
larger than the steering stem will be needed to
tap the new bearing into position
(see
illustration).
Ensure that the drift bears only on
the inner edge of the bearing and does not
contact the rollers. 9 Install the steering stem
(see Section 8).
10 Rear shock absorber -
removal,
inspection
and
installation
Warning: Do not attempt to
disassemble this shock absorber. It is
nitrogen-charged under high
pressure. Improper disassembly could
result in serious injury. Instead, take the shock
to a Yamaha dealer or suspension specialist
with the proper equipment to do the job.
Removal
TDM models
1
Place the machine on an auxiliary stand.
Position a support under the rear wheel so that it
does not drop when the shock absorber is
removed, but also making sure that the weight of
the machine is off the rear suspension so that the
shock is not compressed.
2 Remove the seat (see Chapter 8).
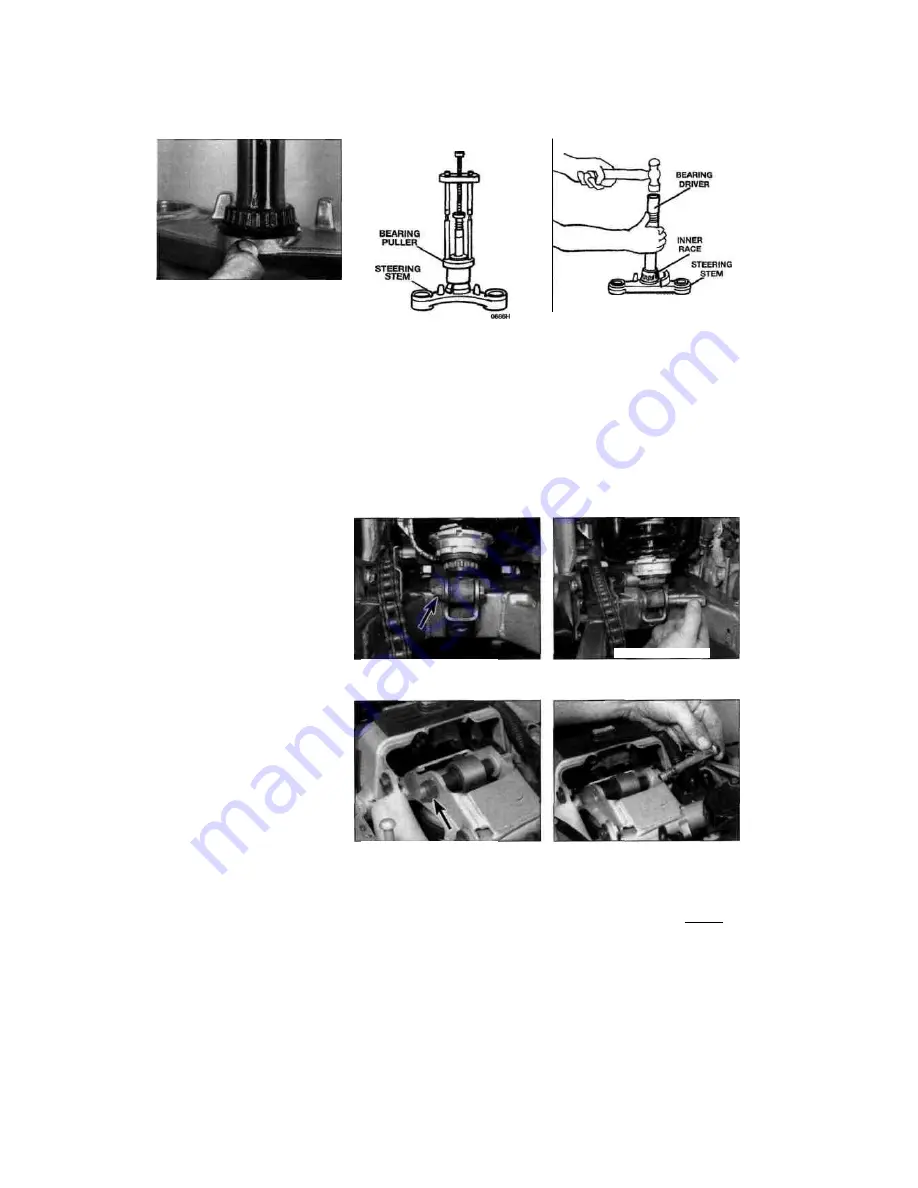
3 Unscrew the nut and withdraw the bolt
9.7b It is best to remove the lower bearing
using a puller
securing the bottom of the shock absorber to the
swingarm
(see illustrations).
4
Unscrew the nut on the shock absorber
upper
mounting
bolt
(see
illustration).
Support the shock absorber and withdraw the
upper mounting bolt, then manoeuvre the
shock down and out of the bottom of the
machine
(see illustration).
TRX and XTZ models
5
Place the machine on an auxiliary stand.
Position a support under the rear wheel so
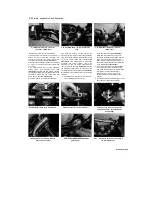
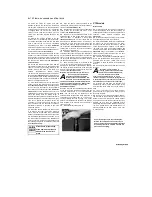
9.8 Drive the new bearing on using a
suitable bearing driver or a length of pipe
that bears only against the inner race and
not against the rollers or cage
that it does not drop when the shock absorber is
removed, but also making sure that the weight of
the machine is off the rear suspension so that
the shock is not compressed.
6 Remove the seat (see Chapter 8). If required
for improved clearance, also remove the exhaust
system (see Chapter 4). On XTZ models, remove
the fuel tank (see Chapter 4), and where fitted,
remove the rubber boot from around the shock
absorber lower mounting.
7 Unscrew the nut and withdraw the bolt
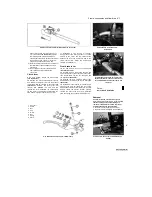
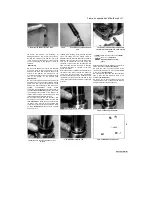
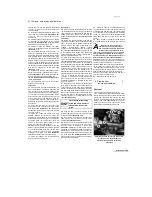
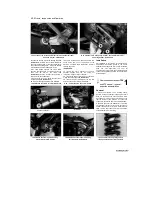
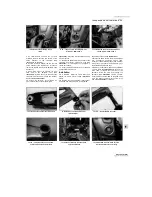
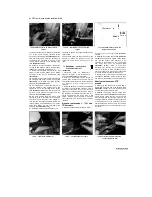
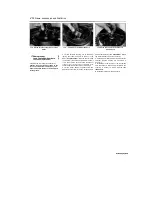
10.4b ... then support the shock and
withdraw the bolt
Scaned by Stalker
UNREGISTERED VI
A
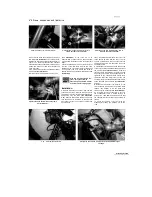
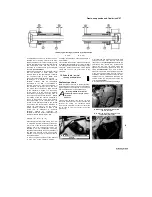
10.3a Unscrew the nut (arrowed).
10.4a Unscrew the nut (arrowed).
. and withdraw the bolt

