5*2 Ignition system
All models are fitted with a fully transistorised
electronic ignition system, which due to its lack of
mechanical parts is totally maintenance free. The
system comprises a rotor, pick-up coil, ignitor
unit and ignition HT coil(s) (refer to the wiring
diagrams at the end of Chapter 9 for details). All
TRX models and 1996-on TDM models are fitted
with two HT coils, while all other models have
one coil supplying both cylinders. The TRX
models and 1996-on TDM models are also fitted
with a throttle position sensor.
The ignition triggers, which are on
the
alternator rotor on the left-hand end of the
crankshaft, magnetically operate the pick-up coil
as the crankshaft rotates. The pick-up coil sends
a signal to the ignitor unit which then supplies the
ignition HT coil(s) with the power necessary to
produce a spark at the plugs. The ignitor
incorporates an electronic advance system
controlled by signals generated by the ignition
triggers and the pick-up coil.
The ignitor is linked to the clutch and sidestand
cut-off switches. This safety circuit prevents the
bike being started in gear unless the clutch lever
is pulled in, and prevents the bike being ridden
with the sidestand down.
Because of their nature, the individual ignition
system components can be checked but not
repaired. If ignition system troubles occur, and
the faulty component can
be
isolated, the only
cure for the problem is to renew the part. Keep in
mind that most electrical parts, once purchased,
cannot be returned. To avoid unnecessary
expense, make very sure the faulty component
has been positively identified before buying a
new part.
Note that there is no provision for adjusting
the ignition timing on these models.
2 Ignition system - check
Warning: The energy levels in
electronic systems can be very high.
On no account should the ignition be
switched on whilst the plugs or plug
caps are being held. Shocks from the HT
circuit can be most unpleasant. Secondly, it is
vital that the engine is not turned over or run
with either of the plug caps removed, and that
the plugs are soundly earthed (grounded)
when the system is checked for sparking. The
ignition system components can be seriously
damaged if the HT circuit becomes isolated.
1 As no means of adjustment is available, any
failure of the system can be traced to failure of
a system component or a simple wiring fault.
Of the two possibilities, the latter is by far the
most likely. In the event of failure, check the
system in a logical fashion, as described
below.
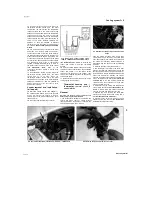
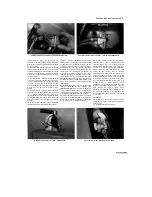
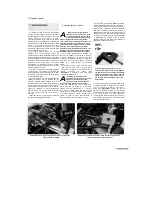
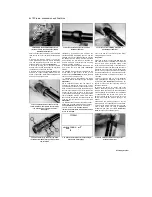
2 Disconnect the HT leads from the spark
plugs. Connect each lead to a spare spark
plug and lay each plug on the engine with the
threads
contacting
the
engine
(see
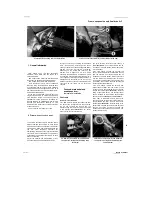
illustration).
If necessary, hold each spark
plug with an insulated tool.
Warning: Do not remove the
sparkplugs from the engine to perform
this check - atomised fuel being
pumped out of an open spark plug
hole could ignite, causing severe injury!
3
Having observed the above precautions,
check that the kill switch is in the RUN
position and the transmission is in neutral,
then turn the ignition switch ON and turn the
engine over on the starter motor. If the system
is in good condition a regular, fat blue spark
should be evident at each plug electrode. If
the spark appears thin or yellowish, or is non-
existent, further investigation
will be
necessary.
Before proceeding further, turn the ignition OFF.
4 The ignition system must be able to produce a
spark which is capable of jumping a particular
size gap. A healthy system should produce a
spark capable of jumping at least 6 mm. A simple
testing tool can be made to test the minimum gap
across which the spark will jump (see
Tool Tip)
or alternatively it is possible to buy an ignition
spark gap tester tool and some of these tools are
adjustable to alter the spark gap.
rem
T
S
P
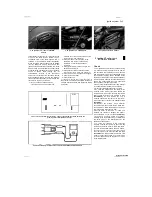
A simple spark gap testing tool can be
made from a block of wood, a large alligator
clip and two nails, one of which is fashioned
so
that a spark plug cap or bare HT lead end
can be connected to its end. Make sure the
gap between the two nail ends is the same
as specified.
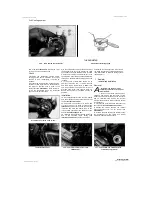
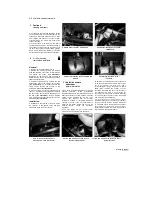
5 Connect one of the spark plug HT leads to the
protruding electrode on the test tool, and clip the
tool to a good earth (ground) on the engine or
frame
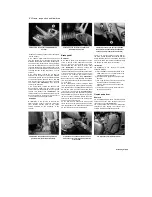
(see illustration).
Check that the kill
switch is in the RUN position, turn the ignition
switch ON and turn the engine over on the starter
motor. If the system is in good condition a
regular, fat blue spark should be seen to jump the
gap between the nail ends. On 1996-on TDM
models and TRX models,
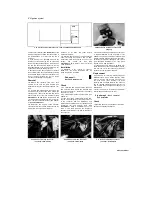
2.2 Earth the spark plug and operate the starter - bright blue
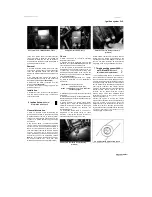
2.5 Connect the tester as shown - when the starter is operated
sparks should be visible
sparks should jump between the nails
Staned by Stalker
A
A

