Fuel and exhaust systems 4*5
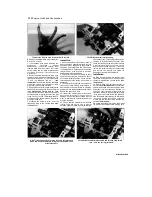
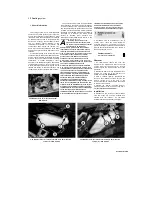
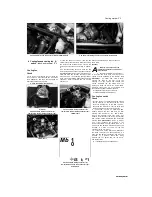
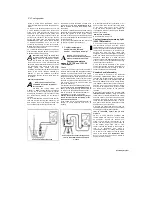
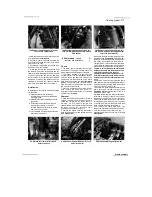
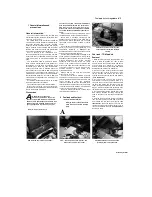
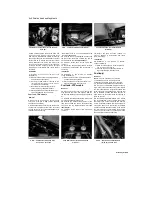
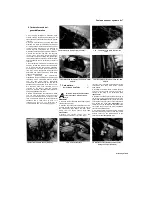
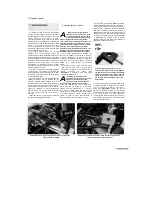
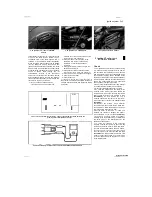
2.26 Note which hose fits where before detaching them
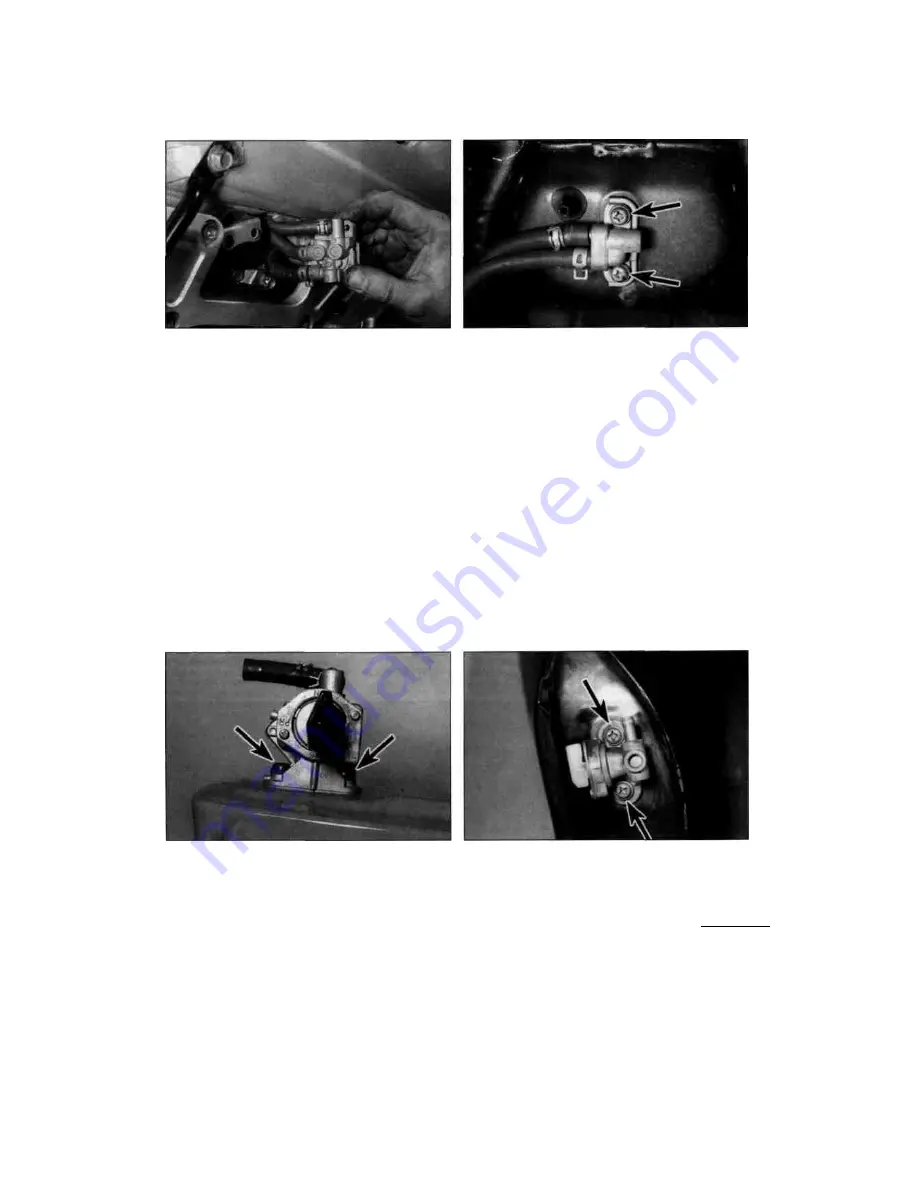
2.27a Fuel outlet screws (arrowed) - 1991 to 1995 TDM models
large enough for storing the petrol. Turn the
outlet tap to the ON position and allow the tank to
drain. When the tank has drained, turn the tap to
the OFF position.
23 On 1999 TDM models, connect a drain hose
to the union on the fuel tap and insert its end in a
container suitable and large enough for storing
the petrol. Turn the tap ON and allow the tank to
drain. When the tank has drained, turn the tap to
the OFF position.
24 On TRX models, connect a drain hose to the
fuel outlet union on the tap and insert its end in a
container suitable and large enough for storing
the petrol. Turn the fuel tap to the PRI position
and allow the tank to drain. When the tank has
drained, turn the tap back to the ON or RES
position.
25 On XTZ models, connect a drain hose to the
fuel outlet union on each tap and insert their ends
in a container suitable and large enough for
storing the petrol. Turn the fuel taps to the RES
position and allow the tank to drain. When the
tank has drained, turn the taps to the OFF
position.
26 If the fuel tap has been leaking, tightening
the assembly screws may help. Slacken all the
screws a little first, then tighten them evenly a
little at a time to ensure the cover seats properly
on the tap body. If leakage persists, the tap
should be renewed, however nothing is lost by
dismantling the tap for further inspection.
Unscrew the screws and disassemble the tap,
noting how the components fit. Inspect all
components for wear or damage, and renew
them as necessary, if available. If any of the
components are worn or damaged beyond repair
and are not available individually, a new tap must
be fitted. On 1991 to 1998 TDM models, note
which hose fits where on the remote tap
(see
illustration).
27
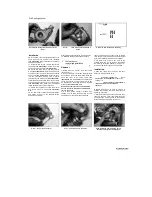
Remove the screws securing the tap to the
tank and withdraw the tap assembly
(see
illustrations).
Check the condition of the O-ring.
If it is in good condition it can be reused, though
it is better to use a new one. If it is in any way
deteriorated or damaged it must be renewed.
28 Clean the gauze filters to remove all traces
of dirt and fuel sediment. Check the gauze for
holes. If any are found, a new tap should be fitted
as the filters are not available individually.
29
On TRX models, the fuel tap is automatic,
operated by a vacuum created when the
engine is turned over. If it is faulty, it can be
disassembled and inspected. The most likely
problem is a hole or split in the diaphragm.
Before removing and dismantling the tap,
check that the vacuum hose is securely
attached at both ends, and that there are no
splits or cracks in the hose. If in doubt, attach
a spare hose to the vacuum union on the tap
and apply a vacuum to the hose. If fuel does
not flow through the tap (make sure it is
turned to ON or RES), remove it and
disassemble it to check the diaphragm (the
best way is to hold it up to the light, which will
show through any splits or holes). Some
individual components are available for the
tap, but if the diaphragm is split the whole tap
will probably have to be renewed - check with
your dealer.
Installation
30
Installation is the reverse of removal. Use a
new O-ring on the tap if required, and tighten the
bolts securely.
31 Install the fuel tank (see above).
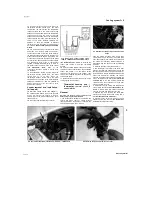
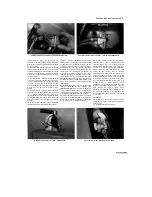
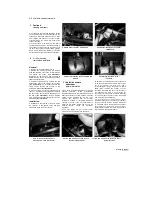
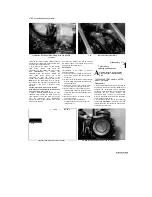
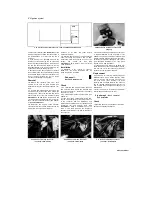
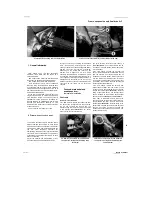
2.27b Fuel tap screws (arrowed) - TRX models
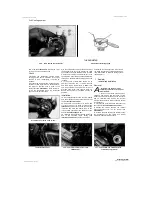
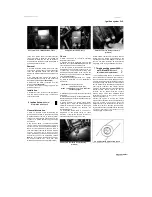
2.27c Fuel tap screws (arrowed) - XTZ models
Sorted by Stalker

