UNREGISTERED VI
Electrical system 9*27
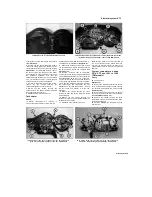
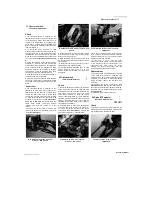
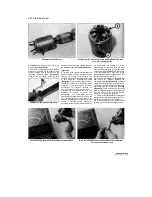
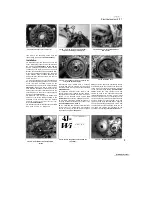
32.12a Remove the rotor screws (A).
32.12b ... and the pick-up coil screws (B),
and free the wiring grommets (C)
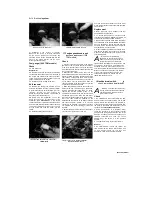
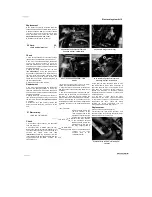
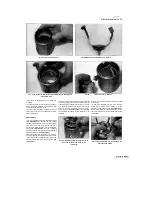
32.14a If removed, fit the Woodruff key
into its slot
...
then remove the assembly, noting how the
rubber wiring grommets fit
(see illustrations).
Installation
13
Install the stator and the pick-up coil in the
cover, aligning the rubber wiring grommets with
the grooves
(see illustrations 32.12a and b).
Apply a suitable non-permanent thread locking
compound to the stator and pick-up coil screw
threads, then install the screws and tighten them
to the torque settings specified at the beginning
of the Chapter. Apply a suitable sealant to the
wiring grommets, then press them into the cut-
outs in the cover.
14 Clean the tapered end of the crankshaft and
the corresponding mating surface on the inside
of the rotor with a suitable solvent. Fit the
Woodruff key into its slot in the crankshaft
(see
illustration).
Make sure that no metal objects
have attached themselves to the magnet on the
inside of the rotor, then install the rotor onto the
shaft, making sure the slot is correctly aligned
with the key
(see illustration).
15
Install the rotor bolt with its washer and
tighten it to the torque setting specified at the
beginning of the Chapter, using the method
employed on removal to prevent the rotor from
turning
(see illustrations).
16
Lubricate the starter idle/reduction gear shaft
with clean engine oil. Install the
32.14b ... then slide on the rotor, aligning the
slot (arrowed) with the key
idle/reduction gear, making sure it engages
correctly with both the starter motor pinion and
the starter clutch pinion, and insert the shaft
(see
illustration 32.9).
17
Install the alternator cover using a new
gasket, making sure it locates onto the dowels,
and tighten the cover bolts evenly in a criss-cross
pattern to the specified torque setting
(see
illustrations).
Connect the alternator and pick-
up coil wiring connectors, making sure they are
correctly routed and secured by any clips or ties
(see illustrations 32.2a, b and c).
18
On TDM and XTZ models, install the inner
sprocket cover, on TDM models not forgetting
the clip secured by the top rear bolt, and tighten
the bolts securely
(see illustration
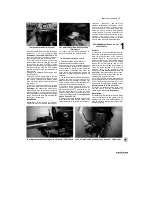
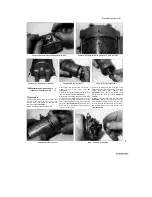
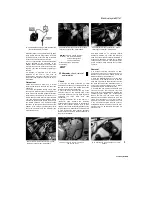
32.15a Install the bolt...
32.6c).
Align the split in the gearchange linkage
arm clamp with the punch mark on the shaft, then
fit the arm on the shaft and tighten the pinchbolt
to the specified torque setting
(see illustration
32.6b).
Install the outer sprocket cover and
tighten its bolts to the specified torque
(see
illustration 32.6a). 19
On TRX models, install
the inner sprocket cover, not forgetting the clip
secured by the top rear bolt, and tighten the bolts
securely. Install the outer sprocket cover and
tighten its bolts to the specified torque. Align the
split in the gearchange linkage arm clamp with
the punch mark on the shaft, then fit the arm on
the shaft and tighten the pinchbolt to the
specified torque setting
(see illustration 32.7).
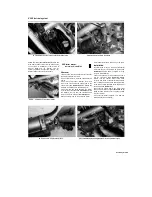
32.15b ... and tighten it to the specified
torque
4J -
"**%?+ MM® ~~
Wi
^ V M*
1
^Kk "^
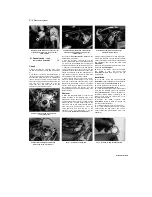
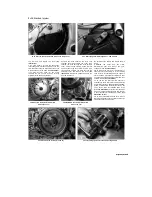
32.17a Locate the gasket onto the dowels
(arrowed)...
32.17b ... then install the cover
9
Started by Stalker
UNREGISTERED VERSION OF PICTURE-DESK

