


6-22 Routine Operations
bb
__________________________________
4.
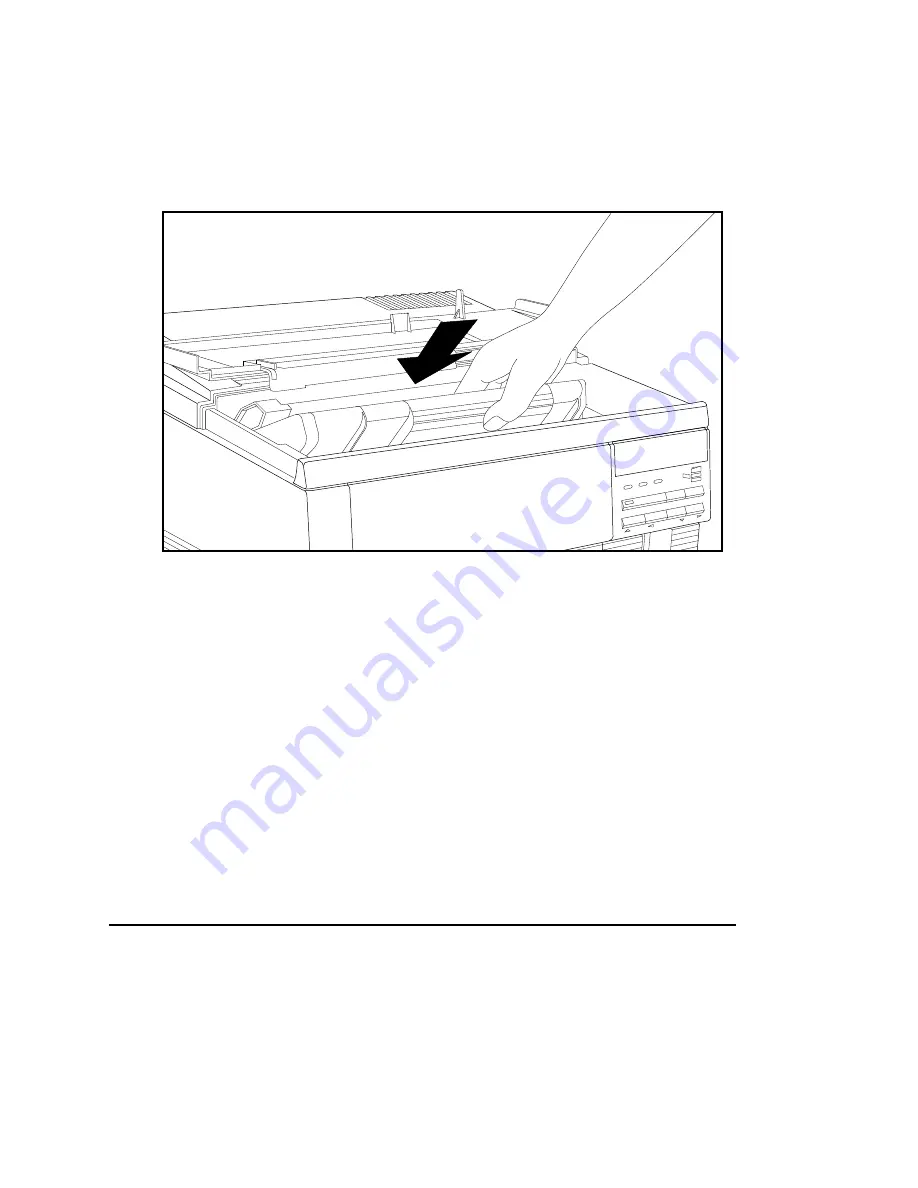
Holding the toner cartridge with both hands (fig. 6.9), align
and slide the cartridge back into the printer until it rests
securely in place. If the cartridge is not seated correctly, the
top cover will not close completely.
ONLINE
FORM FEED
TRAY SELECT
ENTER
MENU
RESET
TEST
DATA
MANUAL
READY
Fig. 6.9 Load the Toner Cartridge
5.
Close the printer’s top cover gently until it snaps into place.
6.
Print a test file to check the density. If redistributing the toner
has not corrected the situation, install a new toner cartridge.
See “Handling and Replacing the Toner Cartridge” later in this
chapter for details.
Note:
Never move or ship the printer with a toner cartridge
installed.
Adjusting Density through the Front Panel
You can make fine adjustments to print density via the front panel
Density menu. This menu allows you to select a value from 0
through 15 with 0 being the lightest setting and 15 the heaviest. The
default setting is 7.
Summary of Contents for Accel a Writer 812
Page 1: ..._____________________________________________________ i Innovations In Output PM AW812D 5 7 96...
Page 7: ..._____________________________________________________ vii...
Page 15: ...xivbb ____________________________________________________...
Page 17: ...1 2 Introductionbb ________________________________________ Notes...
Page 26: ..._________________________________________ Introduction 1 11...
Page 28: ...2 2 Installationbb_________________________________________ Notes...
Page 68: ...3 2 Macintosh Setupbb ____________________________________ Notes...
Page 82: ...4 2 PC Setupbb __________________________________________ Notes...
Page 98: ...4 18 PC Setupbb __________________________________________...
Page 100: ...5 2 Configurationbb ______________________________________ Notes...
Page 125: ..._______________________________________ Configuration 5 27...
Page 127: ...6 2 Routine Operationsbb __________________________________ Notes...
Page 163: ...7 2 Advanced Imagingbb ___________________________________ Notes...
Page 185: ...7 24 Advanced Imagingbb ___________________________________...
Page 187: ...8 2 Maintenancebb _______________________________________ Notes...
Page 197: ...8 12 Maintenancebb _______________________________________...
Page 199: ...9 2 Optionsbb ___________________________________________ Notes...
Page 221: ...10 2 Troubleshootingbb____________________________________ Notes...
Page 249: ...10 30 Troubleshootingbb____________________________________...
Page 251: ...A 2 Supported HP PCL 5 and HP GL 7475A Commandsbb _______ Notes...
Page 263: ...A 14 Supported HP PCL 5 and HP GL 7475A Commandsbb _______...
Page 264: ...____________________________________ Application Notes B 1 Appendix B Application Notes...
Page 265: ...B 2 Application Notesbb ___________________________________ Notes...
Page 277: ...B 14 Application Notesbb ___________________________________...
Page 278: ..._________________________________ Warranty Information C 1 Appendix C Warranty Information...
Page 279: ...C 2 Warranty Infromationbb ________________________________ Notes...
Page 282: ...___________________________________________ Glossary G 1 Glossary...
Page 283: ...G 2 Glossarybb __________________________________________ Notes...
Page 293: ...G 12 Glossarybb __________________________________________...
Page 312: ..._______________________________________________ Index I 19...


