Chapter 01:
Getting Started
3
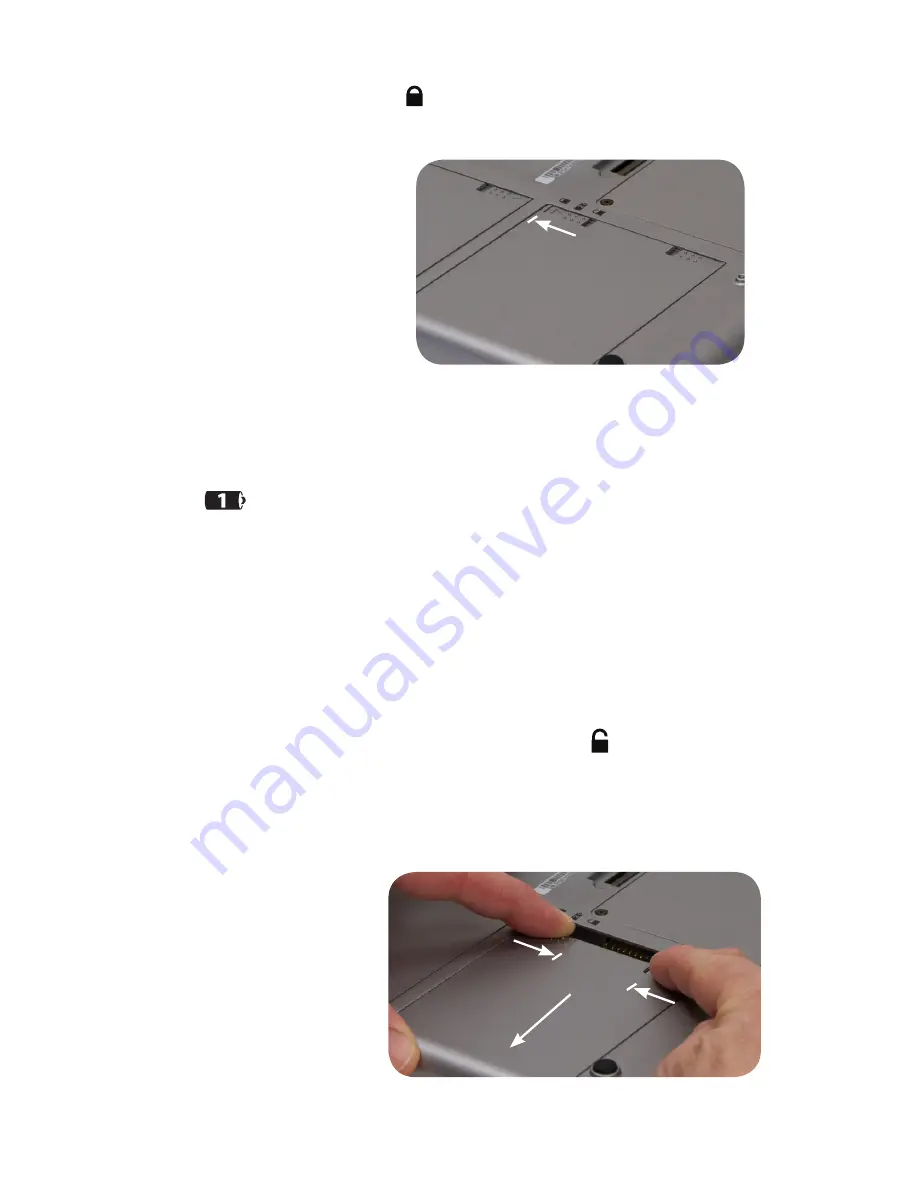
Slide the battery-locking tab (the tab closest to the top of the
tablet) up to the “locked” ( ) position. Once the locking tab
clicks into position, the battery should be securely seated.
Repeat for the second battery. While it doesn’t matter which
battery you insert first, if you are planning on running the system
with only a single battery, it should be inserted into battery bay
one (
).
Removing the Battery Packs
Remove the power cord from the “DC Power In” port if plugged
in to an external power supply to minimize the chance of electri-
cal shock. Turn over the Tablet PC and (optionally) place it on a
solid, clean flat surface. You can also remove the batteries while
holding the tablet if you prefer.
Slide the locking tab down to the “unlocked” ( ) position to
unlock the battery. Use your other hand to slide the battery
release latch in the direction of the arrow engraved on the tab
and hold it there. Carefully slide the battery out of its bay.
Slide the locking tab on the
battery to the locked position
to keep the battery secured
in the bay.
!
Slide the locking tab on
the battery to the unlocked
position and
@
slide the
battery latching tab in the
direction of the arrow and
hold,
#
then slide the battery
out of the bay.
!
@
#
Summary of Contents for Sahara NetSlate a525
Page 2: ......
Page 17: ...Preface xv This Page Left Blank Intentionally ...
Page 18: ......
Page 26: ......
Page 36: ......
Page 44: ......
Page 52: ......
Page 110: ......
Page 126: ......
Page 138: ......
Page 145: ...Chapter 07 Troubleshooting 119 ...
Page 159: ...Appendix A BIOS Set up 133 This page intentionally left blank ...
Page 160: ......
Page 172: ......


