


Installation and Maintenance Manual
Configuring system functionality
Installation and Maintenance Manual v4/0615/10
163
Matching incoming CLI
When a call is received if the incoming CLI is matched within a number entered within a Contact the text
in the Name and Company fields will be displayed within Call Status on a PCS 58x/57x/56x, 55x, 542,
Navigate, PCS 60 and 50. An analogue handset with caller display will display the Name.
Setting a User’s rights to the Contact database
By default all Users have full access to the Contacts database and if they are users of Navigate, a PCS 60,
50 or PCS 58x, 410/400 they can create and amend Contact entries. This functionality is determined by a
User’s Contact Mode field. This option can be used to reduce a User’s rights to the Contacts database
so
that they cannot make changes to the database by creating a new entry or amending existing entries.
They will still be able to view the information and use the numbers for speed dialling.
A
User’s righ
ts to the Contacts database can be configured as follows:
1
In Manager select Users
2
Select the User required
3
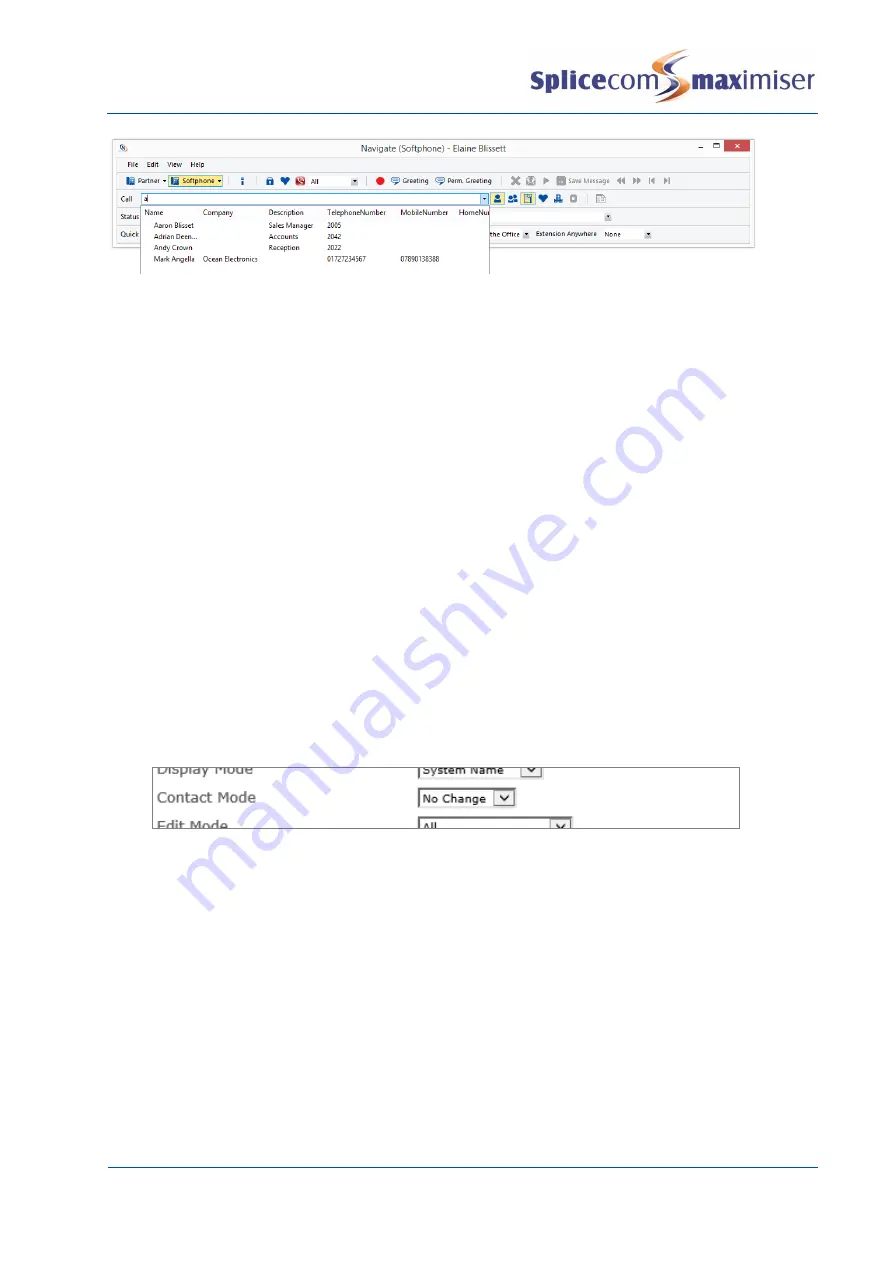
Within the General page from the Contact Mode list box select one of the following:
a
Add/Update
–
this is the default entry. The User will be able to create new entries and amend
existing entries
b
Update
–
the User will be only able to amend existing entries.
c
No Change
–
the User will not be able to create new entries or amend existing entries.
4
Select Update or Apply when ready.
Please refer to the relevant User manual for further details on this functionality.
Using an Ambiguous Number
The Ambiguous Number field can be used to match a range of numbers, particularly useful if a company
has a large DDI number range. The ? is used to specify any number, therefore an entry of, eg 01923
2877??, will match all calls within the range of 01923 287700 to 287799. Contacts with a complete match
will have priority over an ambiguous number.
A Contact with an ambiguous number can be created as follows:
1
In Manager select Contacts
2
Select the Add button
3
Enter a unique Name that will be used to identify this Contact. Use alpha-numeric characters only
and do not use any punctuation.


