Installation and Maintenance Manual
Configuring system functionality
140
Installation and Maintenance Manual v4/0615/10
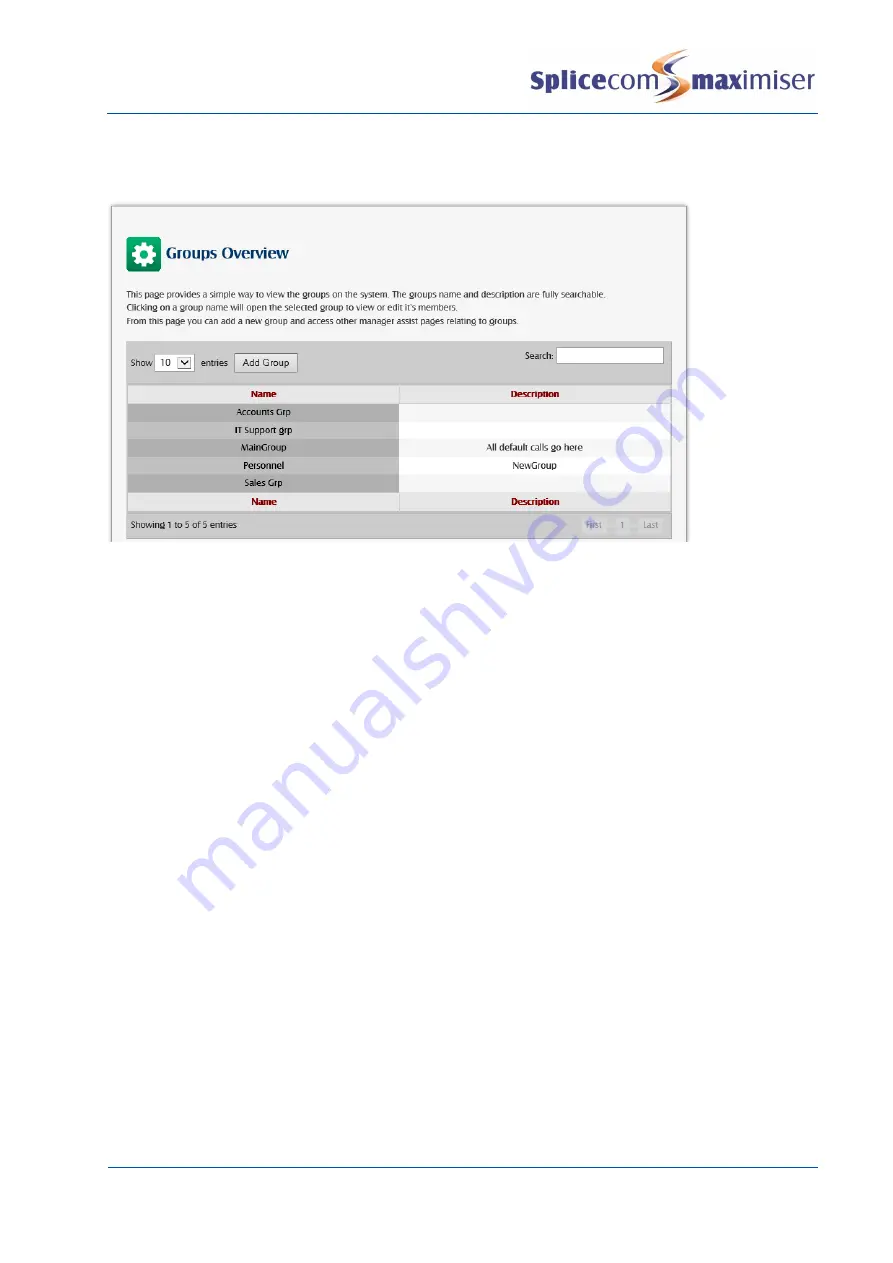
An overview of the Groups created on the system can be viewed via Manager Assist>Configuration
Aids>Groups - Groups Overview. Each Group Name gives a link to the Groups Users
–
Add and Remove
Users page.
For information on how a Group is used to present calls please refer to Routing Calls via a Department on
page 146.
Add a User to an existing Group
1
Open the Group required.
2
Click on Add User Member
3
Click on the Member field
4
From the Select User list select the User you wish to add and this name will appear in the Member
list.
Alternatively,
1
Open Manager Assist>Configuration Aids.
2
Under the Users section select Group Users
–
Add and Remove Users within Groups.
3
From the Select Group: list box select the Group you wish to amend.
4
The existing members of the group are highlighted in red within the list of Users of the system.
5
Tick the User(s) you wish to add to the Group and click on the Add Users button.
6
In the warning that is displayed select OK to accept this change.
7
The new Member will now be highlighted in red.
Please note that this member will be given the next Order Number within the Group.
Change a User member
1
In Manager select Groups
2
A list of the current Groups will be displayed
3
Select the Group required
4
Click on the member to be amended
5
From the Select User list select the User required and you will be returned to the Group
6
Select Update or Apply when ready.


