


SerVision
Embedded Video Gateway System Guide
Configuring Camera Settings
94
Field
Description
Brightness
Adjust the default brightness of the camera. Range: 1–100. These values are used when the
Video Gateway unit is started.
Note:
You can also adjust the brightness in the client or in a CCTV monitor (with the
touch/mouse enabled) as you view the video stream (see page 91 ).
Contrast
Adjust the default contrast of the camera. Range: 1–100. These values are used when the
Video Gateway unit is started.
Note:
You can also adjust the contrast in the client
or in a CCTV monitor (with the
touch/mouse enabled) as you view the video stream (see page 91 ).
Saturation
Adjust the default saturation of the camera. Range: 1–100. Higher saturation produces more
vivid colors.
Note:
Changes to brightness, contrast, and saturation are implemented immediately when
Update
is clicked.
4. If the camera has PTZ features, and you want to use them to control the camera remotely through a client
application, under
Camera Control (PTZ)
, select
Enabled
. Then follow the instructions below (
5. Under
Audio
, select one of the following:
None:
Do not link any audio to the video from this camera.
Channel 1:
Link the audio from the microphone connected to
Ain1
to the video from this camera.
Channel 2:
Link the audio from the microphone connected to
Ain2
to the video from this camera
(HVG400, MVG, and UVG400 only).
Note:
In HVG400 units that only support one microphone, you will either see
Channel 1
or
Channel 2
in the
dropdown list, depending on which one was activated. For additional information, see the description of the
field (page 86).
If you selected
None
, skip to step 8.
If you selected either
Channel 1
or
Channel 2
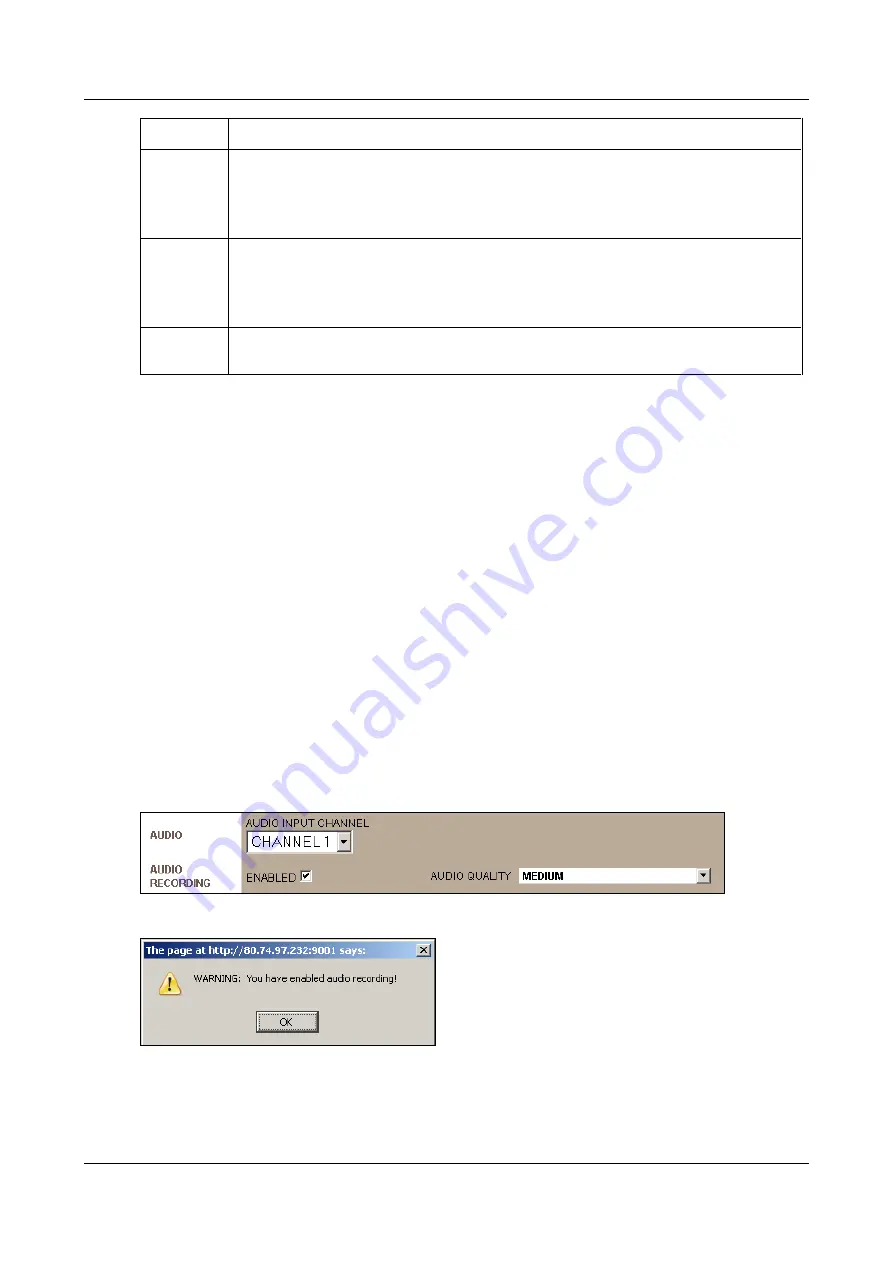
, audio from the selected microphone is available whenever you
view
live
video in a client application. In addition, the fields required to configure
recording
of audio with
recorded video from this camera are added to the screen, and a message appears indicating that audio
recording is enabled. This means that audio from the selected microphone is incorporated with all video
recorded from the camera.
Figure 101: Audio recording settings
Figure 102: Audio-recording-enabled message
6. In the audio-recording-enabled message, click
OK
.