


SerVision
Embedded Video Gateway System Guide
Connecting to the Video Gateway
169
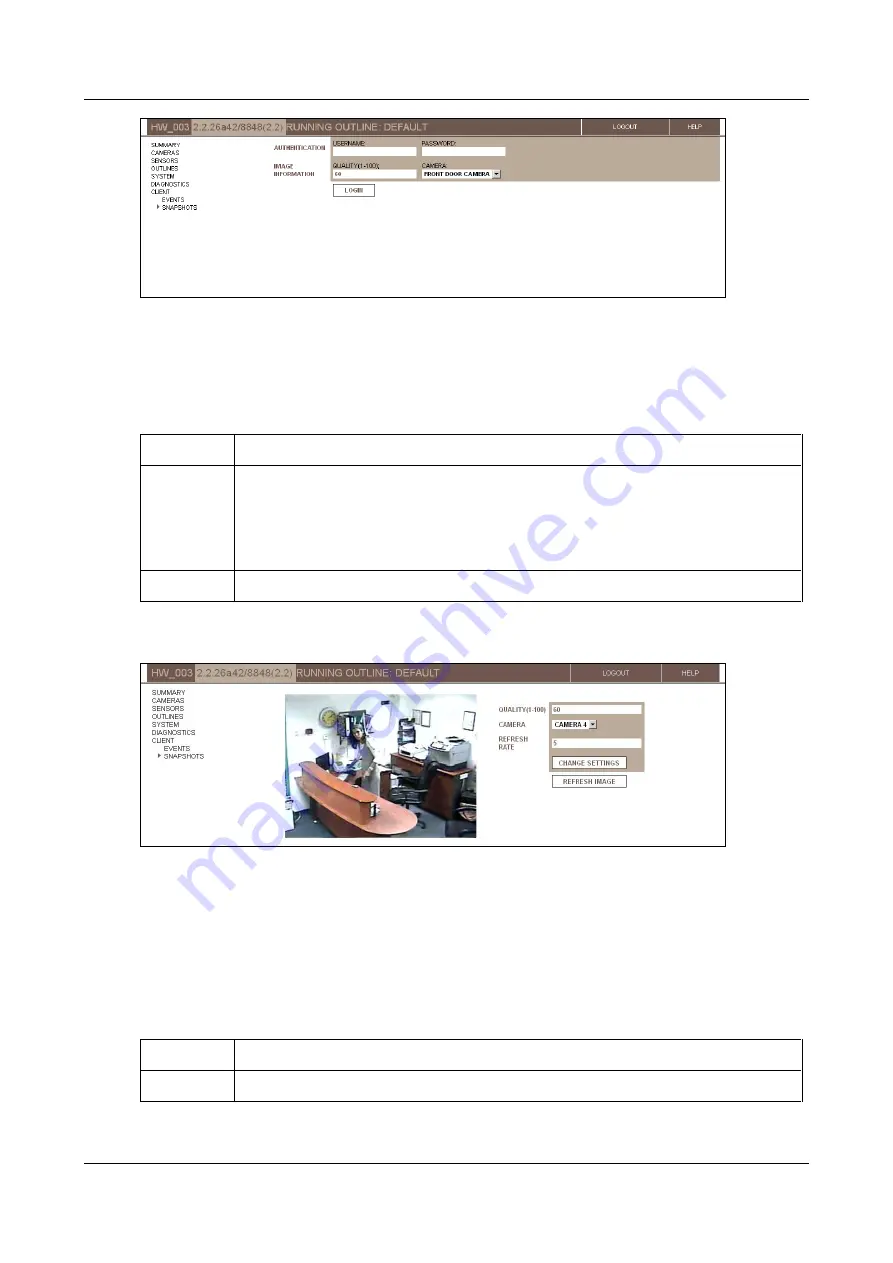
Figure 198: Login page
2. Under
Authentication
, enter a user name and password that have client permissions associated with them (in
the
Authentication
3. Under
Image Information
, modify the fields as necessary. (You can change the values of these fields after
you log into the Snapshot Viewer as often as required.)
Field
Description
Quality
Snapshot image quality (range: 1-100).
Note:
The higher the quality, the larger the JPEG image file that is created, and the longer
it takes to transfer it to the web browser. A quality setting of 60 is recommended; this
setting is equivalent to the quality of the images you receive when viewing a video stream
at 10 FPS / 128 kbs (the default high-quality setting).
Camera
The camera from which you want to see the snapshots. By default, camera #1 is selected.
4. Click
Login
. The
Snapshot Viewer
opens and displays the latest image it received from the Video Gateway
from the selected camera.
Figure 199: Snapshot Viewer
Modifying the Snapshot Settings
When the
Snapshot Viewer
is open, you can change its settings as required. For example, you can select a
different camera or specify the refresh rate.
To change the Snapshot Viewer settings:
1. In the
Snapshot Viewer
, change the settings as necessary by modifying the fields as follows:
Field
Description
Quality
Modify the snapshot image quality, to any value from 1 through 100.