


SerVision
Embedded Video Gateway System Guide
Configuring System Settings
49
NOTE:
Unless you have made other changes to the configuration that require a system restart, it is not
necessary to restart the system after these WiFi settings are saved.
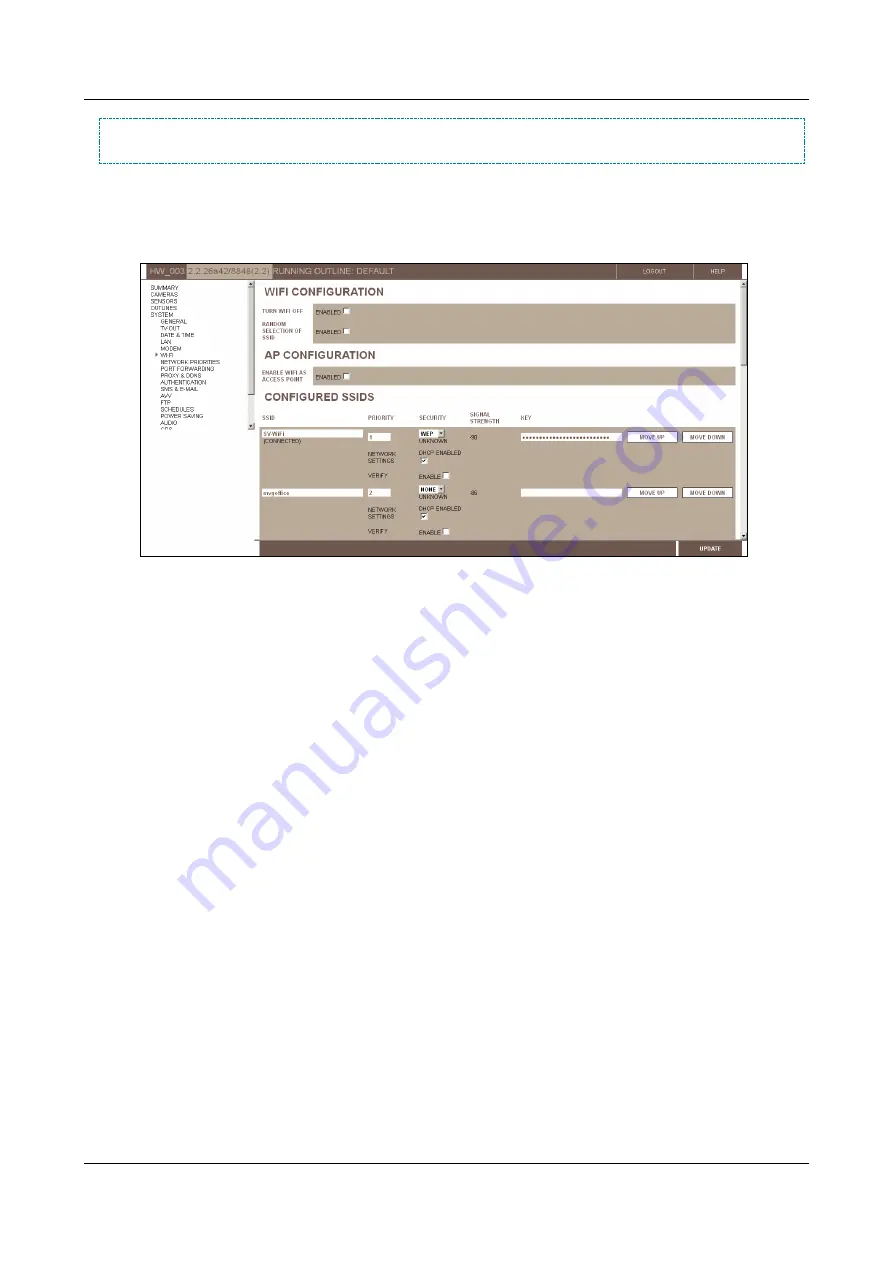
To configure the unit to connect to an access point:
1. In the
Main Menu
, under
System
, click
WiFi
. The
WiFi Configuration
screen opens. (This may take a
minute or two.)
Figure 44: WiFi Configuration screen
2. Under
Turn WiFi Off
, clear the
Enabled
checkbox.
3. If you will be configuring more than one SSID, under
Random Selection of SSID
, do one of the following:
Select
Enabled
if you want the unit to remain connected to the current access point as long as it can, even
if an access point with a higher priority level becomes available.
Clear
Enabled
if you want the unit to disconnect from lower-priority access points when higher-priority
access points become available.
4. Under
Configured SSIDs
, fill in the required information for each access point to which you want the unit to
be able to connect, as described in steps 5–9 below.
5. Under
SSID
, fill in the SSID of the access point.
Note:
If a wireless card is connected to the unit, access points that are detected within range of the unit are
listed under
SSIDs in Range
at the bottom of the screen. Click
Add SSID
to add a detected SSID to the list of
configured SSIDs. (If a detected access point is in the list of configured SSIDs, it does not appear in the list of
detected access points.)