


SerVision
Embedded Video Gateway System Guide
Configuring Sensor and Activator Settings
130
To create a GPX file using Bing maps:
1. In a browser, open the Bing maps site (
) and display the part of the map that
represents the region in which the vehicle will be travelling. Zoom in so that you can see the features you want
to mark on the map (e.g., roads and towns).
Note:
It is recommended to log into Bing before marking routes and areas on the map. Logging in enables you
to create lists of places and save them. If you do not have an account, you can create one. To create an account
or log into an existing account, in the upper-right corner of the page, click
Sign in
, and then select
Microsoft
Account
.
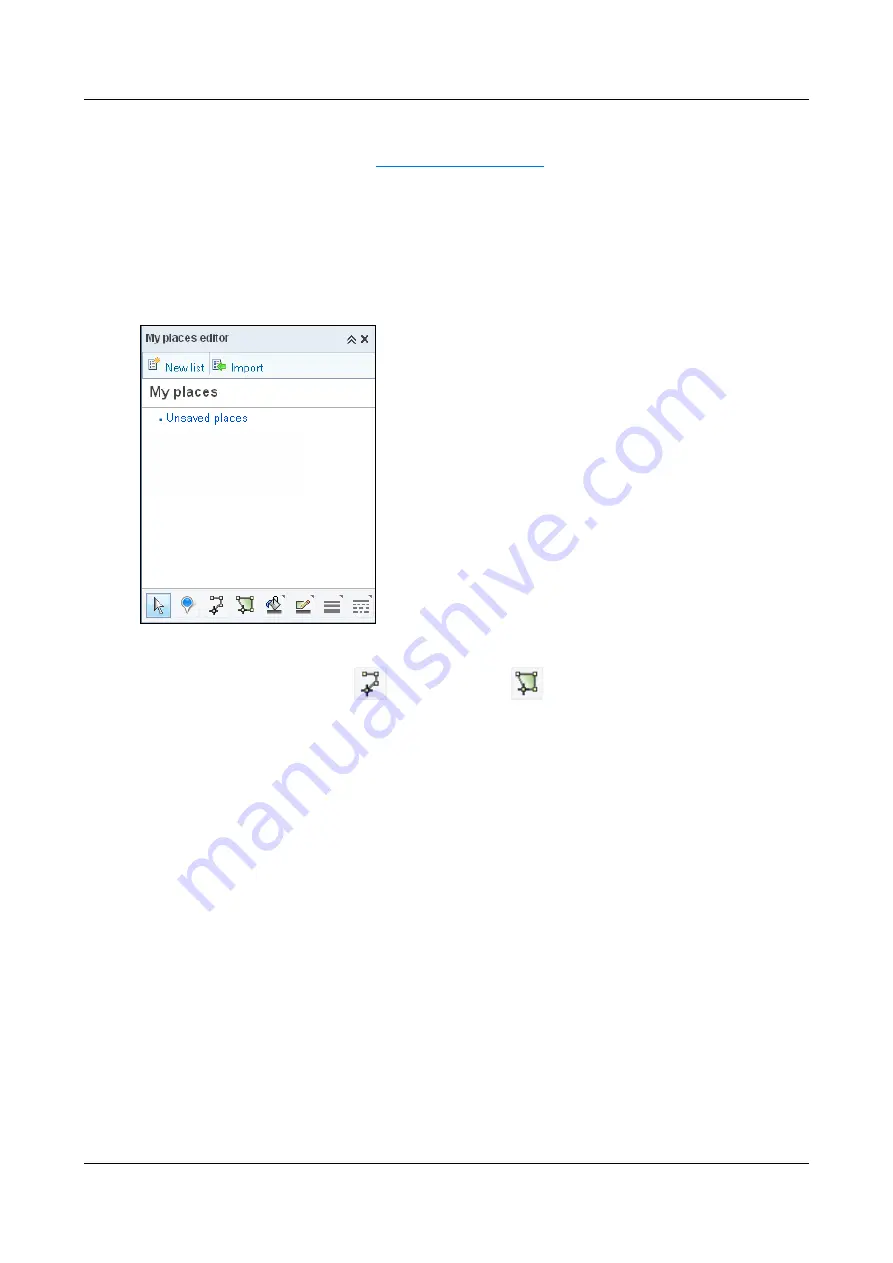
2. On the left side of the page, click
My Places
. The My Places editor opens on the right side of the page.
Figure 143: My Places editor
3. At the bottom of the window, click
to define a route, or
to define an area.
4. In the map, click where you want to begin drawing the route or area, and then move your mouse cursor along
the line you want to draw, clicking every time you want to change direction.
Note:
If it is difficult to draw the entire route at one time, you can draw it in parts, and include all of the parts
in the GPX file. As long as you upload all of the parts to the Video Gateway (see
, on page 133) and include them all in a single itinerary (see
not matter if the route is split into parts when you draw it.