


SerVision
Embedded Video Gateway System Guide
Configuring System Settings
86
Field
Description
Configuring a CCTV Monitor (TV-Out)
Note:
On the HVG400, even if the internal speaker is enabled here, it can still be
turned off by flipping down the
Mute
switch on the rear of the unit.
Internal Speaker
Volume
Set the output volume for the unit’s built-in speaker, as explained under
, below.
Input Volume Ch 1 /
Input Volume Ch 2
Set the input volume for microphones connected to the unit, as explained under
Configuring Microphone and Speaker Volume
, below.
Note:
On CVG and CVG-M models, only channel 1 is supported.
Note:
On the HVG400, if the
Which input to use?
field appears, the unit only
supports one microphone. Select the audio channel to which the microphone is
connected from the dropdown list, and then set the input volume for that
microphone as described below.
3. Click
Update
, and then save the settings. They will be implemented after the unit is restarted (see
Note:
Input volume settings are implemented immediately if you select
Update Now
. However, they are only
saved on the unit after you click
Update
and save the settings.
Configuring Microphone and Speaker Volume
The volume of attached microphones and of the internal speaker can be digitally increased or decreased by the
Video Gateway. Microphone volume can be modified to optimize the sound level of audio that is played by client
software. Internal speaker volume can be adjusted to suit the location of the Video Gateway unit and the needs of
those on-site.
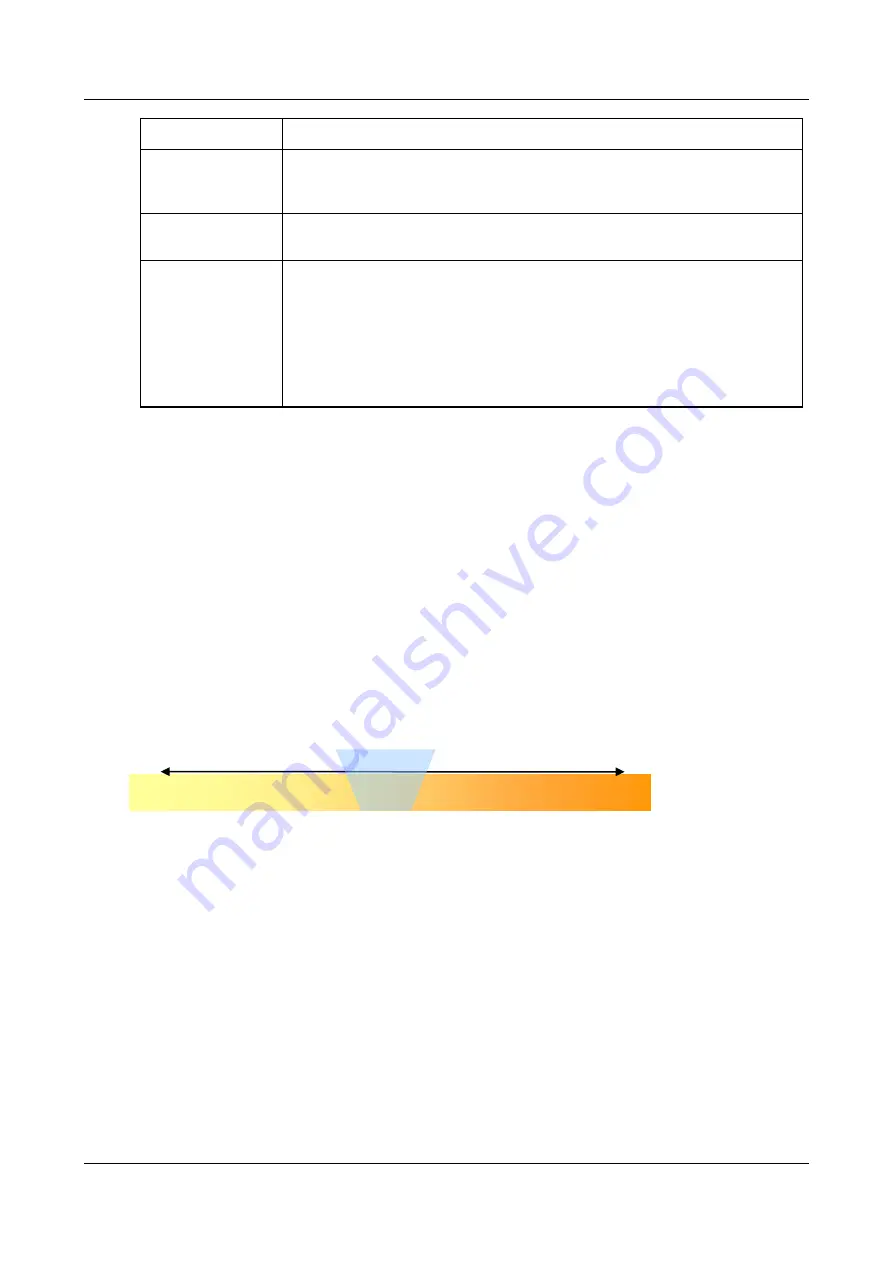
You can choose from 11 levels of amplification. Level 5 means the volume is not modified at all. Levels 0 through
4 cause the volume to be reduced (the smaller the number, the greater the reduction); levels 6 through 10 cause it to
be amplified (the greater the number, the greater the amplification). Level 6 is generally optimal for the internal
speaker, level 9 for passive microphones, and level 5 for active microphones.
You can test the volume settings as you configure them by connecting to the Video Gateway using a client
application. Volume levels can be adjusted for testing purposes without resetting the Video Gateway unit.
Configuring Internal-Speaker Volume
You can optimize the internal-speaker volume settings by testing them as you configure them.
To configure the volume of the internal speaker:
1. Make sure someone is near the Video Gateway to listen to sound being transmitted from the speaker.
2. Using a client application that can transmit audio to a Video Gateway (SVMultiClient and some of the cellular
client applications), connect to the Video Gateway.
3. Speak into the microphone of the client device and check with the listener to find out if the volume is
appropriate. If it is not, adjust the settings as described below until they are satisfactory.
4. In the
Audio Settings
screen, under
Internal Speaker Volume
, select a volume setting.
0 1 2 3 4 5 6 7 8 9 10
Reduced volume No change Increased volume