


SerVision
Embedded Video Gateway System Guide
Configuring Sensor and Activator Settings
133
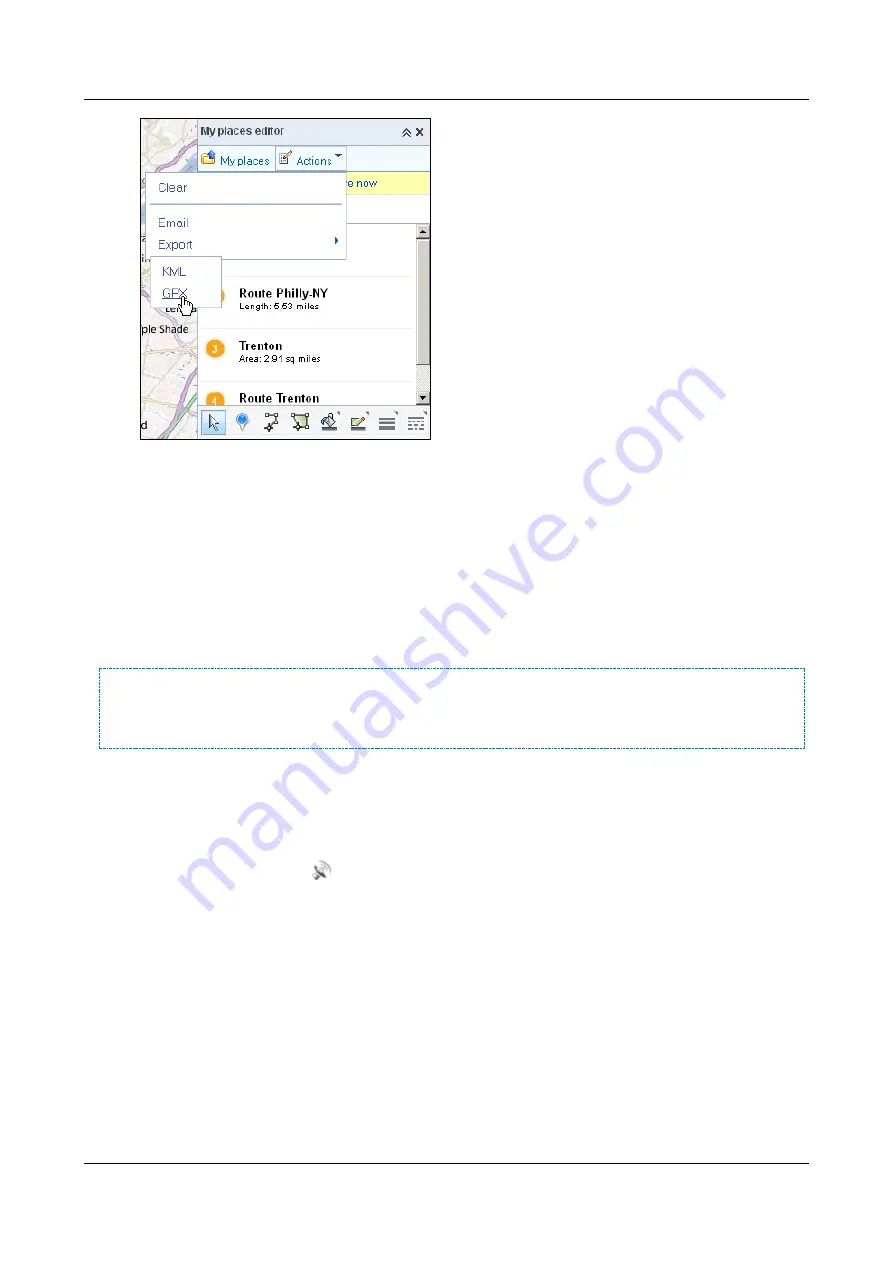
Figure 148: Exporting items to a GPX file
9. Select
Save File
. A Windows
Save File
dialog box opens.
10. Navigate to the folder in which you want to save the file, modify the default name of the file if you wish, and
then click
Save
. The GPX file is saved.
Uploading Polygons from a GPX File
Once you have created a GPX file with the routes and areas – the
polygons
– you want to include in the geo-fence
boundaries, you can upload the polygons it defines to the Video Gateway. For this purpose, you must use the
Remote Route Selection
utility, which you can open either from SVMultiClient or from SVControlCenter.
NOTE:
To open the
Remote Route Selection
utility, the client application (SVMultiClient or
SVControlCenter) must connect to the Video Gateway with a user account that has full client and
configuration permissions. For additional information about user account permissions, see
To open the Remote Route Selection utility in SVMultiClient:
1. Connect to the Video Gateway. (For additional information, see
Opening the Configuration Utility
2. In the
Connection Panel
, expand the Video Gateway.
3. Right-click the GPS device (
), and select
Extended GPS Controls
. The
Remote Route Selection
utility
opens.