158
Chapter 9
Testing HDMI Sink Devices
4. Using the
Image
knob, select the appropriate image (see table above).
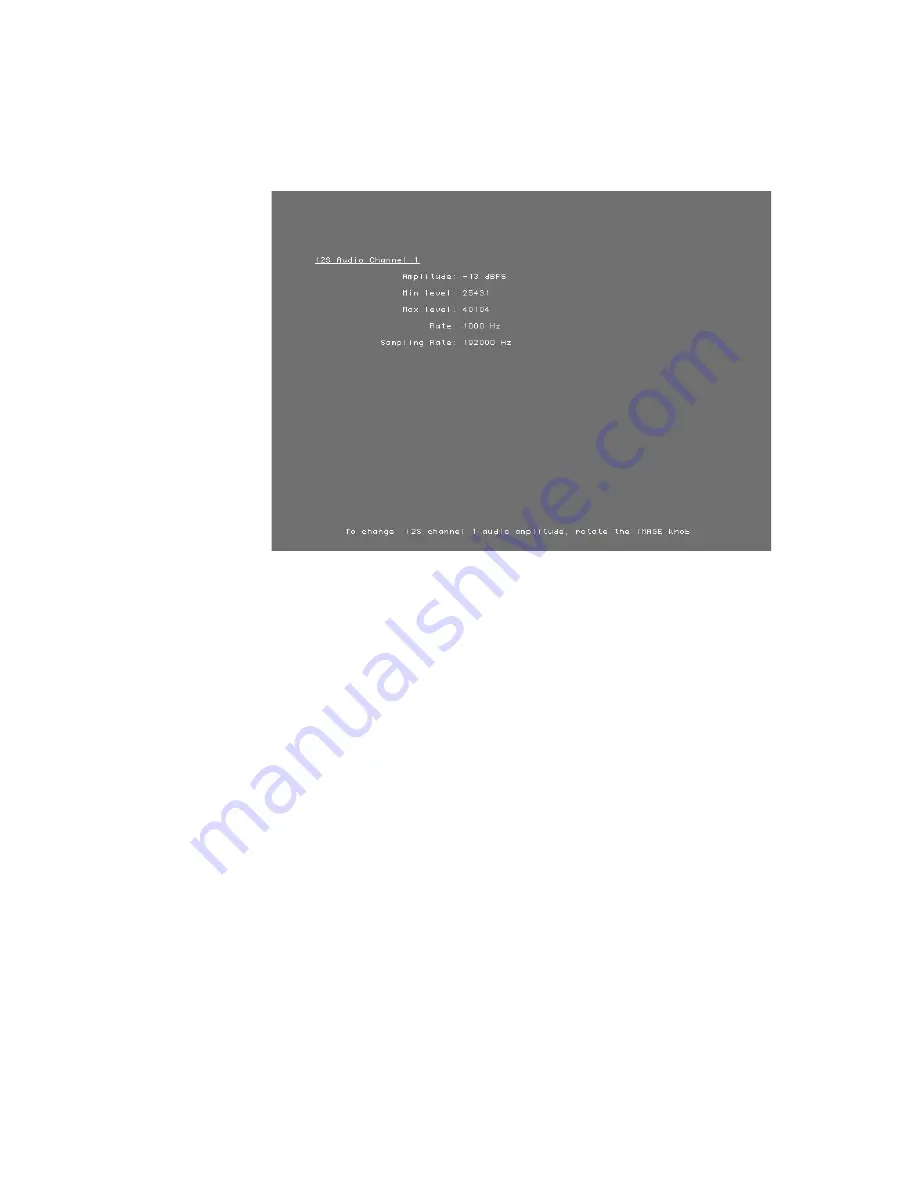
The image appears on the connected HDMI display. The image shows the current
settings for the HDMI audio output. For example, the Audio_1 image is shown below.
5. Press and release the
Step
key.
The
Step
key illuminates.
6. Using the
Image
knob, adjust the amplitude or frequency (based on the selected
image) of the HDMI audio output.
7. To verify proper HDMI audio handling, check the following on the HDMI display:
•
Audio is output from the proper channels.
•
When amplitude is adjusted, the volume is subsequently changed.
•
When frequency is adjusted, the pitch is subsequently changed.
8. When finished, press and release the
Step
key.
The light on the
Step
key extinguishes.
9. To test another HDMI audio output type, return to step 4.
Testing HDMI audio using an external audio source
The generator provides basic
,
two-channel LPCM audio signals. However, it can encode
multichannel audio signals from an external SPDIF source (such as a DVD player) with the
HDMI content stream.
Summary of Contents for 802BT
Page 1: ...802BT 802R Video Test Generator User Guide ...
Page 52: ...42 Chapter 2 Testing Video Displays ...
Page 62: ...52 Chapter 3 Administrative Tasks ...
Page 118: ...108 Chapter 7 Using GPIB Interface ...
Page 194: ...184 Chapter 10 Testing EDID ...
Page 204: ...194 Chapter 11 Testing HDCP ...
Page 214: ...204 Appendix A Command Reference Commands by name ...
Page 595: ...Video Test Generator User Guide 585 ...
Page 611: ...Video Test Generator User Guide 601 ...
Page 612: ...602 Appendix A Command Reference ...
Page 716: ...706 Appendix B Image Reference ...
Page 744: ...734 Appendix C Error Messages ...


