273
PRIMERGY BX620 S2 Server Blade User’s Guide
9
Opera
tio
n and
Mai
n
te
nan
ce
7
Select [Display all hardware in this device class]. From the [Manufacturer] list,
select [(Standard computer)]. Select either of the following from [Model].
• [ACPI multi-processor PC] to change the OS to the multi-processor kernel
• [ACPI uni-processor PC] to change the OS to the uni-processor kernel
If you select an incorrect "model" operations will not be performed normally. Because reinstal-
lation is also sometimes necessary, check that you have selected the correct model.
8
Click [Next].
The [Start Device Driver Installation] window appears.
9
Click [Next].
Driver update starts. The [Finish] window appears when it completes.
10
Click [Finish].
The [ACPI multi-processor PC properties] window or [ACPI uni-processor PC properties]
window appears.
11
Click [Close].
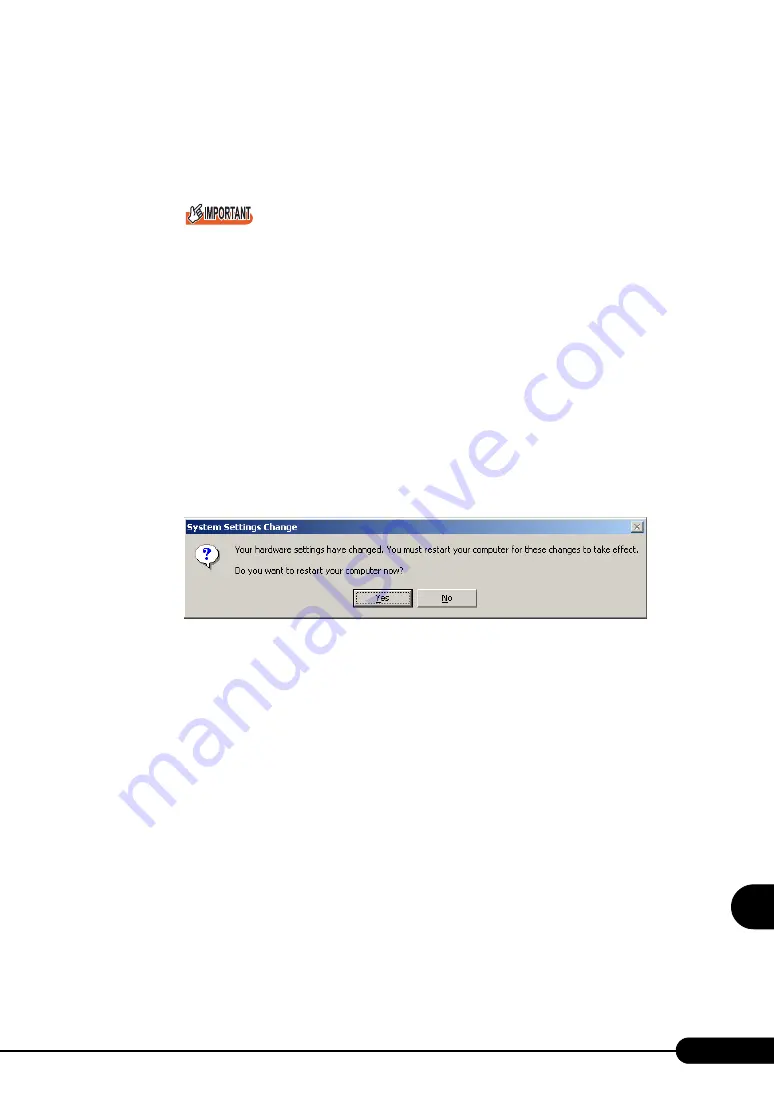
The [Change System Settings] window appears.
12
Click [Yes].
The computer shuts down and restarts automatically.
13
Add an optional CPU or start the BIOS Setup Utility, select the [CPU
Configuration] submenu in the [Advanced] menu, and change the [Hyper-
Threading Function] setting to [Enabled].
"7.3 Installing a CPU" (pg.171)
"8.2.1 Starting and Exiting the BIOS Setup Utility" (pg.197)
"8.2.10 Server Submenu" (pg.209)
14
Restart the server blade.
When the OS starts up, check that the item under [Computer] is changed to [ACPI multi-
processor PC] with Device Manager of Control Panel.
Summary of Contents for BX620 S2
Page 28: ...28 Chapter 1 Overview ...
Page 44: ...44 Chapter 2 Checking before OS Installation ...
Page 162: ...162 Chapter 5 Operations after OS Installation ...
Page 288: ...288 ...


