17 MARGIN
User’s manual
Planmeca Chairside CAD/CAM solution 81
17.2.2 Reset
To remove the Selection Area and start over, click Reset.
17.3 Pre-op editing
NOTE
For designing systems only.
The Pre-op Editing tool is used to designate the area of
the pre-op scan that will be combined with the library
tooth. This step is not necessary if the pre-op scans are
being used as a template only.
1. Click PreOp Editing.
2. To designate the pre-op’s library surface, use the tools at
the bottom of the screen. These act the same as the
margin tools.
• Trace - Removes the existing line. Draw a new pre-op
area.
• Move Curve - Click to drag an exiting curve into a new
position.
• Add Segments - Click to add a new line or curve to the
existing area.
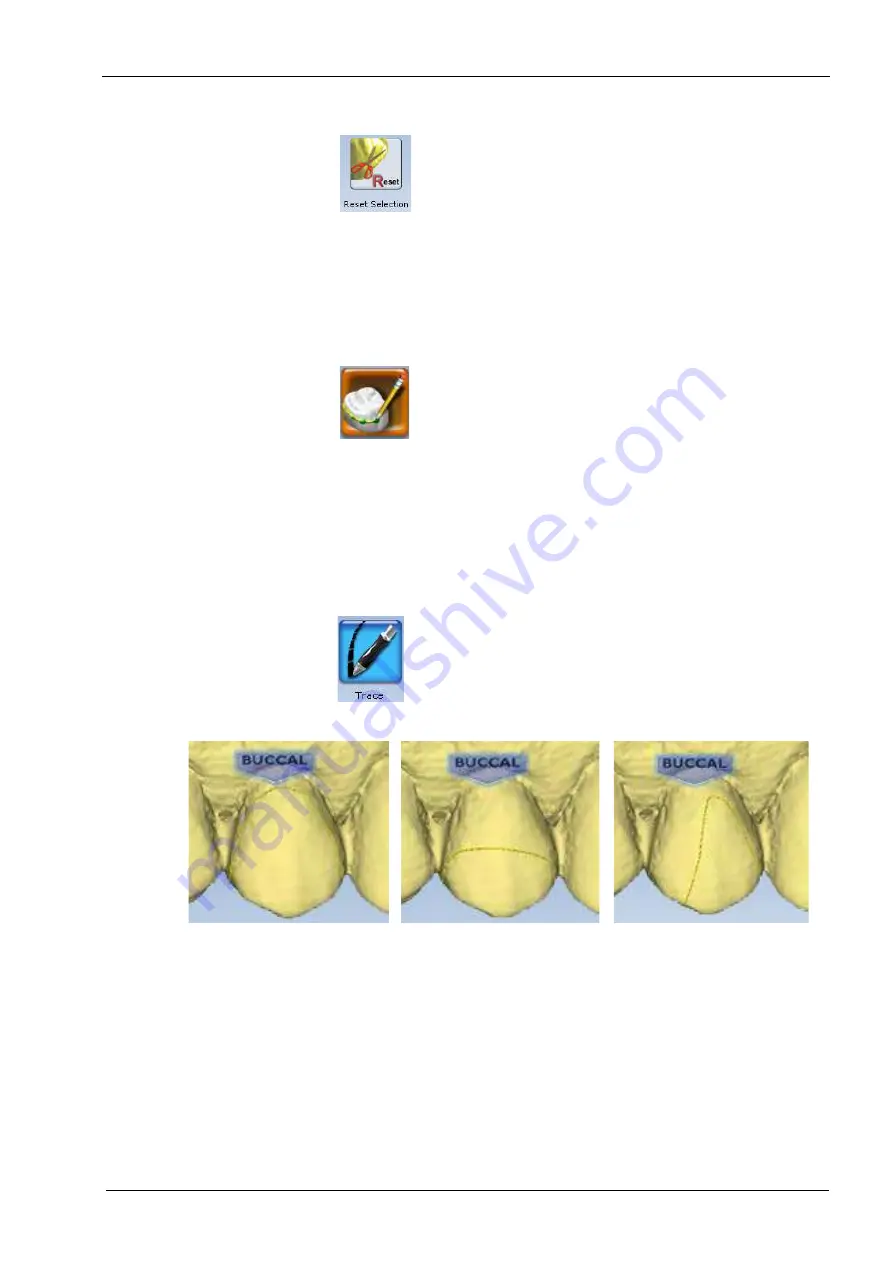
17.3.1 Trace
1. Click Trace.
2. Click or drag the mouse around the edges of the pre-op to
designate the area that you want to combine with the
library tooth.
Be sure to only designate areas with good data.
3. Click on the blue dot to finish the pre-op area. The
software automatically changes the trace line to a margin
line.
Down to near the gingival
tissue
Occlusal cap only
Partial tooth - often used when
original anatomy is chipped


