14 USING SCANNER
38 Planmeca Chairside CAD/CAM solution
User’s manual
14 USING SCANNER
NOTE
This section does not apply to cases that are imported
from another scanning system.
The scanner captures the restoration site with a laser
system and delivers live images to the screen. As you
take multiple snapshots, the system creates a composite
image of the restoration site, revealing any areas that
need further scanning.
14.1 Connecting the scanner to the laptop
NOTE
On upgraded Planmeca PlanCAD Easy carts, the scanner
connector plugs directly into a new port on the Planmeca
PlanCAD Easy cart.
Properly connecting and disconnecting the scanner will
prevent damage to your devices.
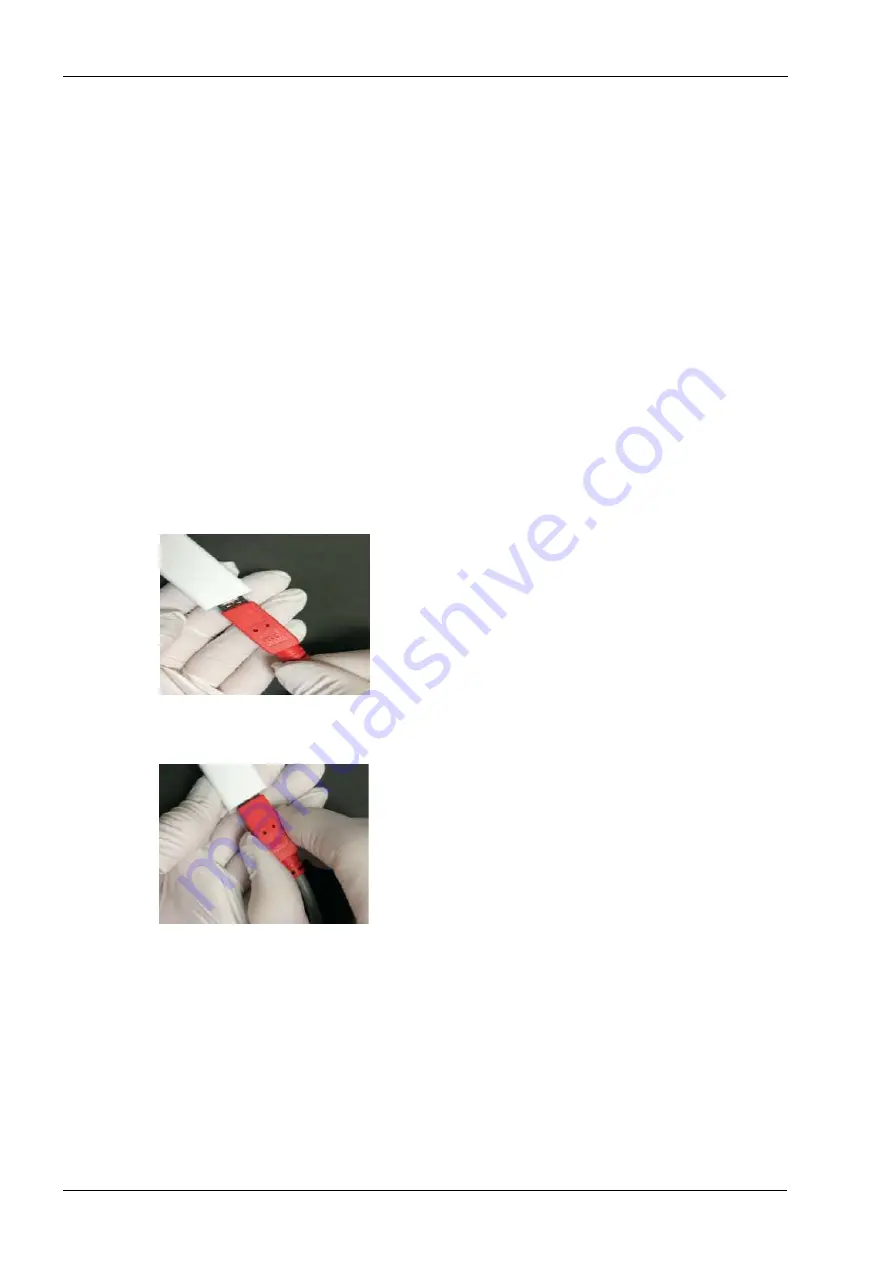
1. Attach the connector of the scanner into the adapter as
illustrated.
2. Make sure the end is fully seated and a confirmation
sound has been given from the Planmeca PlanCAD Easy.
14.2 Disconnecting the scanner
When removing the scanner, hold the scanner connector
with one hand and the adapter with the other hand. Gently
pull them apart to disconnect. Leave the adapter attached
to the computer.
14.3 Scanner indicator lights
The LED lights on the scanner button can be read as
follows:
• Green - Ready for use. Scanner is connected, but not
actively scanning.
• Blue - Laser ON. Scanner is actively scanning.
If scanner light is not illuminated, the scanner is not ready
or it is not connected.


