28 MILLING UNIT
144 Planmeca Chairside CAD/CAM solution
User’s manual
6. Touch Select.
7. Remove the old tool from the collet.
8. Place the new tool in the collet. Ensure it is pushed all the
way in (fully seated).
9. Close the lid.
10.The milling unit seats and clamps the tool, profiles the
new tool, and returns to the Mill Options screen when
finished.
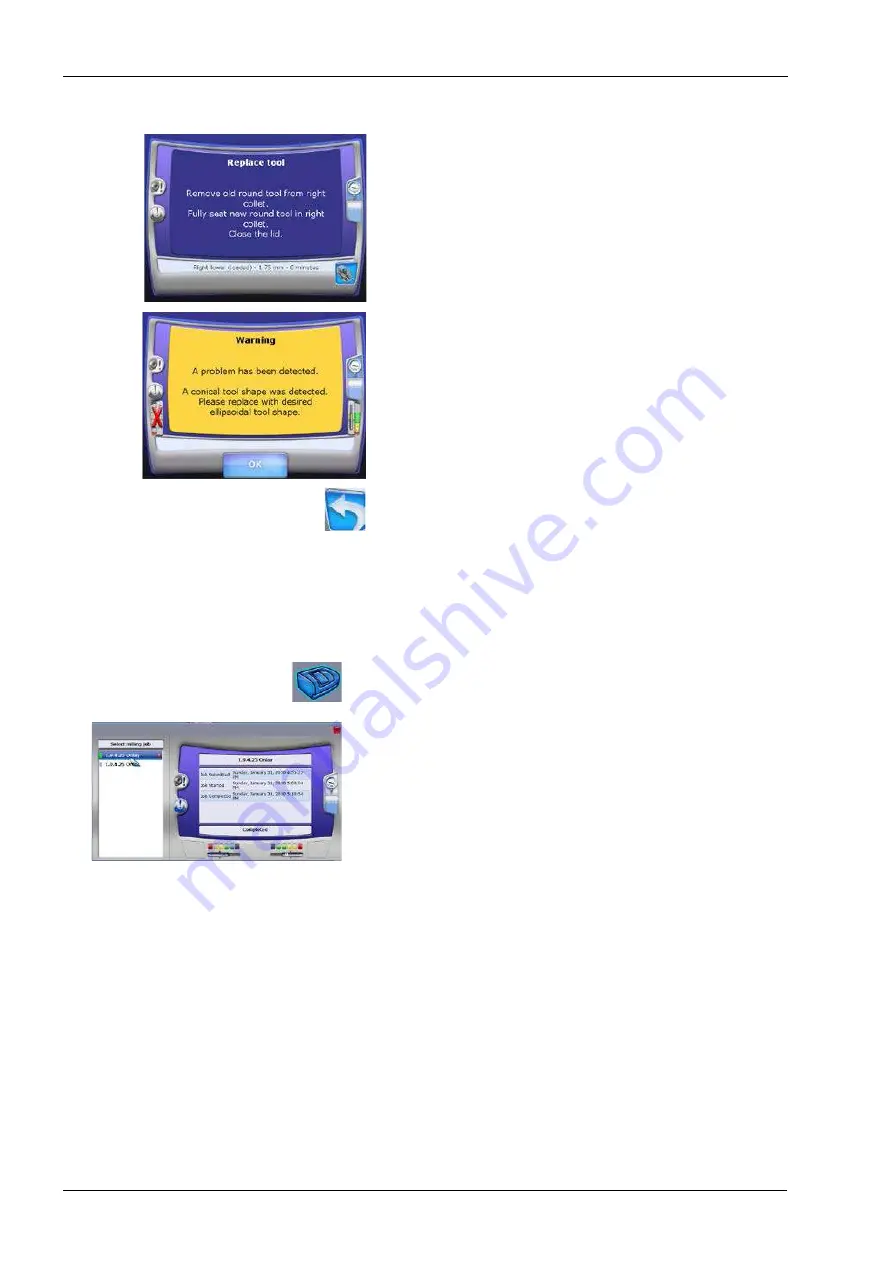
• If the wrong tool shape was inserted, a message will
appear. Click OK to insert the correct tool shape.
• If you are filling the tool changer, repeat the steps above
until there are no green outlines left.
11.Touch the Return button to return to the restoration list.
28.15 Mill status
Check the status of your job on the mill from the
Planmeca PlanCAD Easy.
The Mill Status button appears in the upper right corner
on all Planmeca PlanCAD Easy screens. The button is
inactive on the
Scan
tab.
1. Click Mill Status to see the Job List on the mill.
2. Click a job on the left to see details on the right. The tools
and status buttons (water level, collet cleaning, etc.)
reflect the state of the milling unit at the time the
restoration was milled.
The colors next to each job name indicate job status.
• Red - Attention Needed
• Yellow - Restoration Inspection
• Grey - Pending
• Blue - Milling
• Green - Finished
• Black - Cancelled
The Mill Status screen is for information only. Actions
taken on this screen do not affect the milling unit.
3. Click the red X next to completed jobs to remove the job
from the status screen.
This is recommended to keep the list at a manageable
length. The job will still be available on the mill.


