25 COMBINING MODEL TO A 3D VOLUME
126 Planmeca Chairside CAD/CAM solution
User’s manual
6. To finish positioning click Done.
Planmeca Romexis will automatically match the surface
model to the CBCT volume.
7. The following options are available
• Direction buttons to orient the CBCT rendering to default
positions
• Set Crop to limit the anatomy that is used for matching the
surface model to the CBCT.
• Threshold to adjust the CBCT rendering bone surface
The imported surface models can be found in the Implant
list where there colour can be modified, (see section List
of added implants in the Planmeca Romexis User’s
manual).
Additionally the following options can be selected:
• Allow Scaling
When enabled, Planmeca Romexis will stretch the
surface model to achieve better fit with the CBCT volume.
Note that this may alter proportions of the surface model.
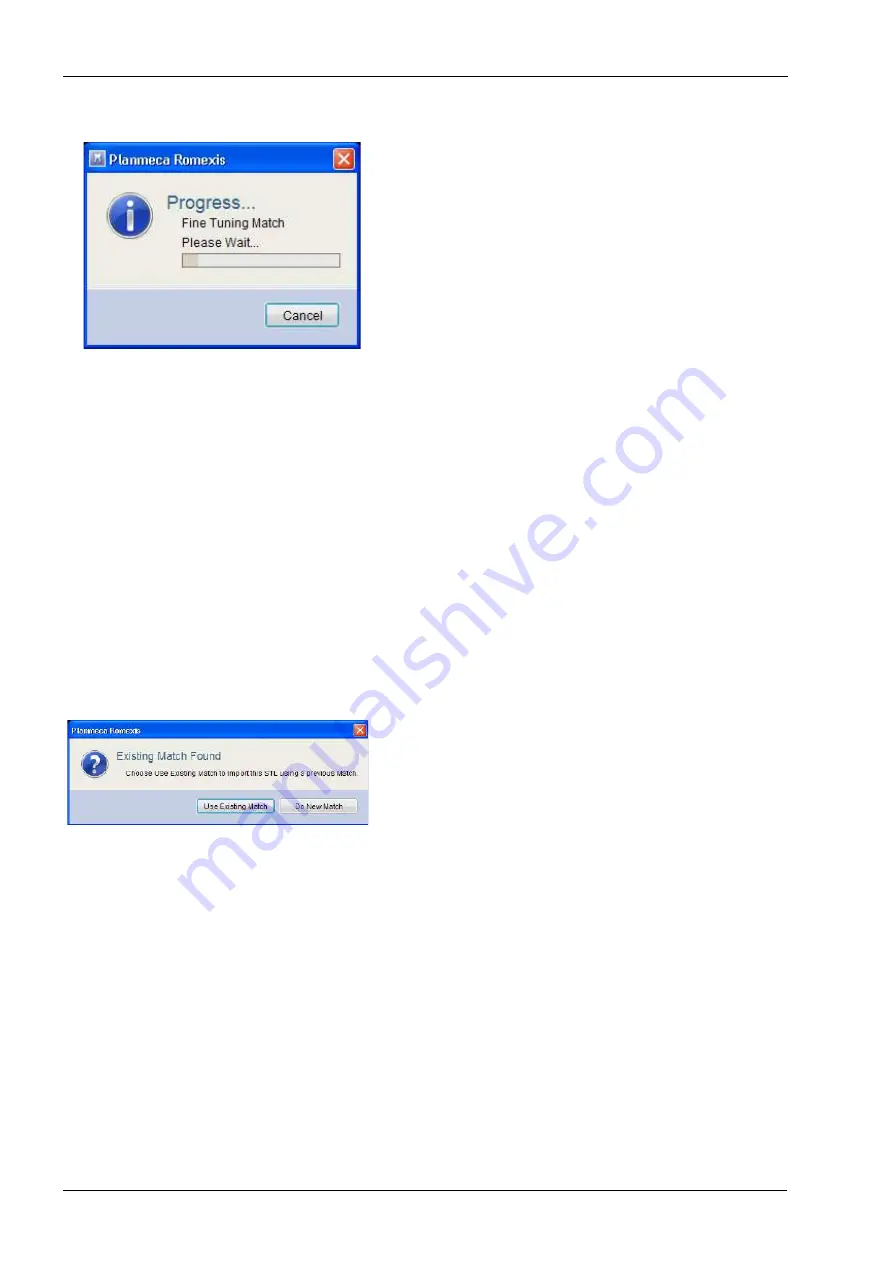
• Fine Tune Match
When enabled, Planmeca Romexis will analyze the
anatomy around each control point and uses the actual
anatomy for best possible fit.
When disabled, Planmeca Romexis will minimise the
deviation between the three control points in each data to
get the closest fit with no additional analysis.
8. To import crown(s) repeat the above process starting from
9. To use the same match for crown placement as for the
surface click Use Existing Match button.
The crown will be automatically placed into the exact
same area where it was placed in the crown planning
software.


