21 SETTINGS
User’s manual
Planmeca Chairside CAD/CAM solution 113
If the exercise name has been edited, the icon turns
yellow.
1. To save the current set of exercises with the user’s
initials, click on the
Save Prefix
field (cursor does NOT
appear) and enter the initials.
NOTE
To alphabetize the exercises at the end of the patient list a
Z can be added at the beginning of the initials.
2. Click Save. The existing exercises are named with the
prefix and the button and changes to yellow.
3. Click Restore. If the existing green exercises were not
renamed with a prefix, they will be deleted and replaced
with the default exercise data.
4. Click Remove to delete all of the green exercises.
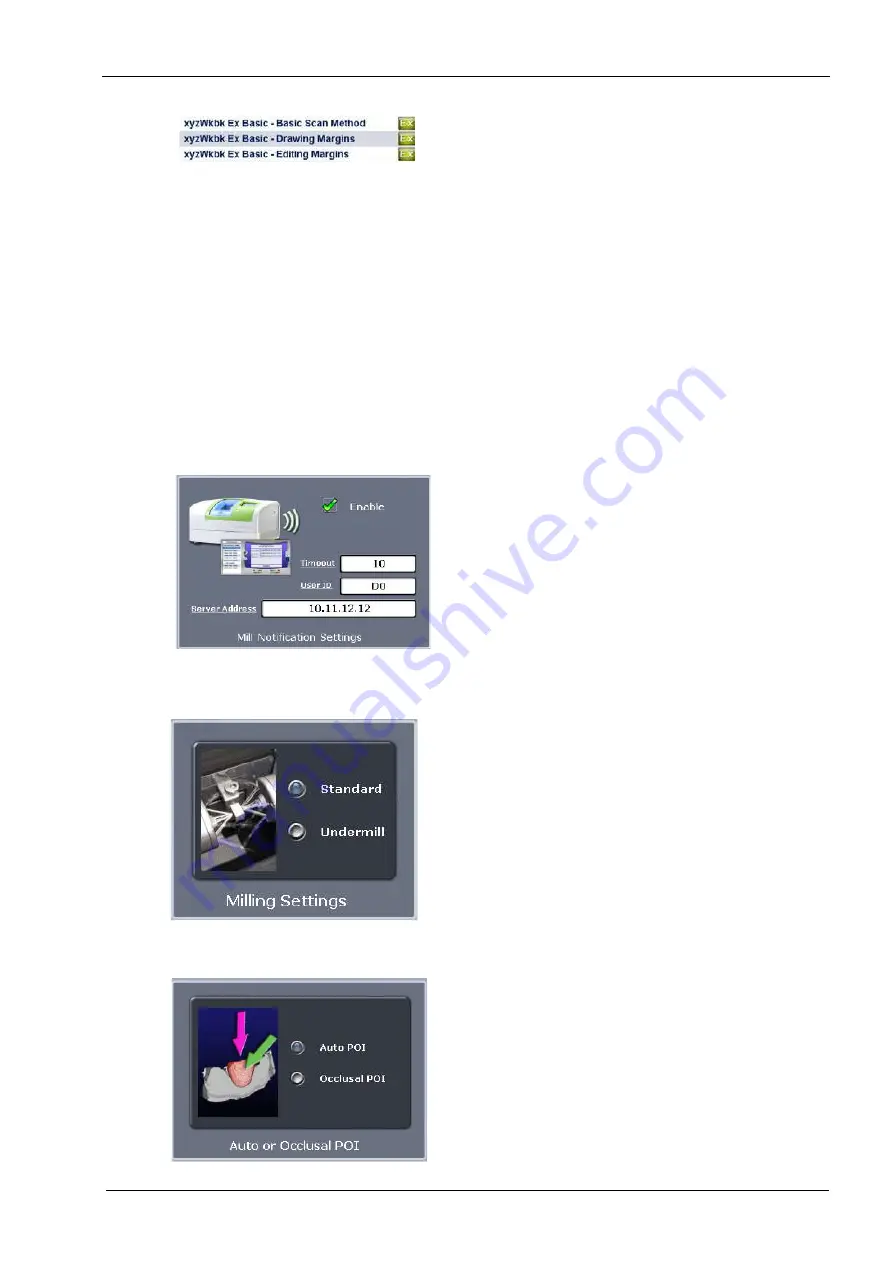
21.10 Mill notification settings
Use Mill Notification Settings to enable or disable the Mill
Status on the laptop.
21.11 Milling settings
In Milling Settings you can select Standard (overmill) or
Undermill setting.
This settings only affect proposal with a sharp interior, like
an anterior incision edge. If the interior of the proposal is
smaller at the tip than the tools in the mill, the standard
setting is for the mill to remove extra material at the tip.
This may lead to a crown that is too thin at the top. You
may round the preparation or select Undermill. If
Undermill is selected, the mill will not remove all of the
interior but only as much as the tool’s size will allow.
Remove the remainder manually.
21.12 Auto or occlusal POI
(For mill systems)
This setting should be modified only at the request of
Customer Support. Auto POI (Orientation) finds the best
possible milling path to avoid undercuts and this
eliminates the need to go back (on veneer and multiple
cases especially) and reset POI for the mill. Occlusal POI
uses the Orientation to set the tool path.
See section 28 “MILLING UNIT” on page 134 for
information on the Job Server and milling unit.


