15 SCANNING
User’s manual
Planmeca Chairside CAD/CAM solution 43
5. Follow the scanning goals below, (see “Goals:” on page
46)
6. Continue scanning until the composite model is fully
formed.
7. Deactivate the laser by clicking the button on the scanner
8. Click Generate Model or press M on the keyboard to finish
the model.
9. Evaluate the model and make adjustments as needed.
10.Select the next scan type.
11.Repeat the steps above.
12.When finished with scanning click the
Margin
tab or click
the Next button.
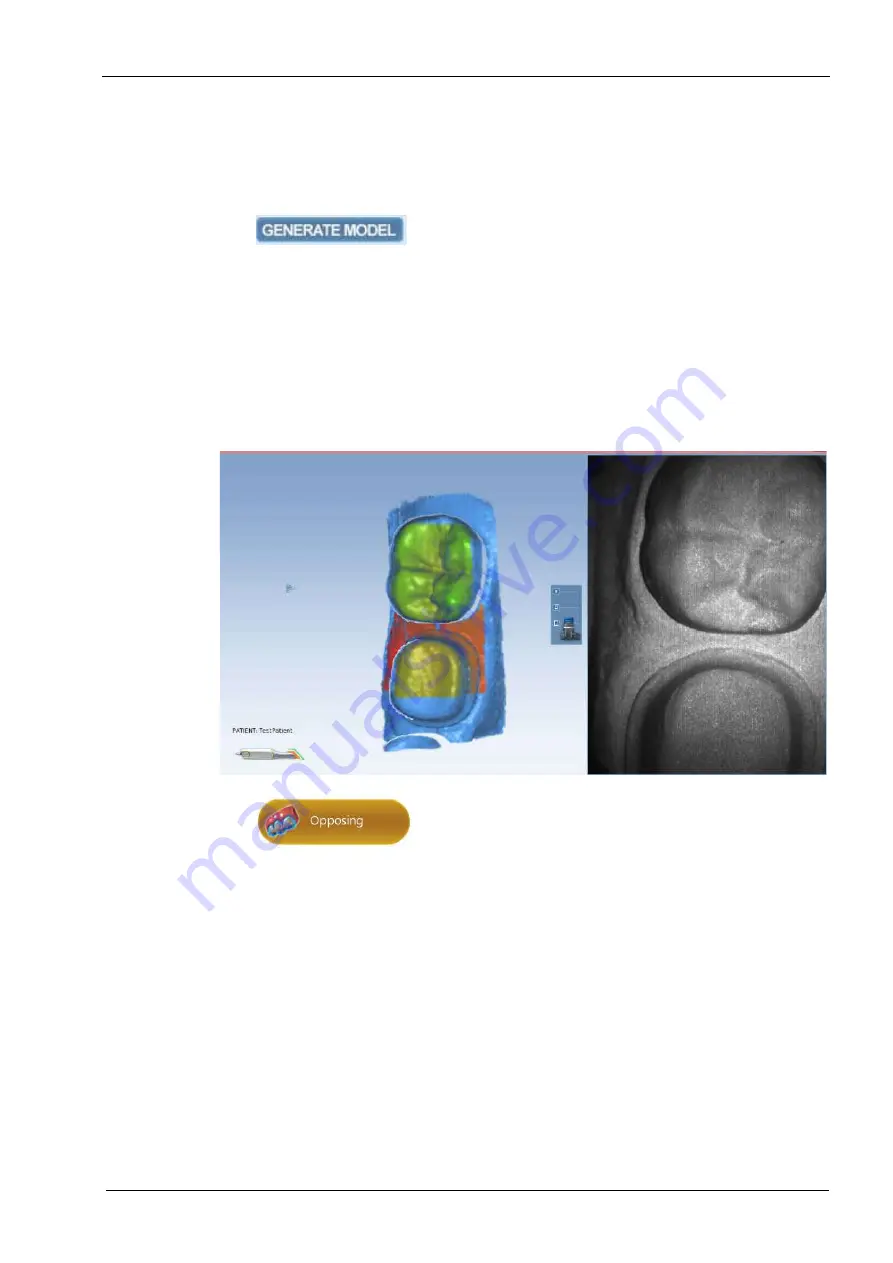
The green colour indicates the scanning distance is
correct and that the scanning is successful.
Red and orange colour on the scanned area indicate the
limit of a reading range.
13.Continue scanning the opposing teeth by clicking the
Opposing button.
14.Start scanning, for detailed instructions see section 15.2


