15 SCANNING
52 Planmeca Chairside CAD/CAM solution
User’s manual
15.7 Scanning occlusal
The occlusion can be evaluated and designed using:
• Bite registration
• Buccal bite and opposing dentition
• Pre-op (a wax-up or existing anatomy before preparation)
NOTE
Cases being sent via Planmeca Romexis Cloud usually
need to be Buccal/Opposing cases.
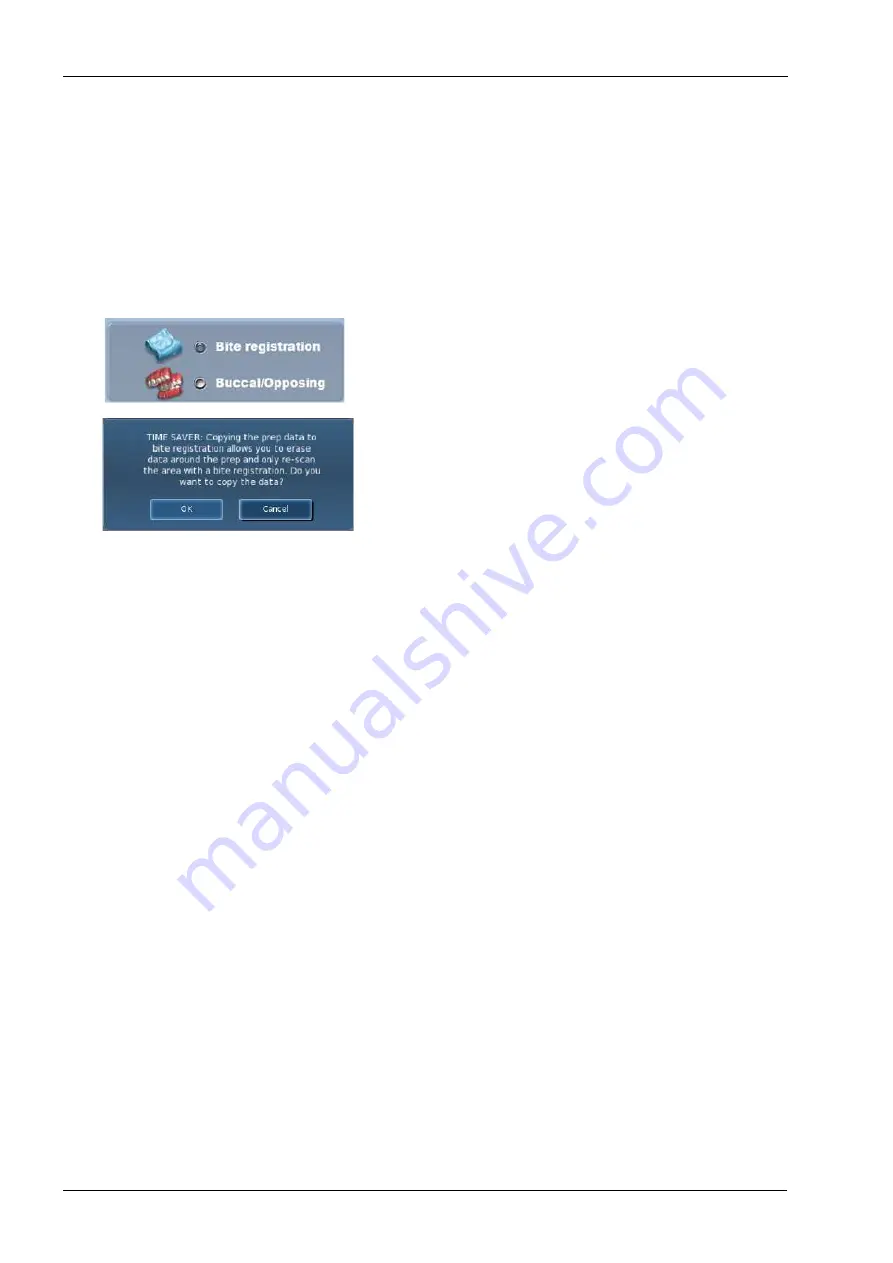
1. On the
Setup
tab, select Bite Registration or Buccal/
Opposing.
If you are scanning a pre-op, leave the default to Bite
Registration.
2. Select Buccal/Opposing.
The system will allow you to use a Time Saver method of
copying the model. In certain scenarios, this enables you
to duplicate a model under another heading.
You can then erase the data that needs to be replaced
and take fewer scans than if you are doing a completely
new scan.
• Pre-op model can be copied into Prep model
• Prep model can be copied into Bite Registration
The instructions below assume that you will use the Time
Saver method. You always have the option of simply
doing a full scan for each model type.
15.8 Scanning a bite registration
A bite registration can be used to optimize occlusion for
proper alignment with the opposing tooth. Scan the
preparation, ensuring there is enough detail of the
adjacent dentition and/or gingival tissue in your
preparation scans to align the bite registration scans.
After scanning the preparation, prepare the bite
registration.
Keep the following recommendations in mind as you
prepare bite registrations:
1. Place the bite registration material so that it completely
covers the preparation surface:
• The bite registration material should not cover the
adjacent teeth. If it does, trim to the interproximal after the
material sets.
• There must be sufficient data of the adjacent teeth in the
scans of the preparation and the bite registration in order
for the two models to align.
• Ensure there are no gaps between the bite registration
material and the adjacent teeth.
2. Ask the patient bite down firmly or press the articulated
model down firmly for the impression.


