20 BRIDGES
User’s manual
Planmeca Chairside CAD/CAM solution 107
20.5 Designing a bridge
With any multiples case, it is generally best to start the
Autogenesis process on a tooth with an existing neighbor.
In a bridge case, that means starting with the abutments.
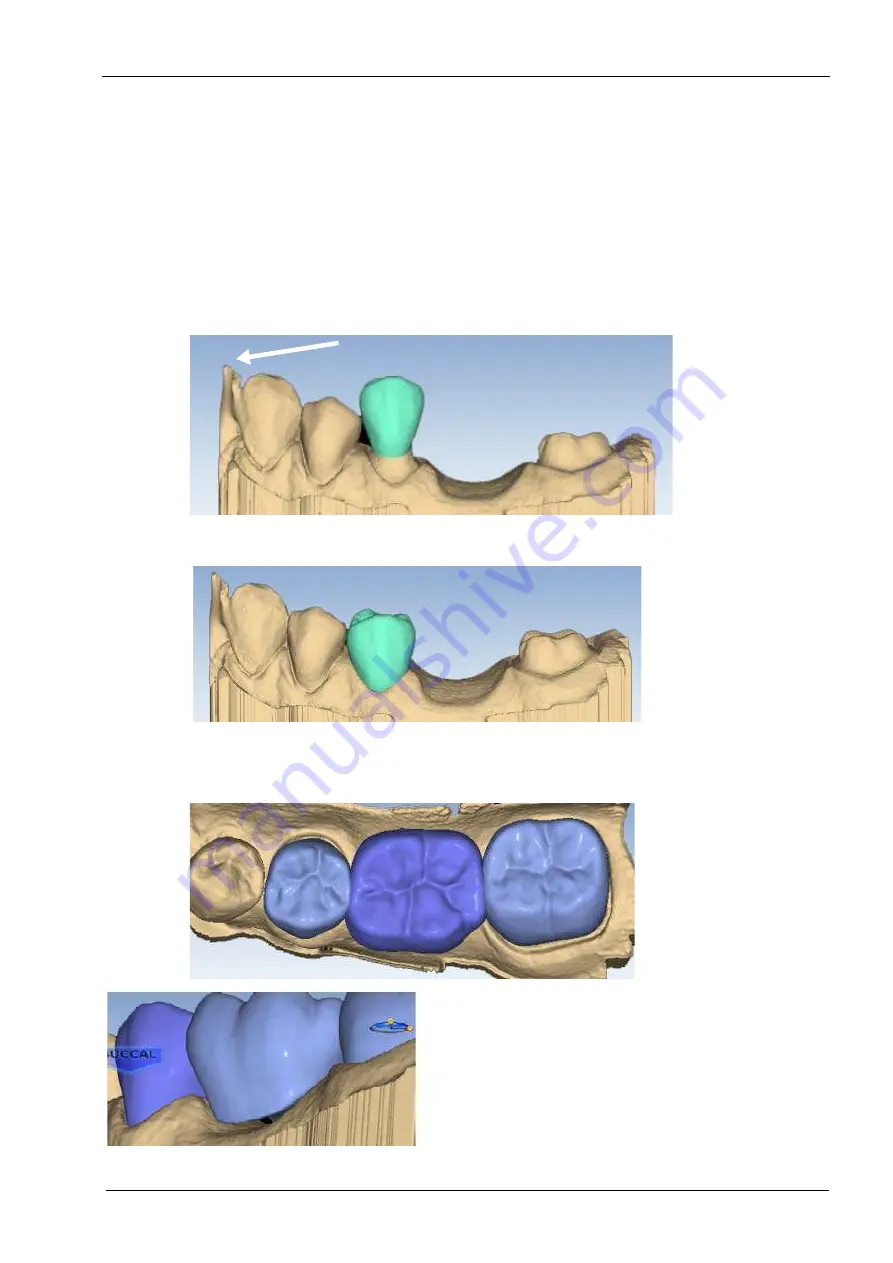
1. Rotate to evaluate the position of the preview library
tooth.
In this example, the preview tooth is high because the
system is attempting to match the height of the higher
mesial data. This will result in a distorted initial proposal.
The size and position of the preview tooth is important
when autogenesis is deactivated.
2. Resize (Alt + arrows) and move (drag and drop) as
needed.
3. Click Apply.
4. Repeat these steps for the other abutment.
5. Repeat these steps for the pontic(s).
When you rotate the model, you will notice that the
pontics have a solid base and are raised above the
gumline (0.75 mm). The gingival aspect of the pontic
follows the contours of the edentulous tissue and can be
adjusted utilizing the design tools.
6. Follow the normal design workflow with interproximal
contacts being the only difference.
7. Adjust the interproximal contacts that touch unprepped
teeth to the same contact strength that you normally use.


