18 DESIGN
User’s manual
Planmeca Chairside CAD/CAM solution 93
18.4.6 Define feature
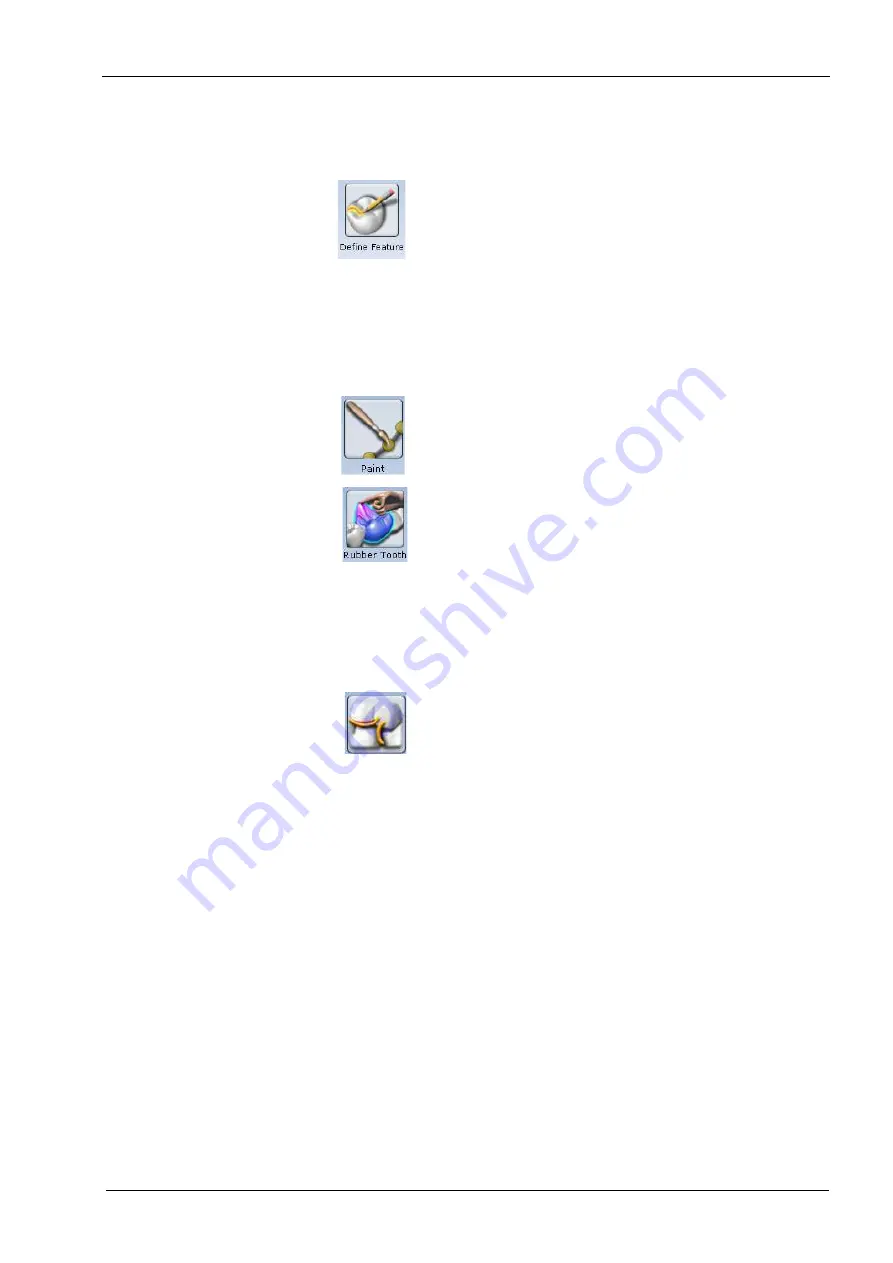
Use Define Feature to add anatomical features to the
restoration. Multiple features can be drawn and moved
simultaneously.
1. Click Define Feature icon and trace the feature on the
restoration proposal.
2. Use the arrow controls to move the feature line(s) in the
desired direction.
As an alternative, use the Rubber Tooth to pull or push
the feature to the desired position or shape.
18.4.7 Paint
Use Paint Feature to designate an area of the proposal
that you want to move. This is often used to designate a
contact area that you want to move.
1. Click Paint icon and paint the desired area of the
proposal.
2. Use the arrow controls to move the highlighted area in the
desired direction.
As an alternative, use the Rubber Tooth icon to pull or
push the feature to the desired position or shape.
18.5 Contact refinement
Contact Refinement enables you to set the strength of the
occlusal and/or interproximal contacts. It also enables you
to broaden the interproximal contacts by making the
proposal more square.
1. Select the desired Strength for the Bite and/or Contacts.
There are two ways to make the adjustment to the
selected strength:
• Click Refine to automatically change the occlusal table or
the interproximal contacts.
• Circle the desired area.
Another way to change the interproximal contacts is to
make the proposal more square.
2. Click Occlusal in View Controls.
3. Click Broaden Distally and/or Broaden Mesially to make
the proposal more square. This will usually be utilized on
posterior crowns.
The Broaden buttons change the proposal in set
increments. It is not connected to the selected Strength.
Be careful when using this feature. Overuse will make the
proposal too square.
4. Click Undo or reapply the library tooth to remove the
changes if desired. If the library tooth is applied, ALL
design changes will be lost.


